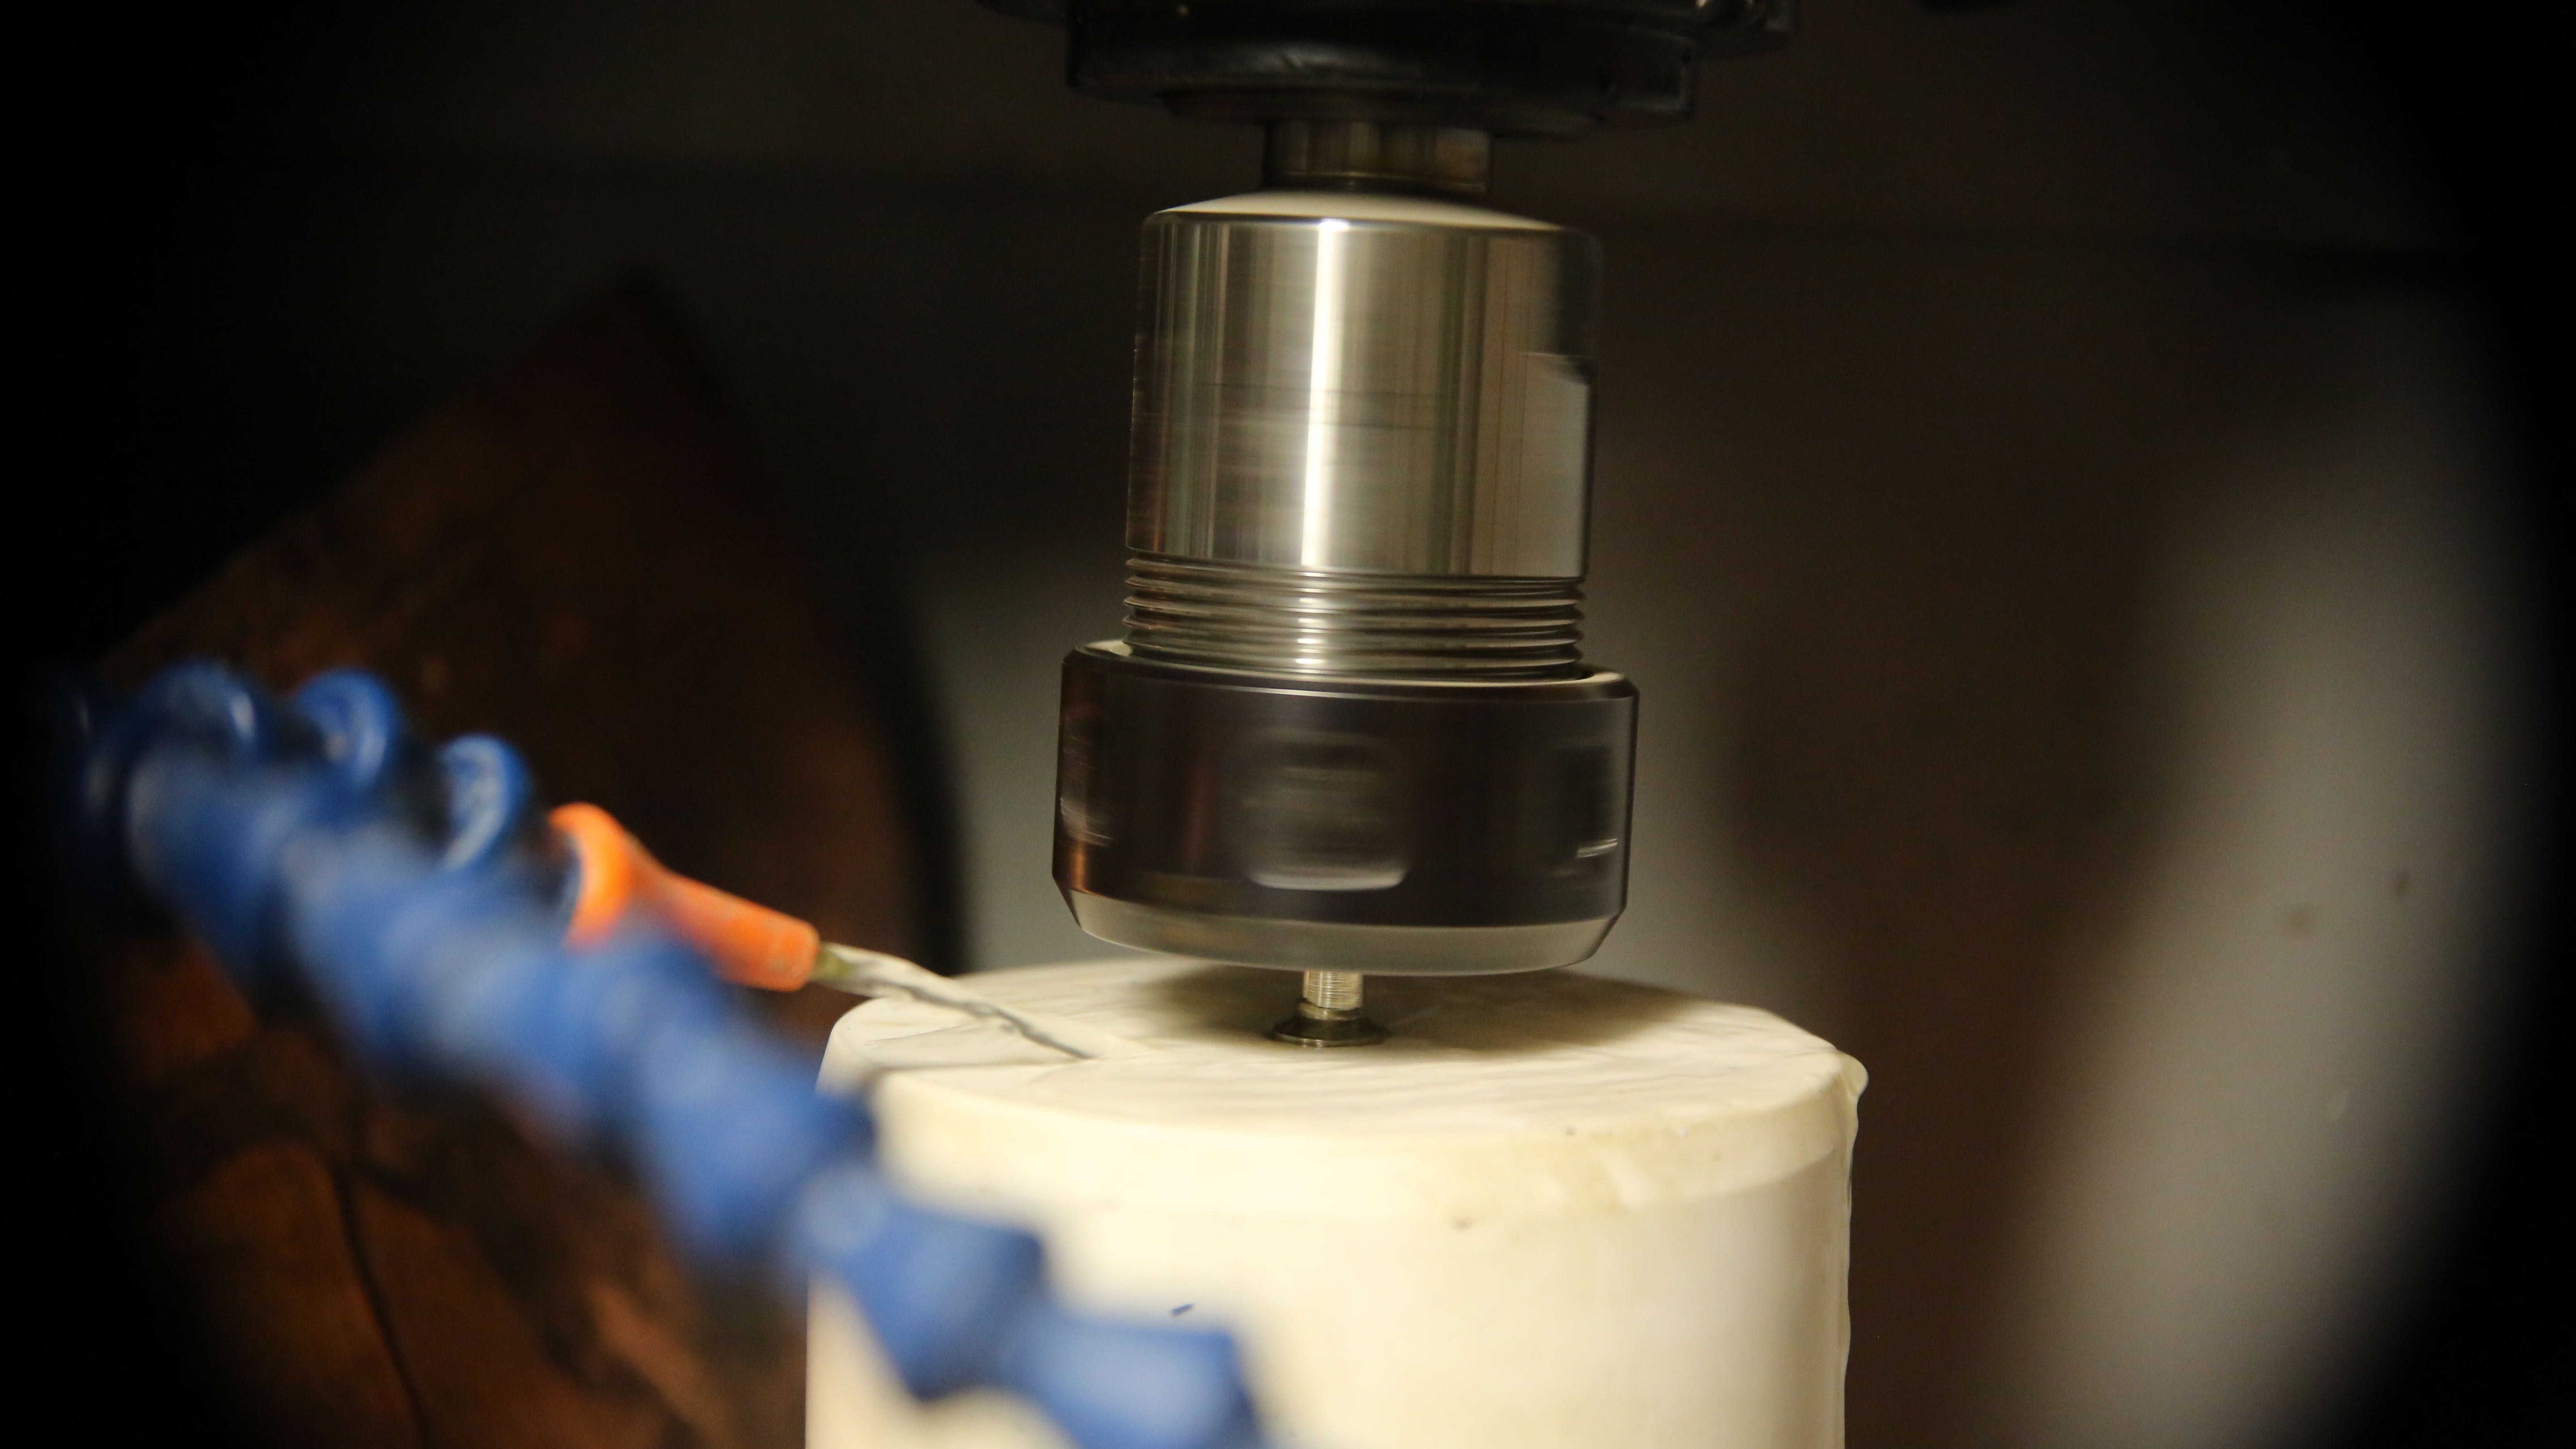
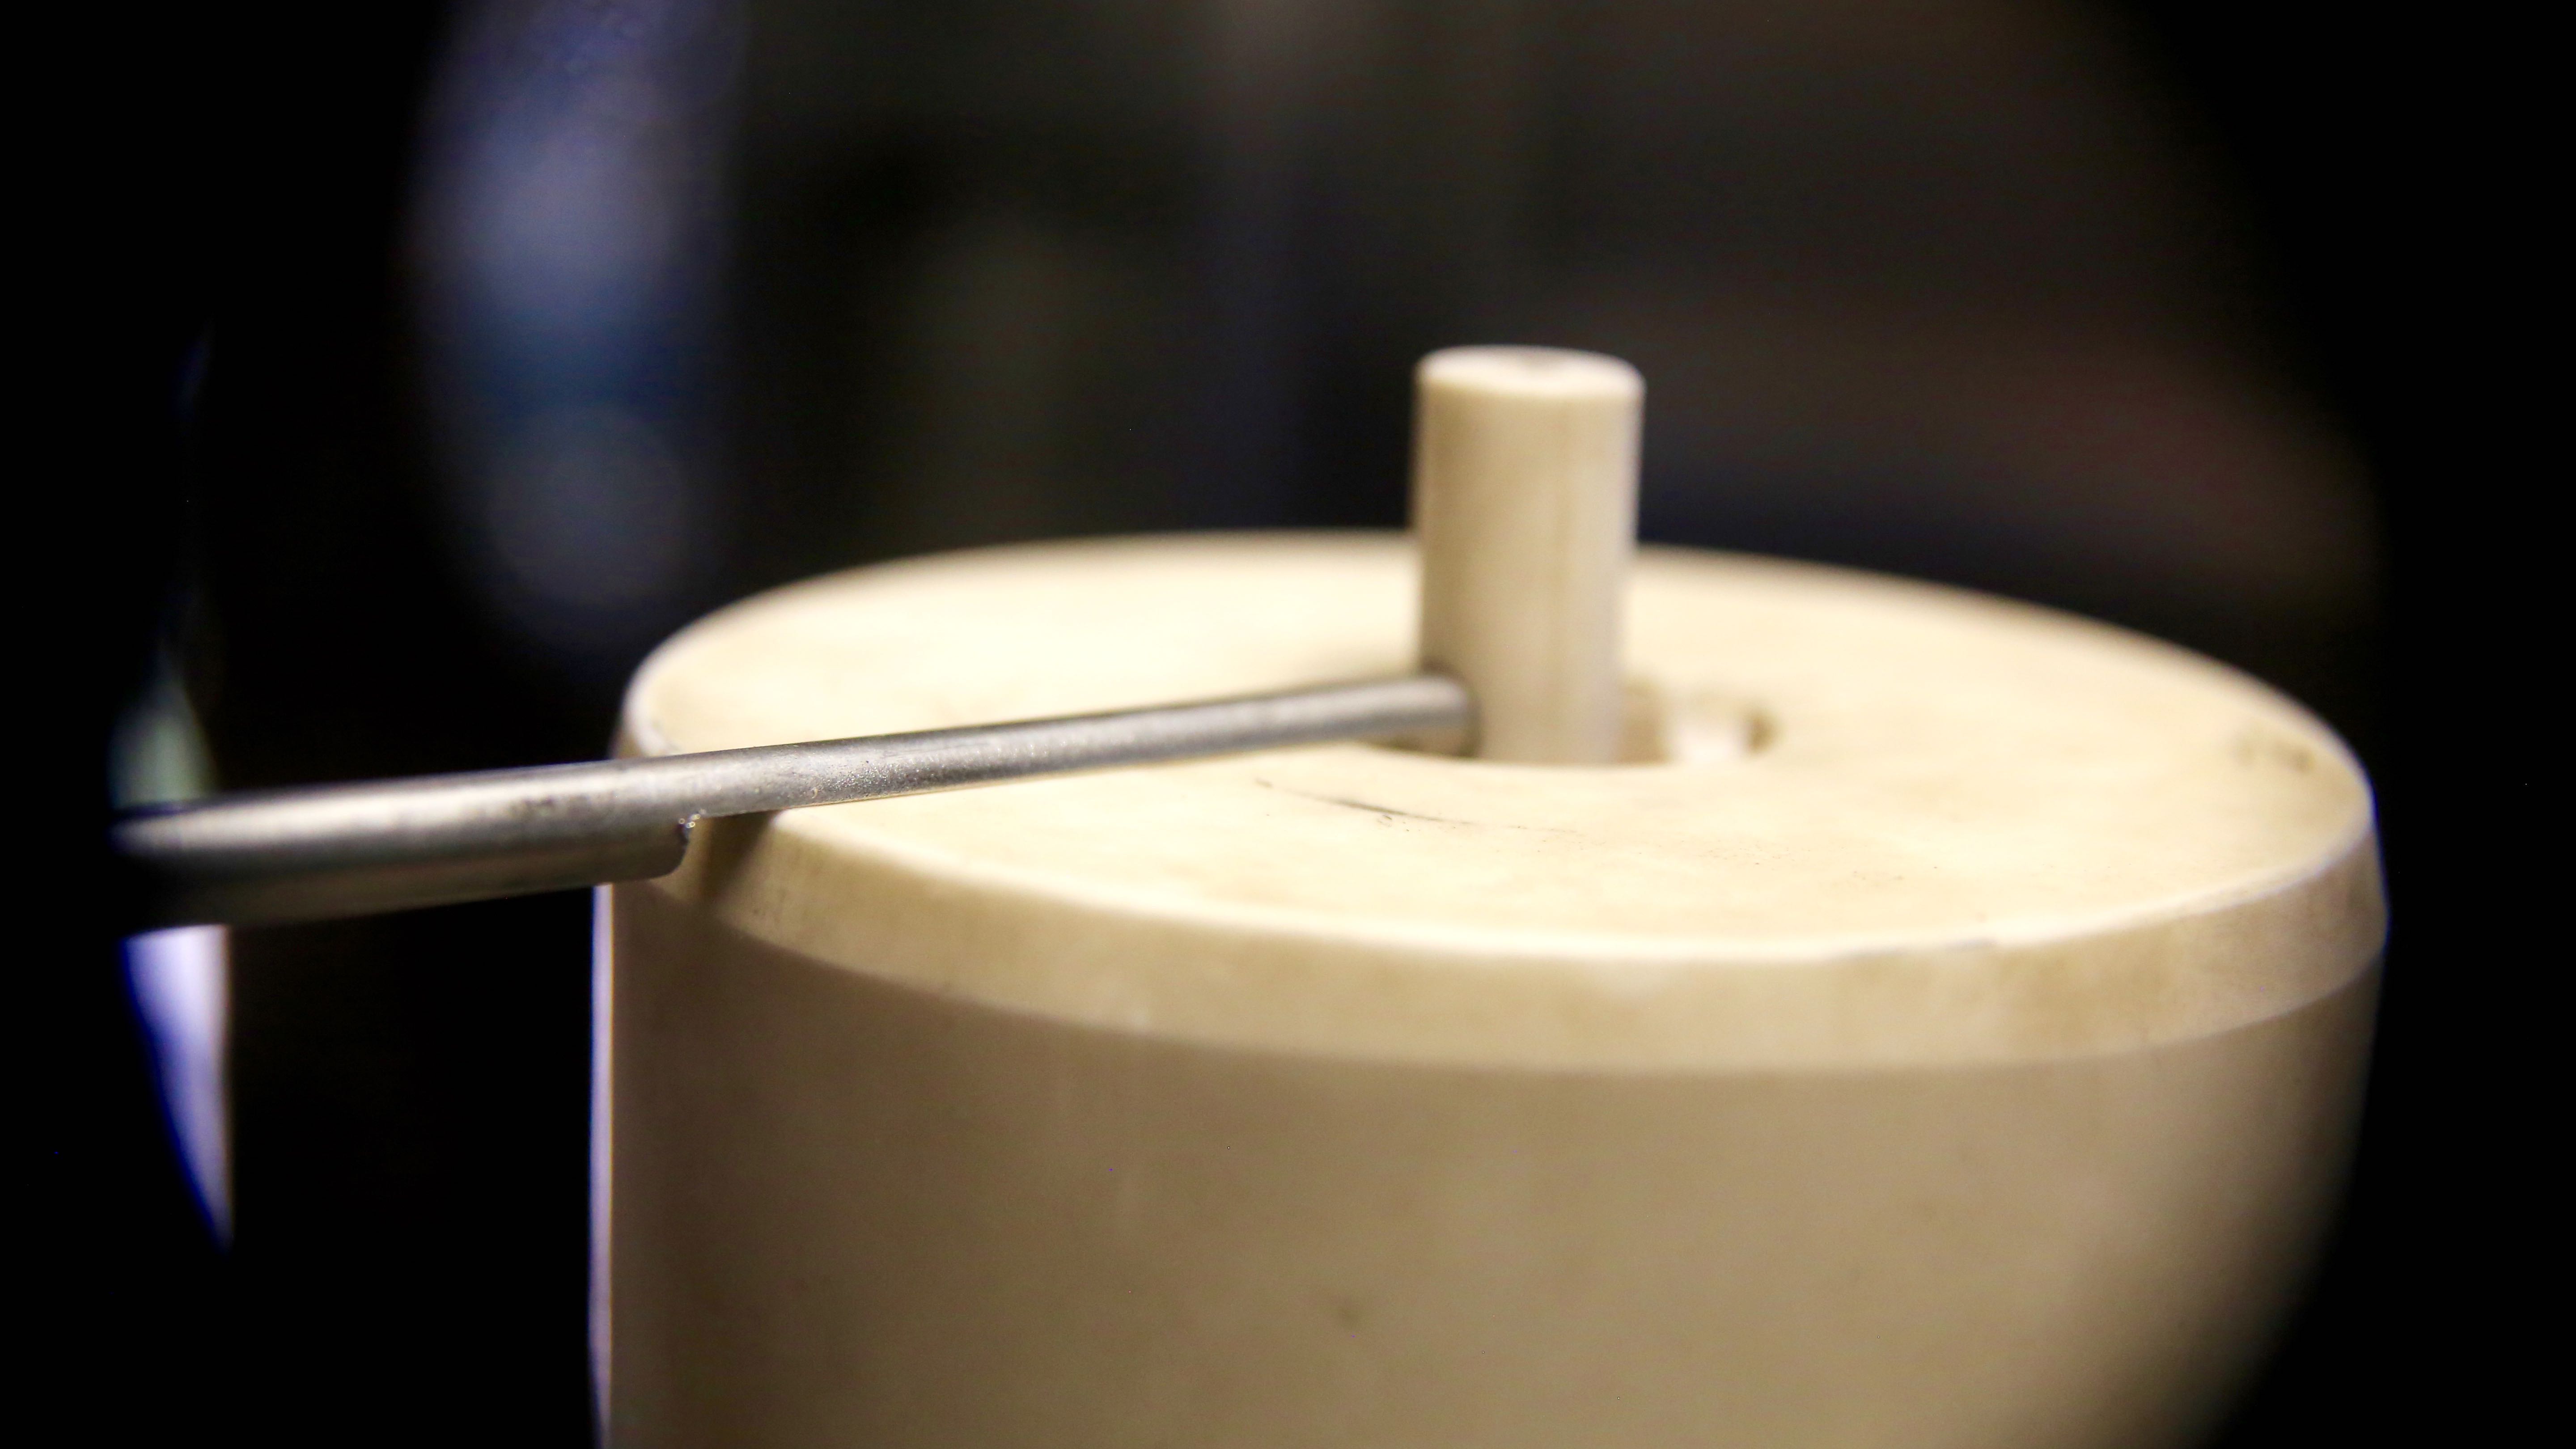
We are very excited to get the last hot-end machining done. It was stopping us from packing the nozzle heater in refractory, and getting this show on the road. She’s really starting to look like a lean mean glass printing machine!
We are very excited to get the last hot-end machining done. It was stopping us from packing the nozzle heater in refractory, and getting this show on the road. She’s really starting to look like a lean mean glass printing machine!
One thing we really wanted from day one is to be able to actuate the nozzle. It will allow for much more complex pieces to be printed beyond single wall items (such as vases) than the glass printer as described by MIT. There are some ideas presented by the Glass Lab, though this is our stab at the task.
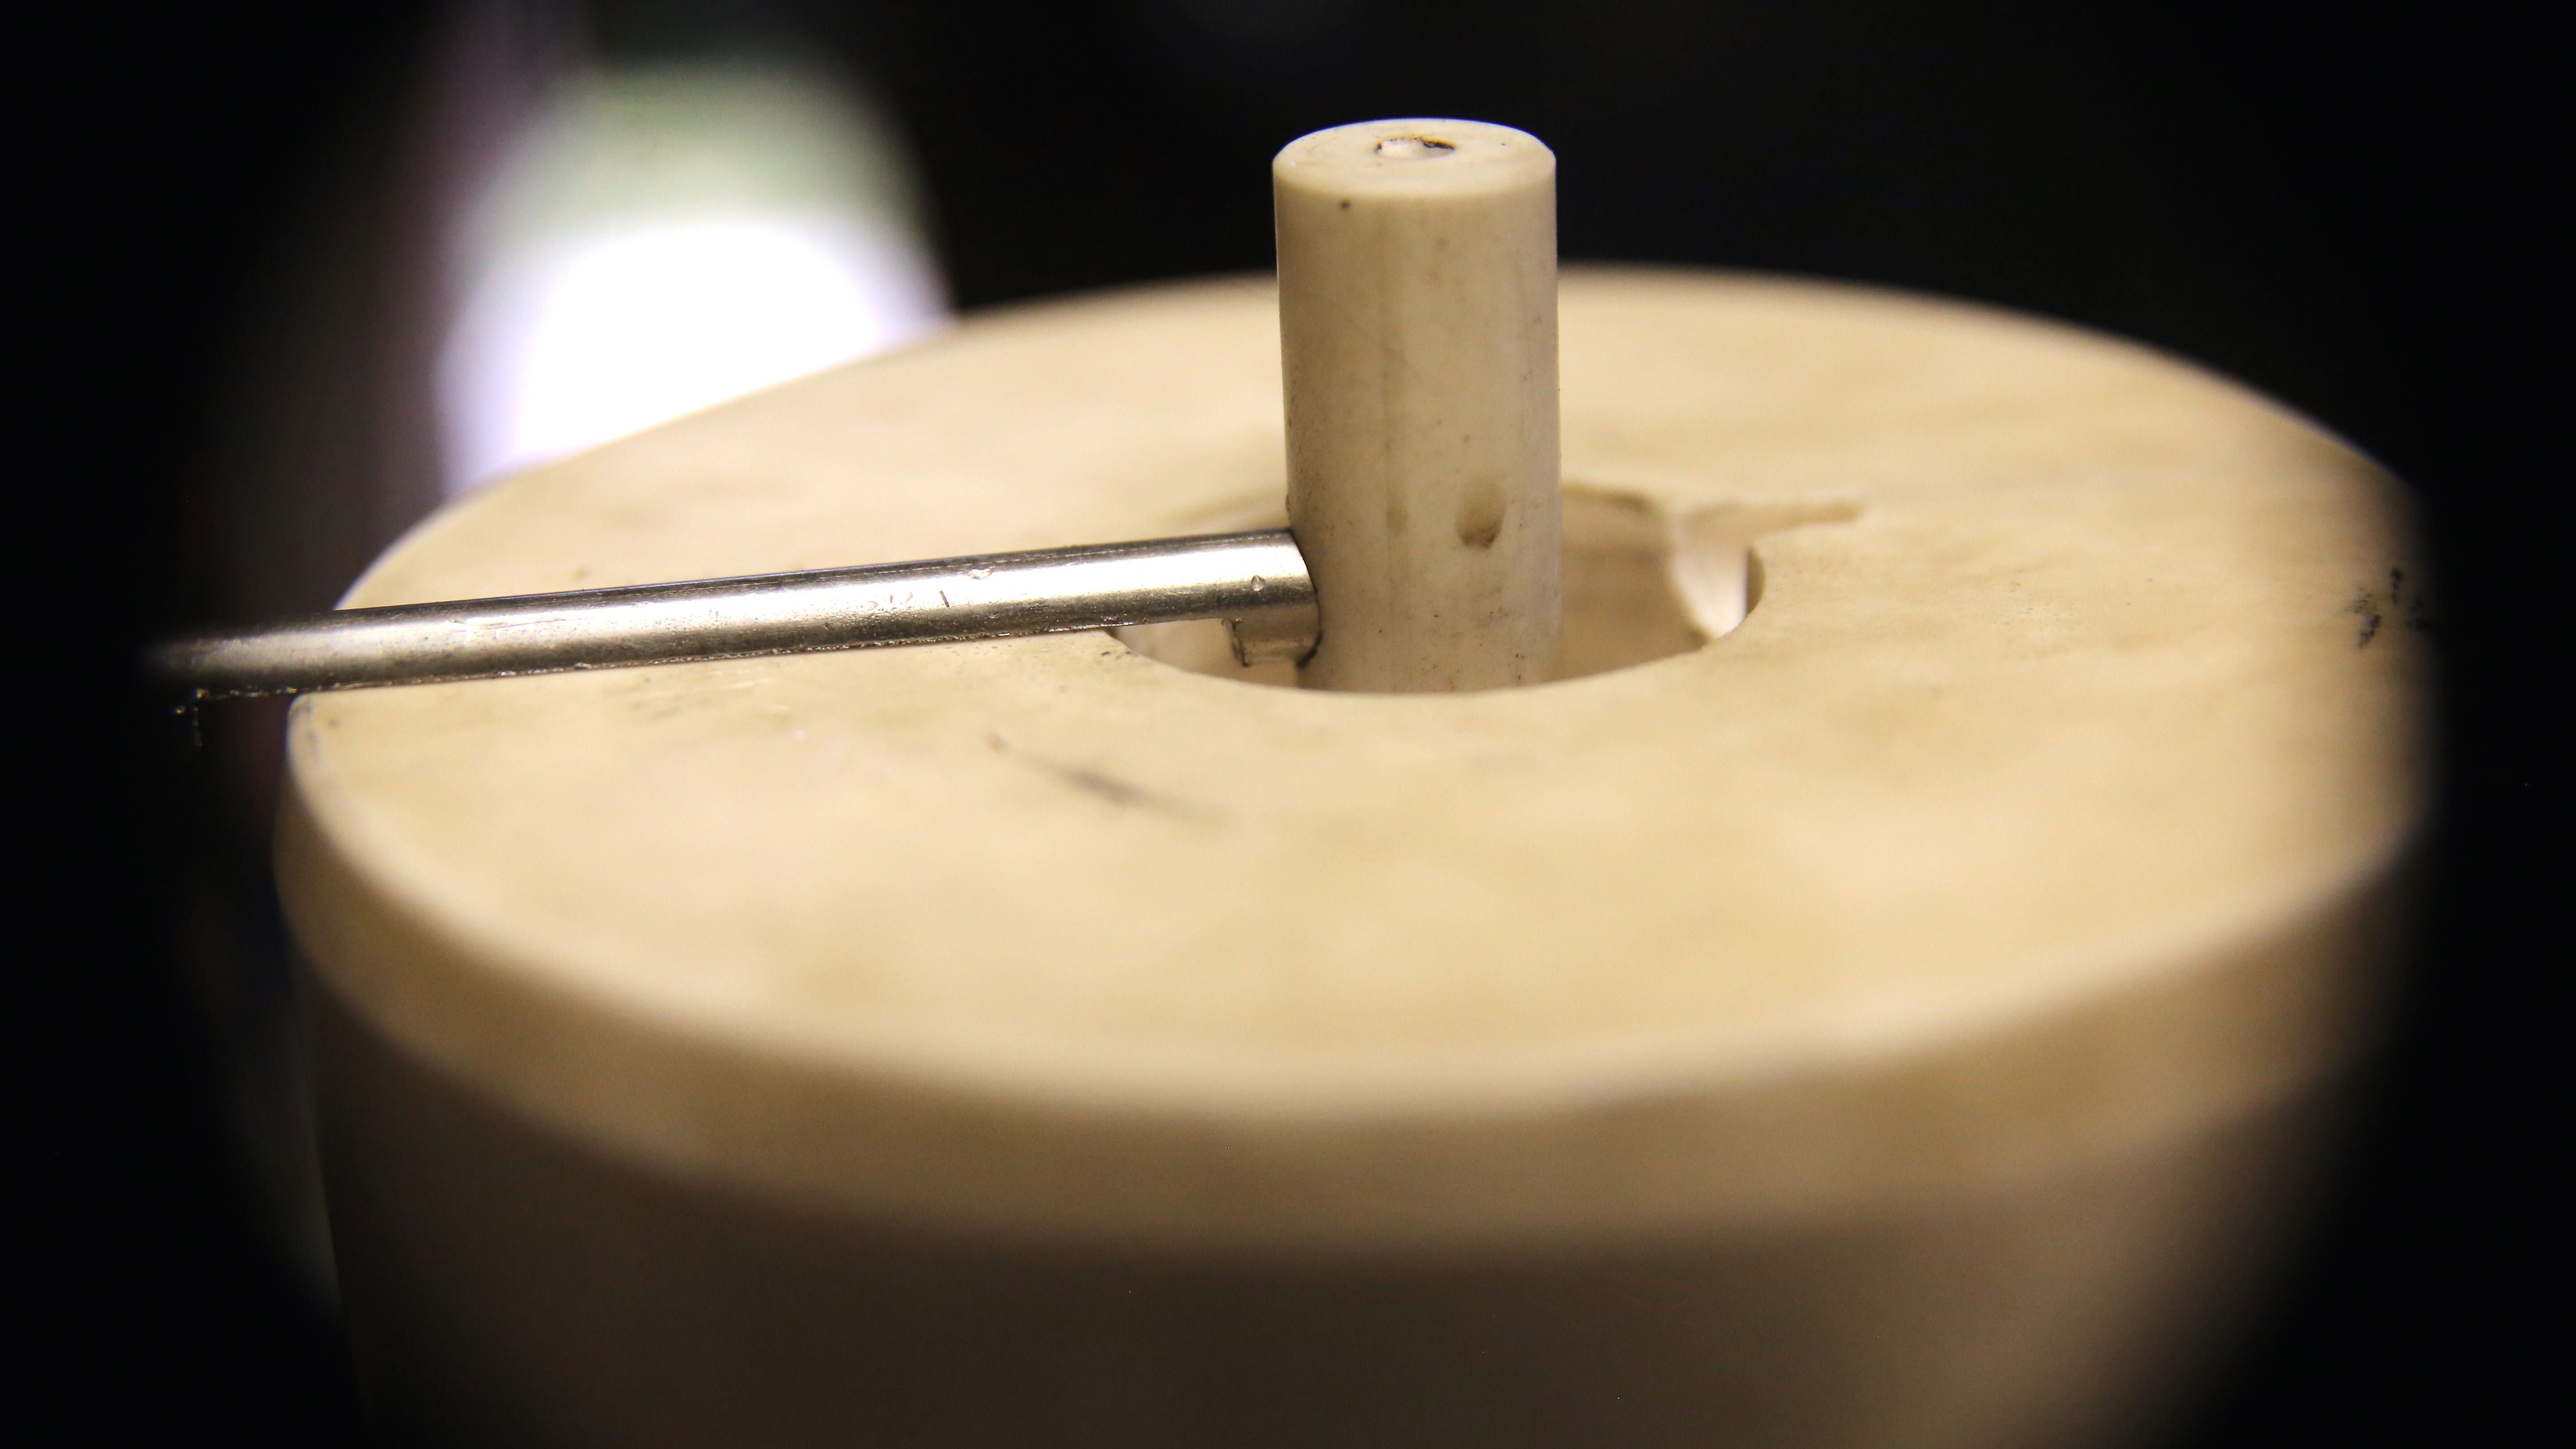
As eager as we are to get the nozzle glowing yellow; we took the time to put it in now. We are quite pleased with the outcome so far (to be tested of course). We wonder if aluminum and copper will be printable with this setup?!?
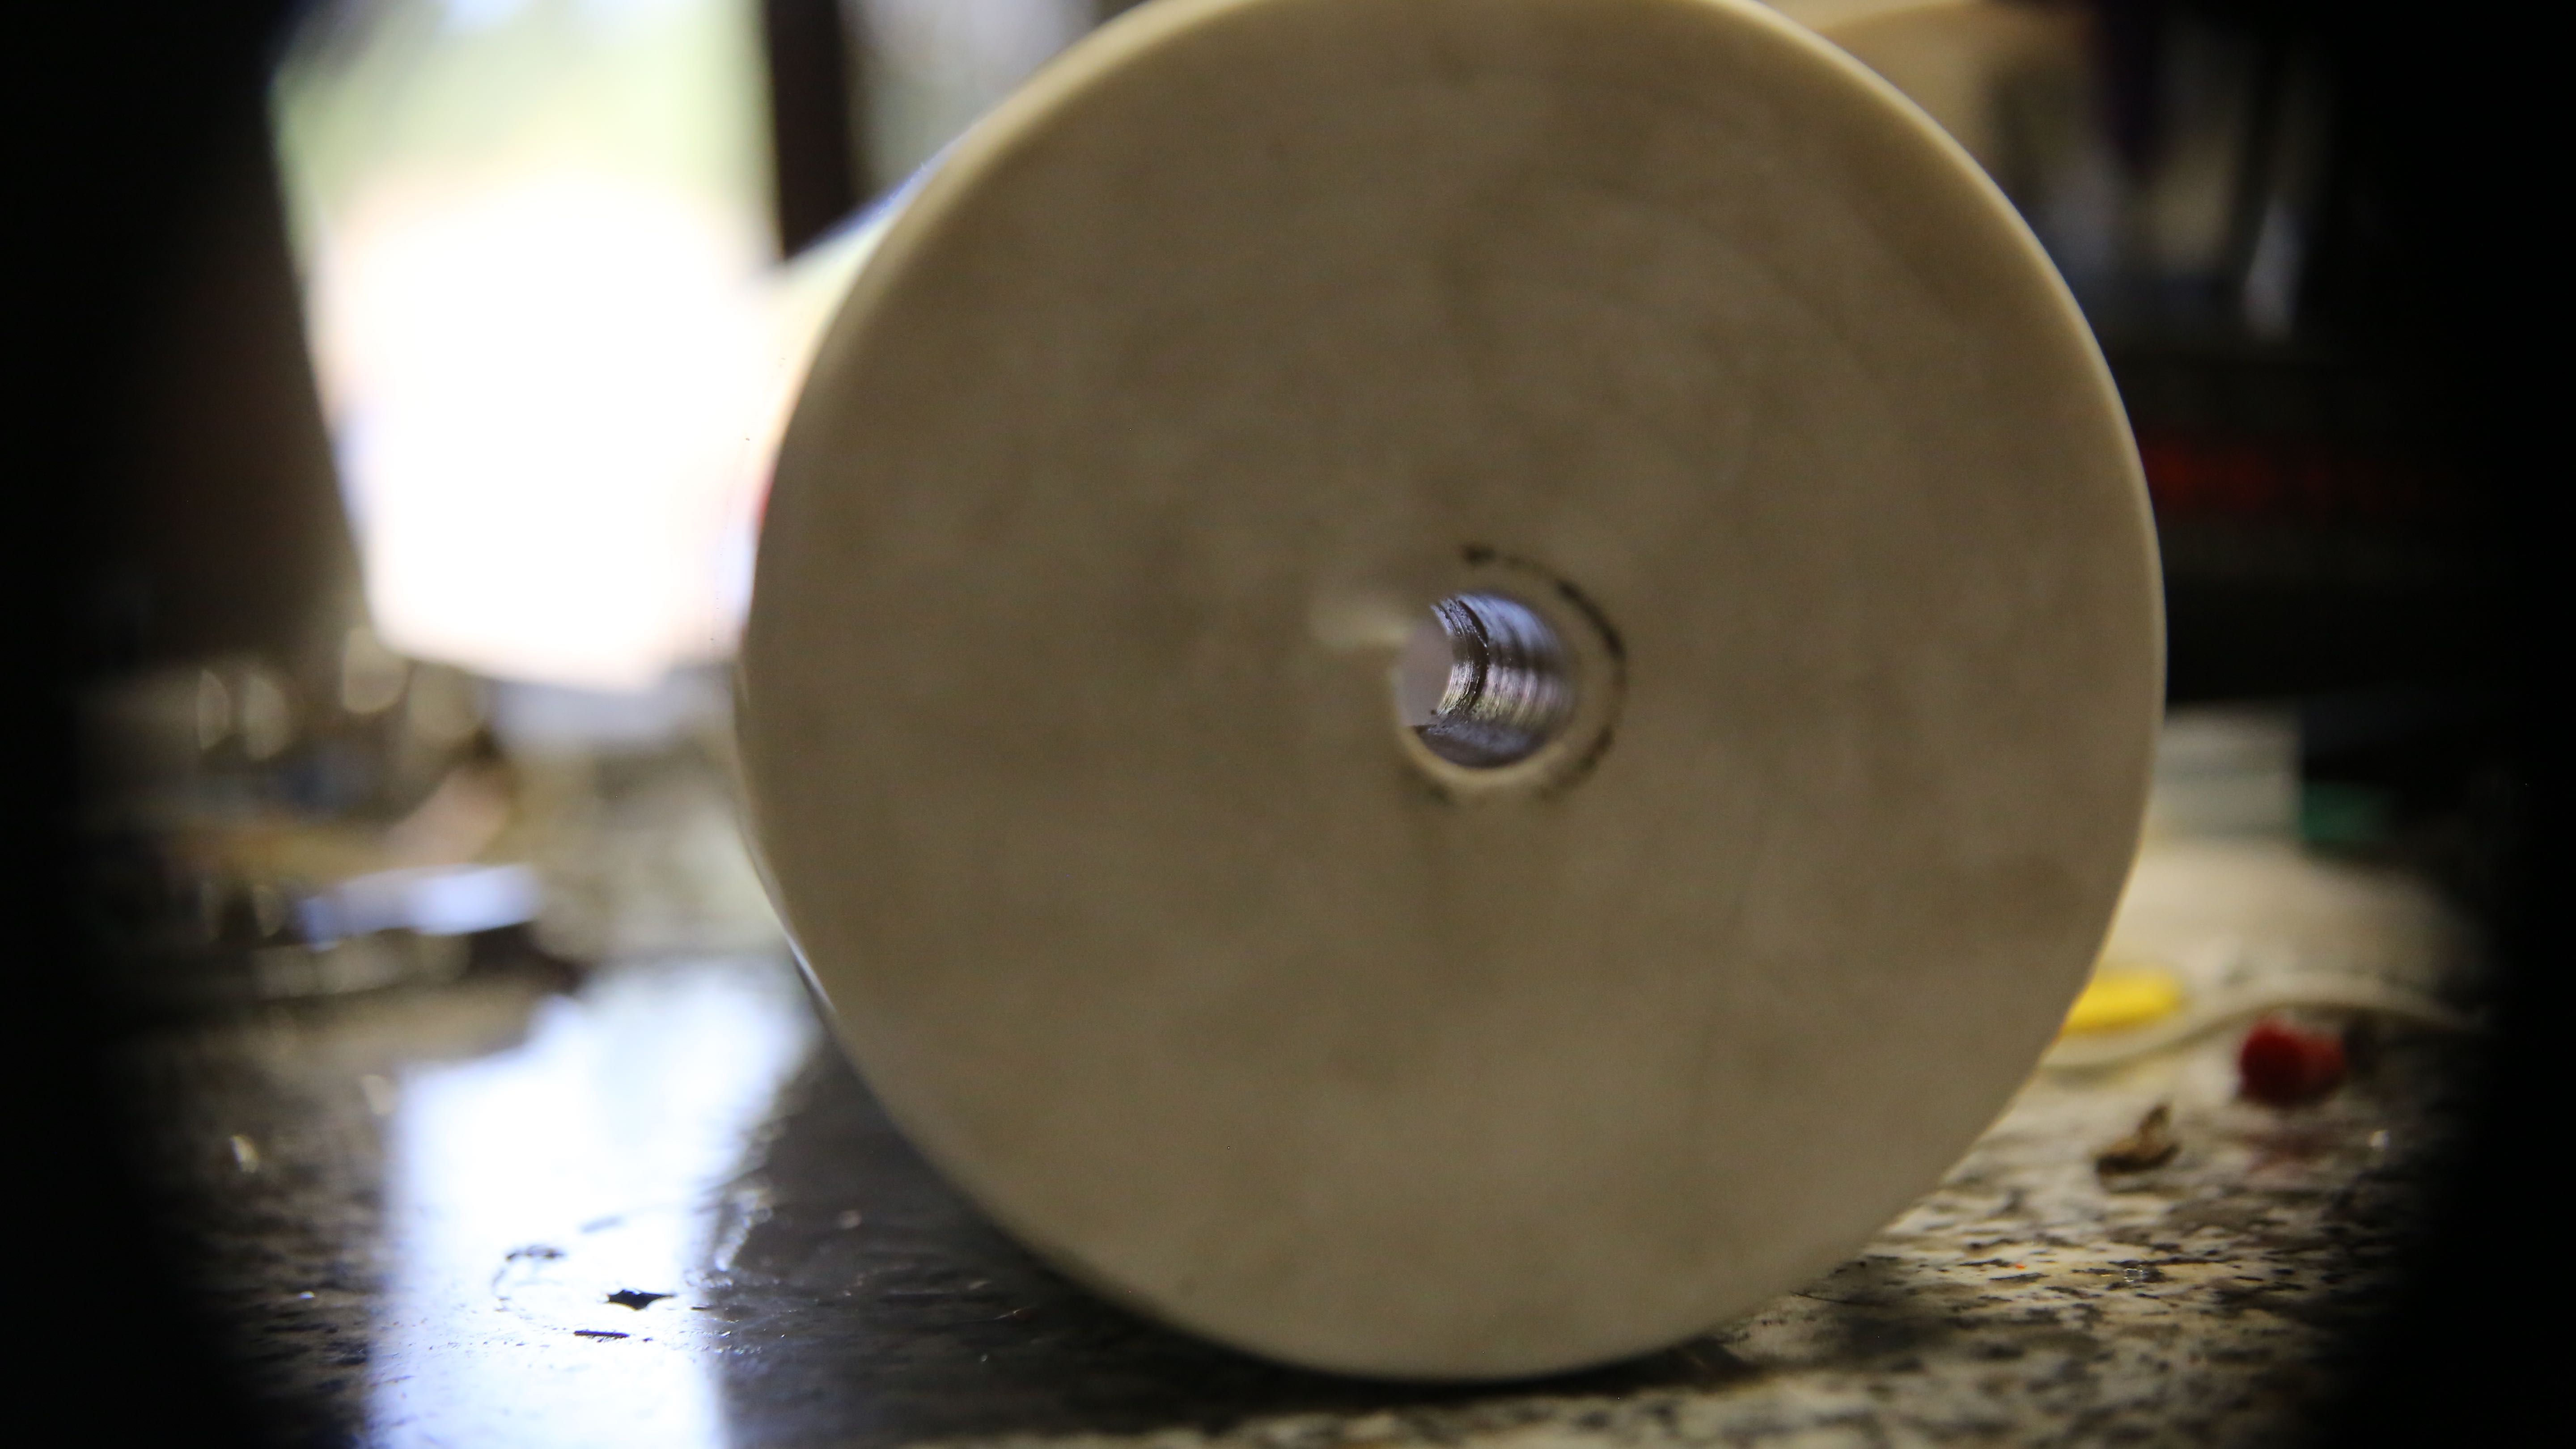
The main reason we bit the bullet now is the crucible assembly will be much more fragile after its all been fired, so we needed to do it now if it is to be done with our initial setup.
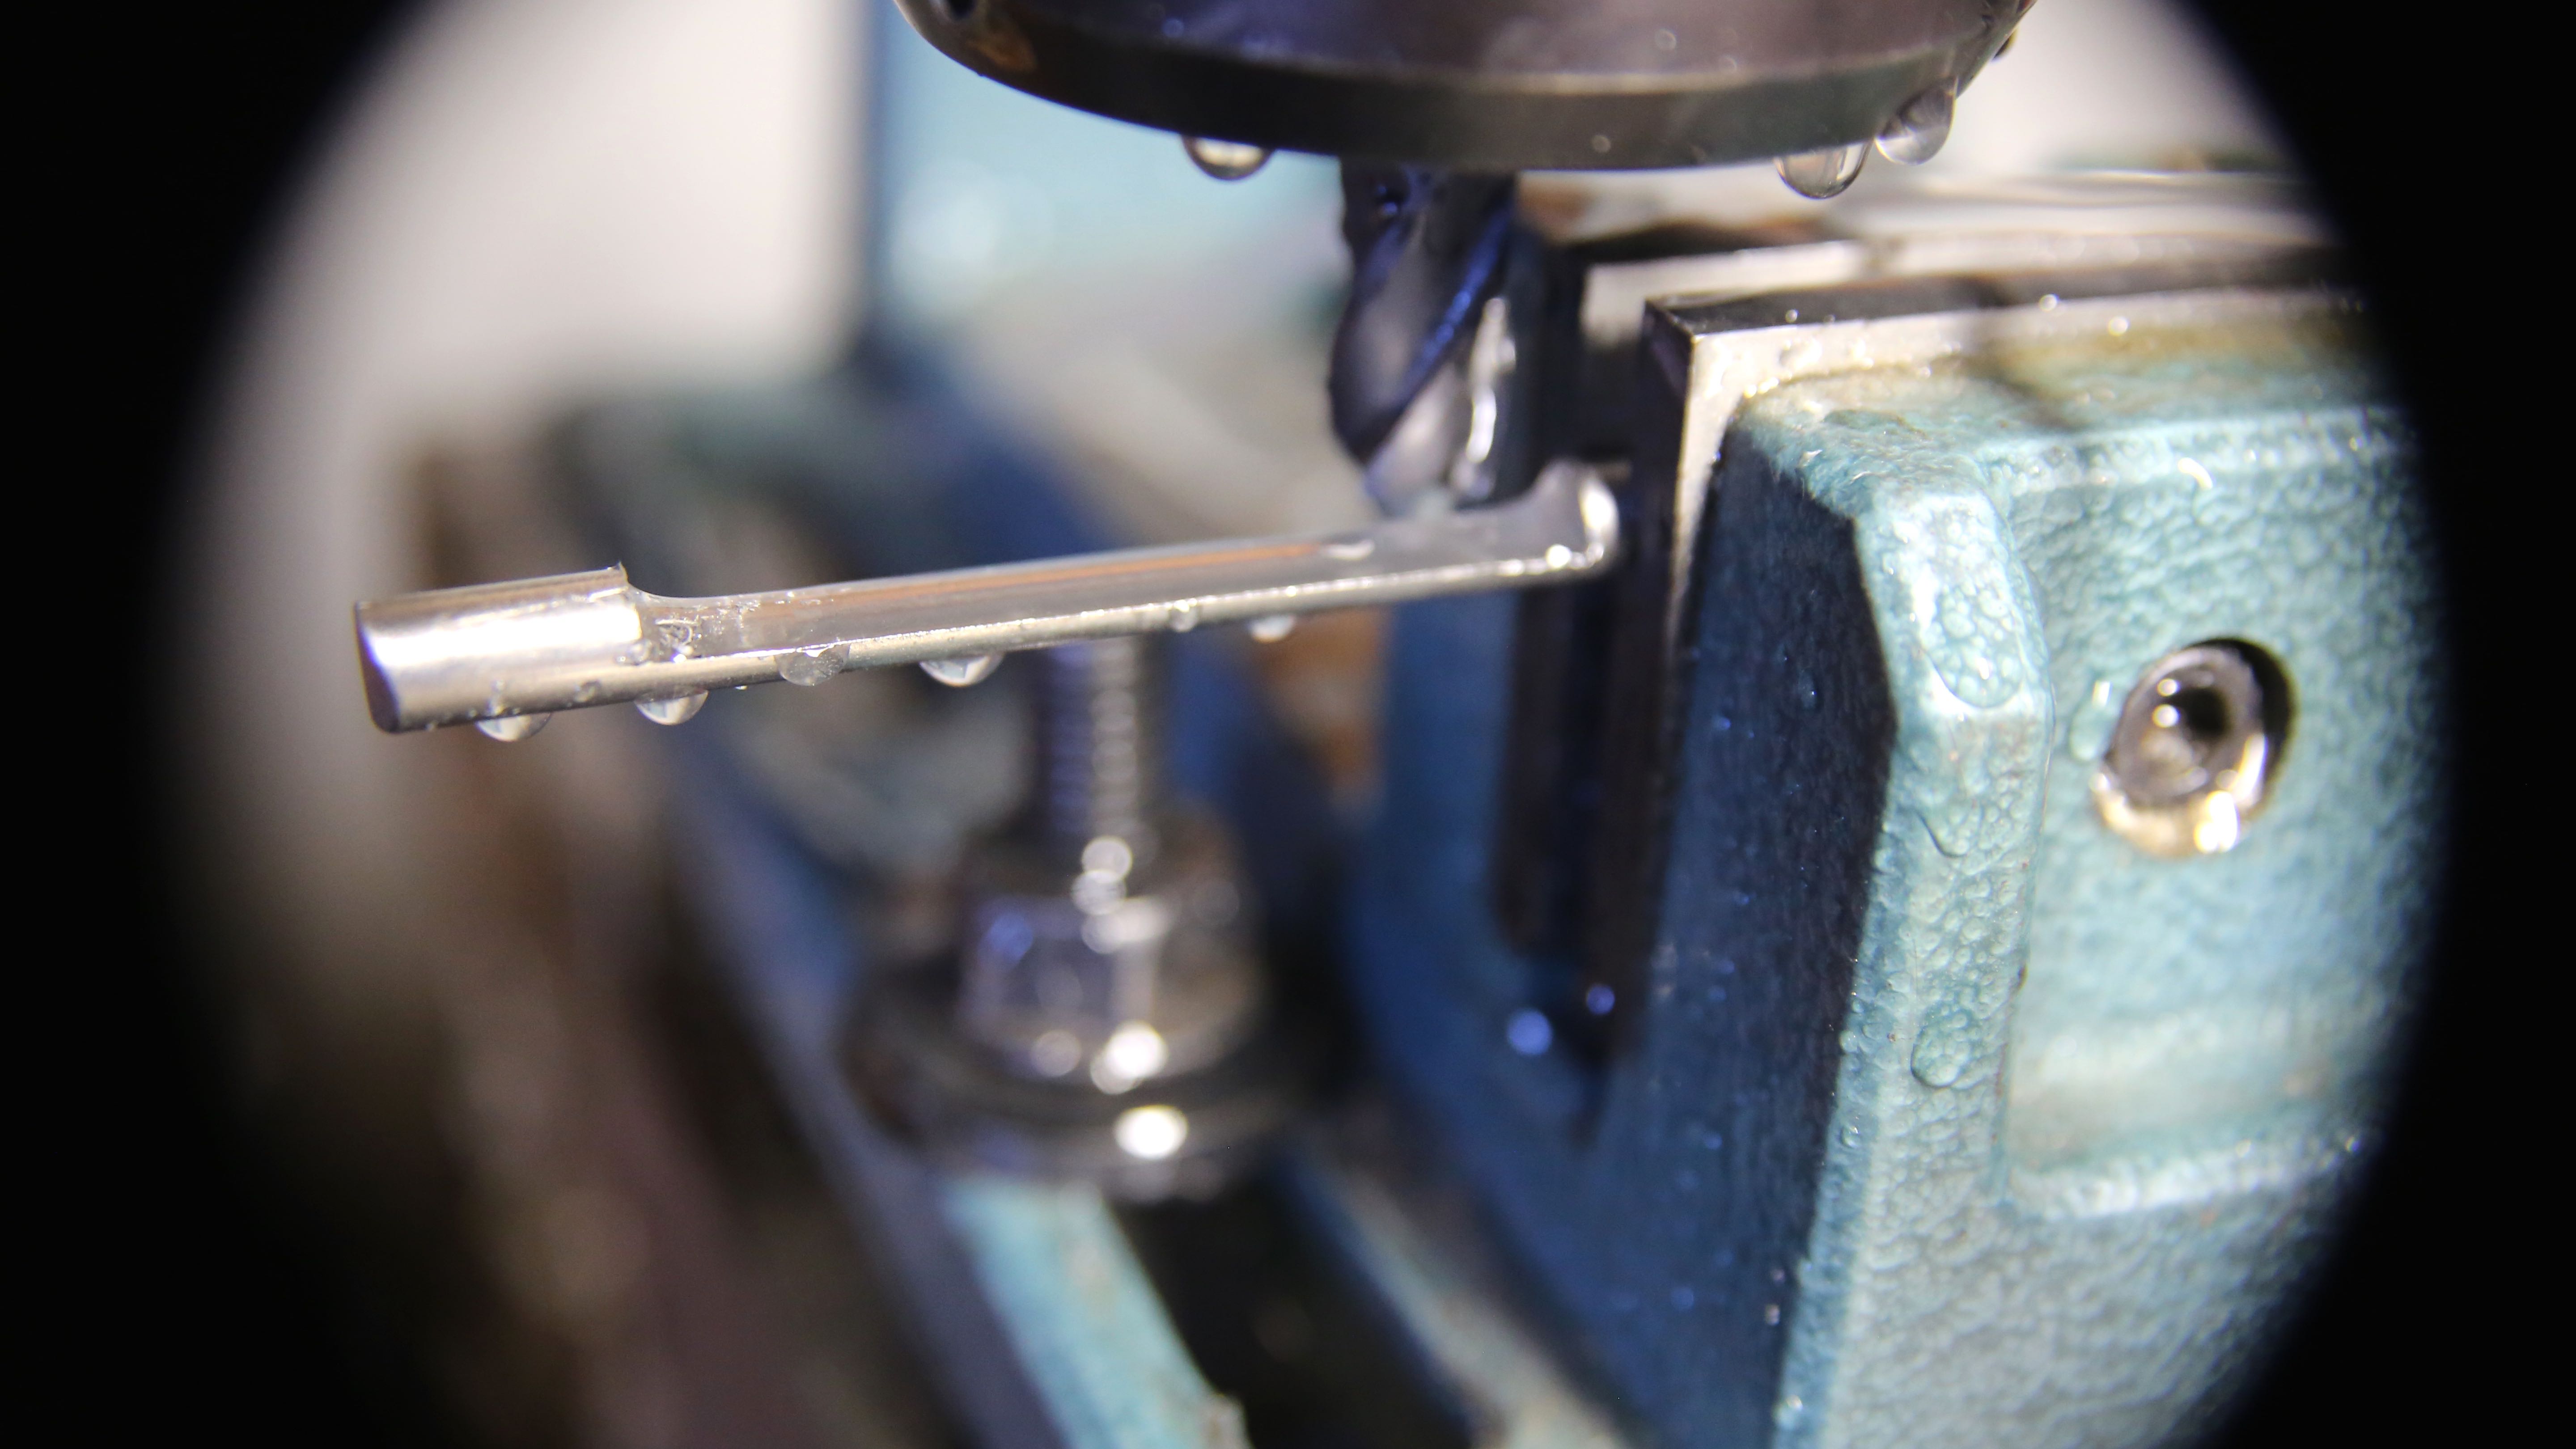
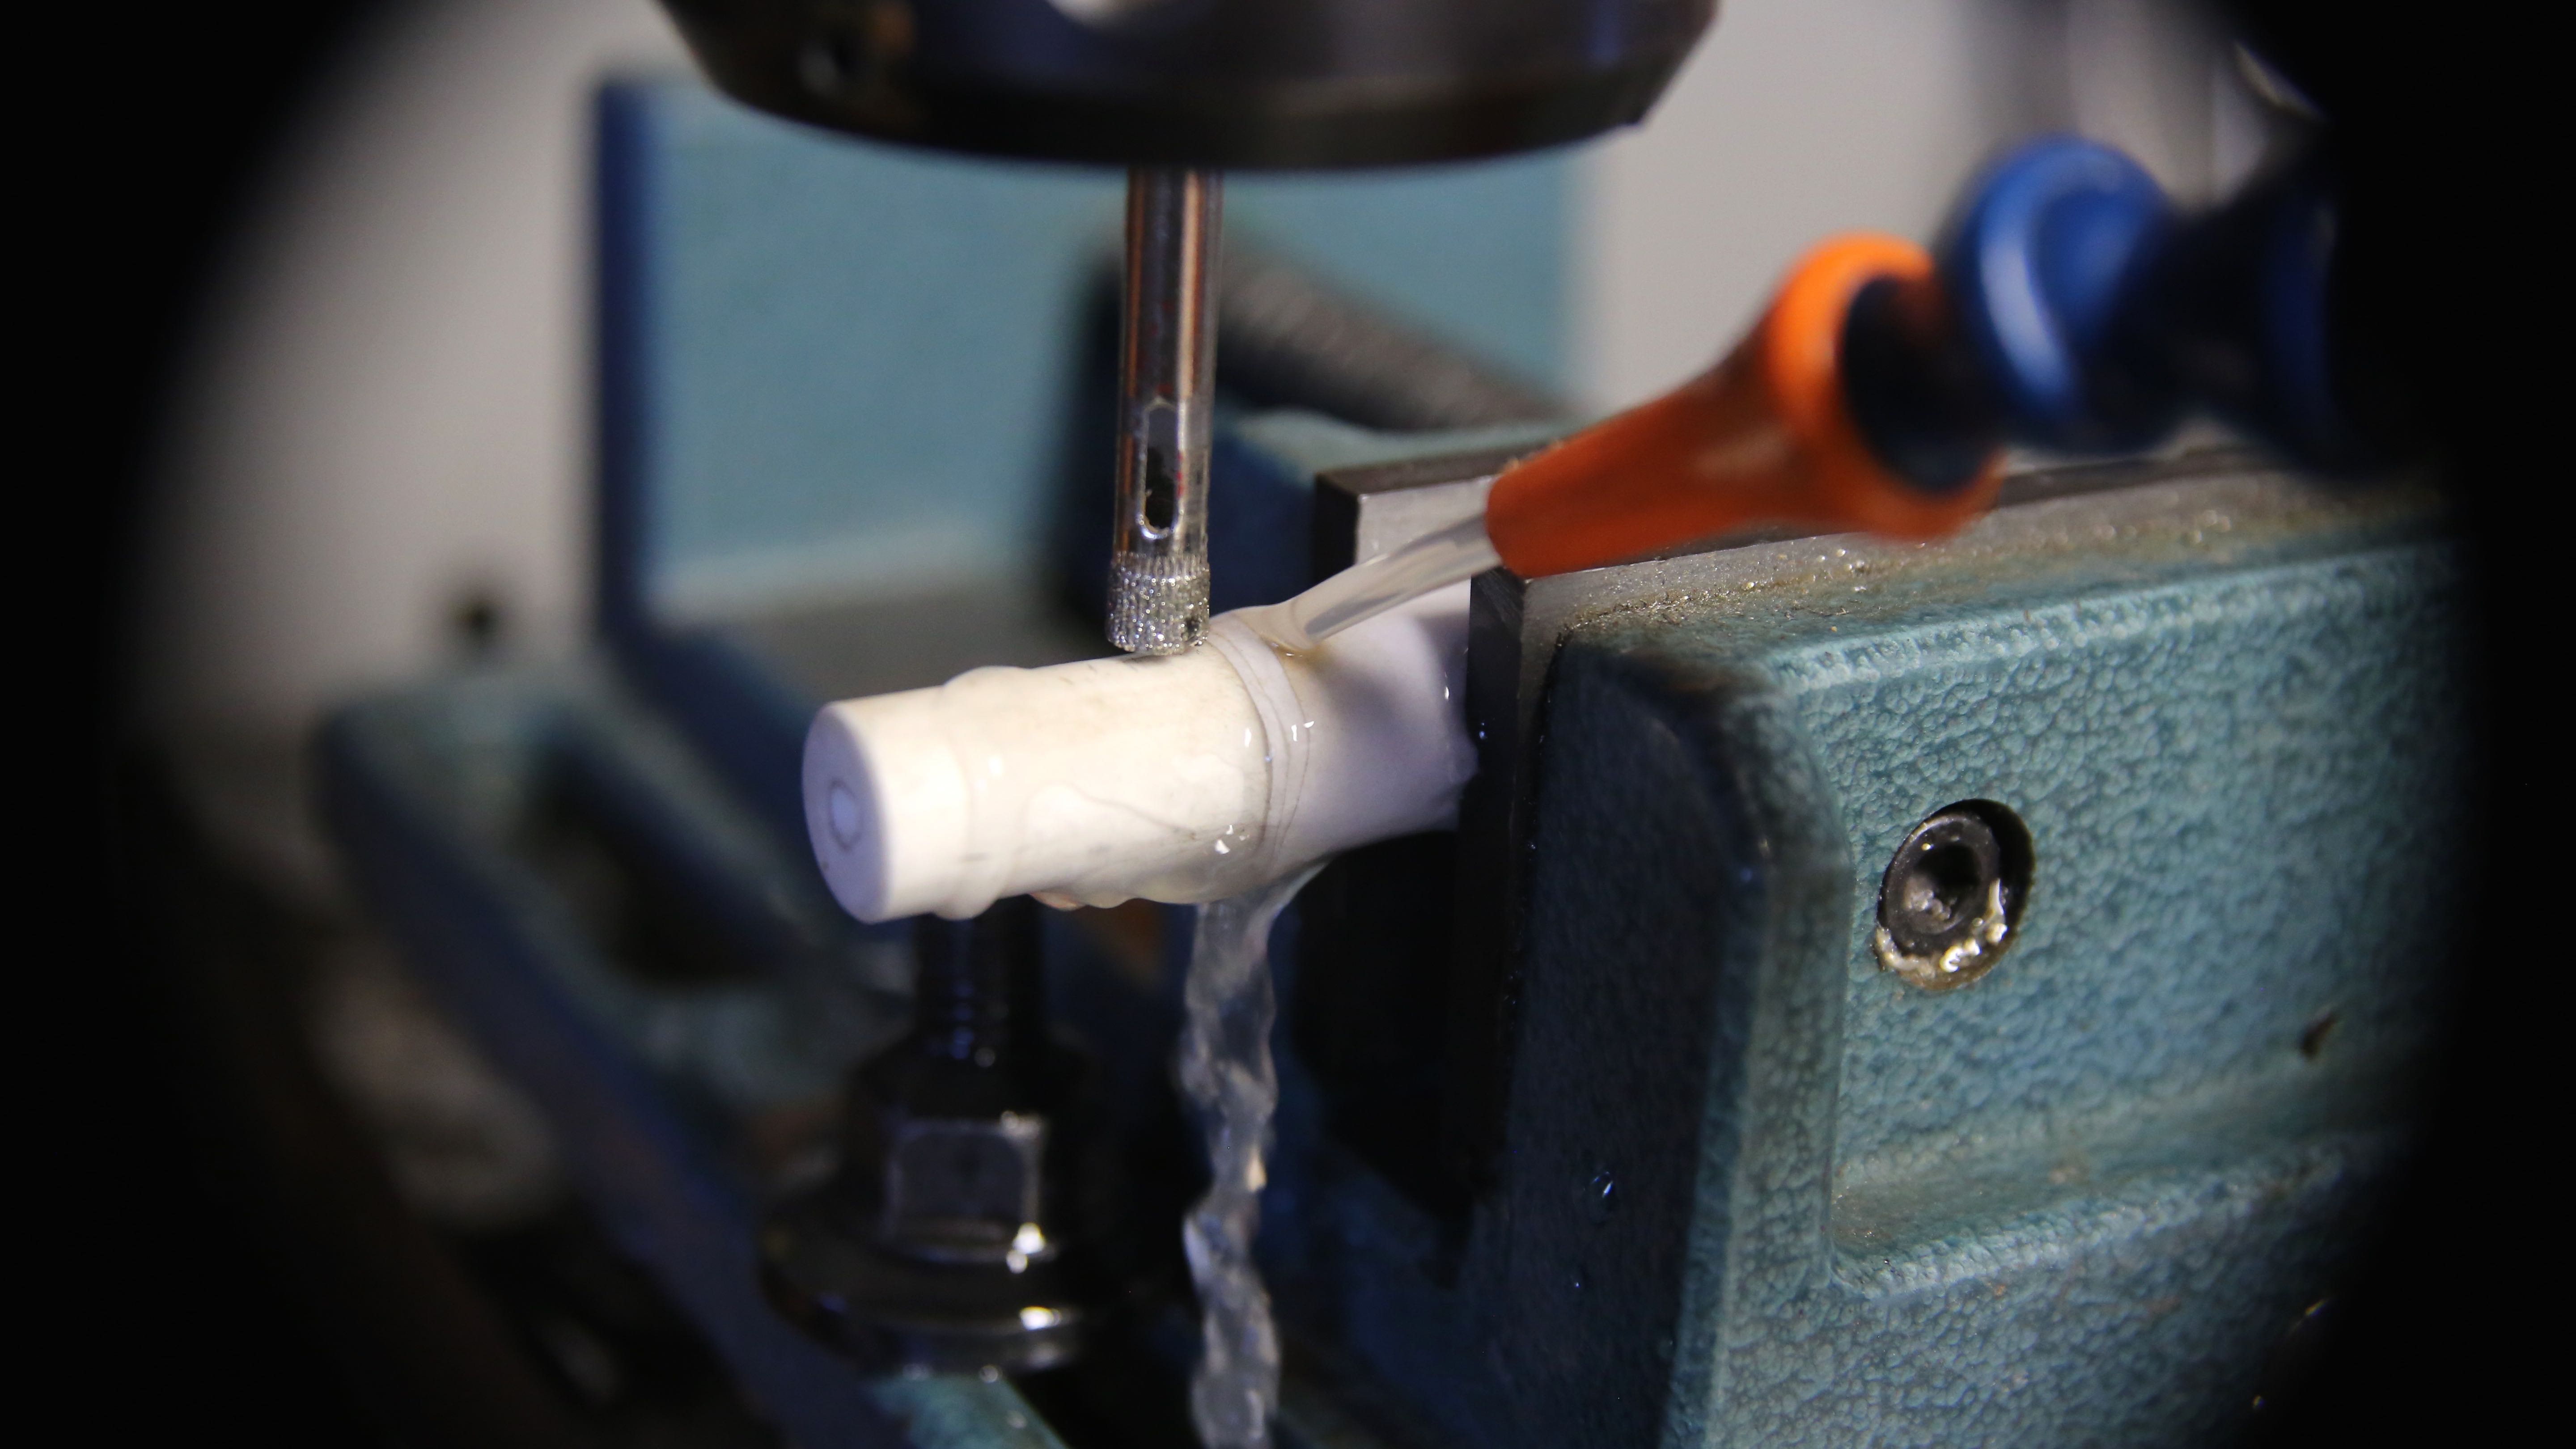
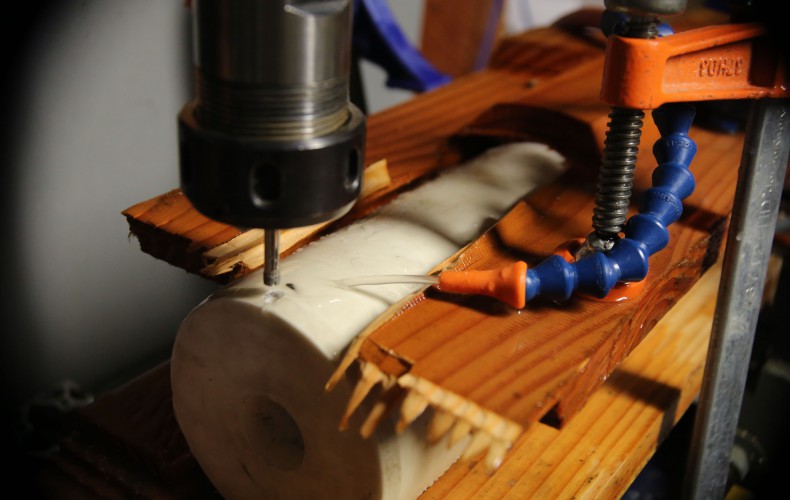
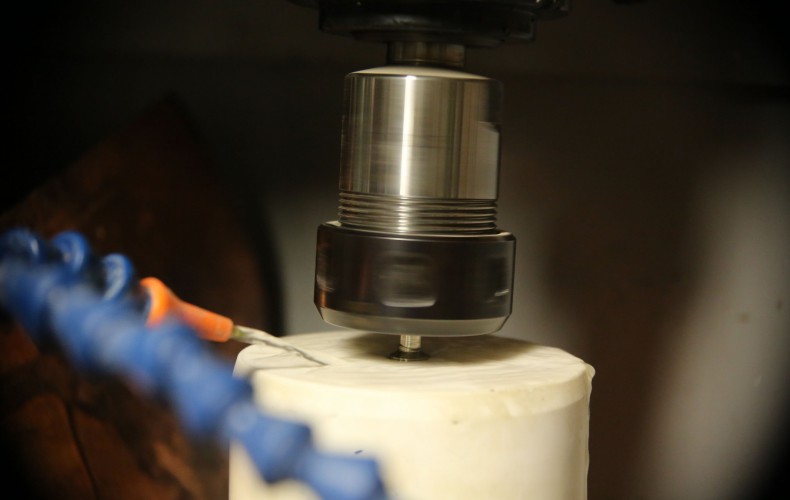
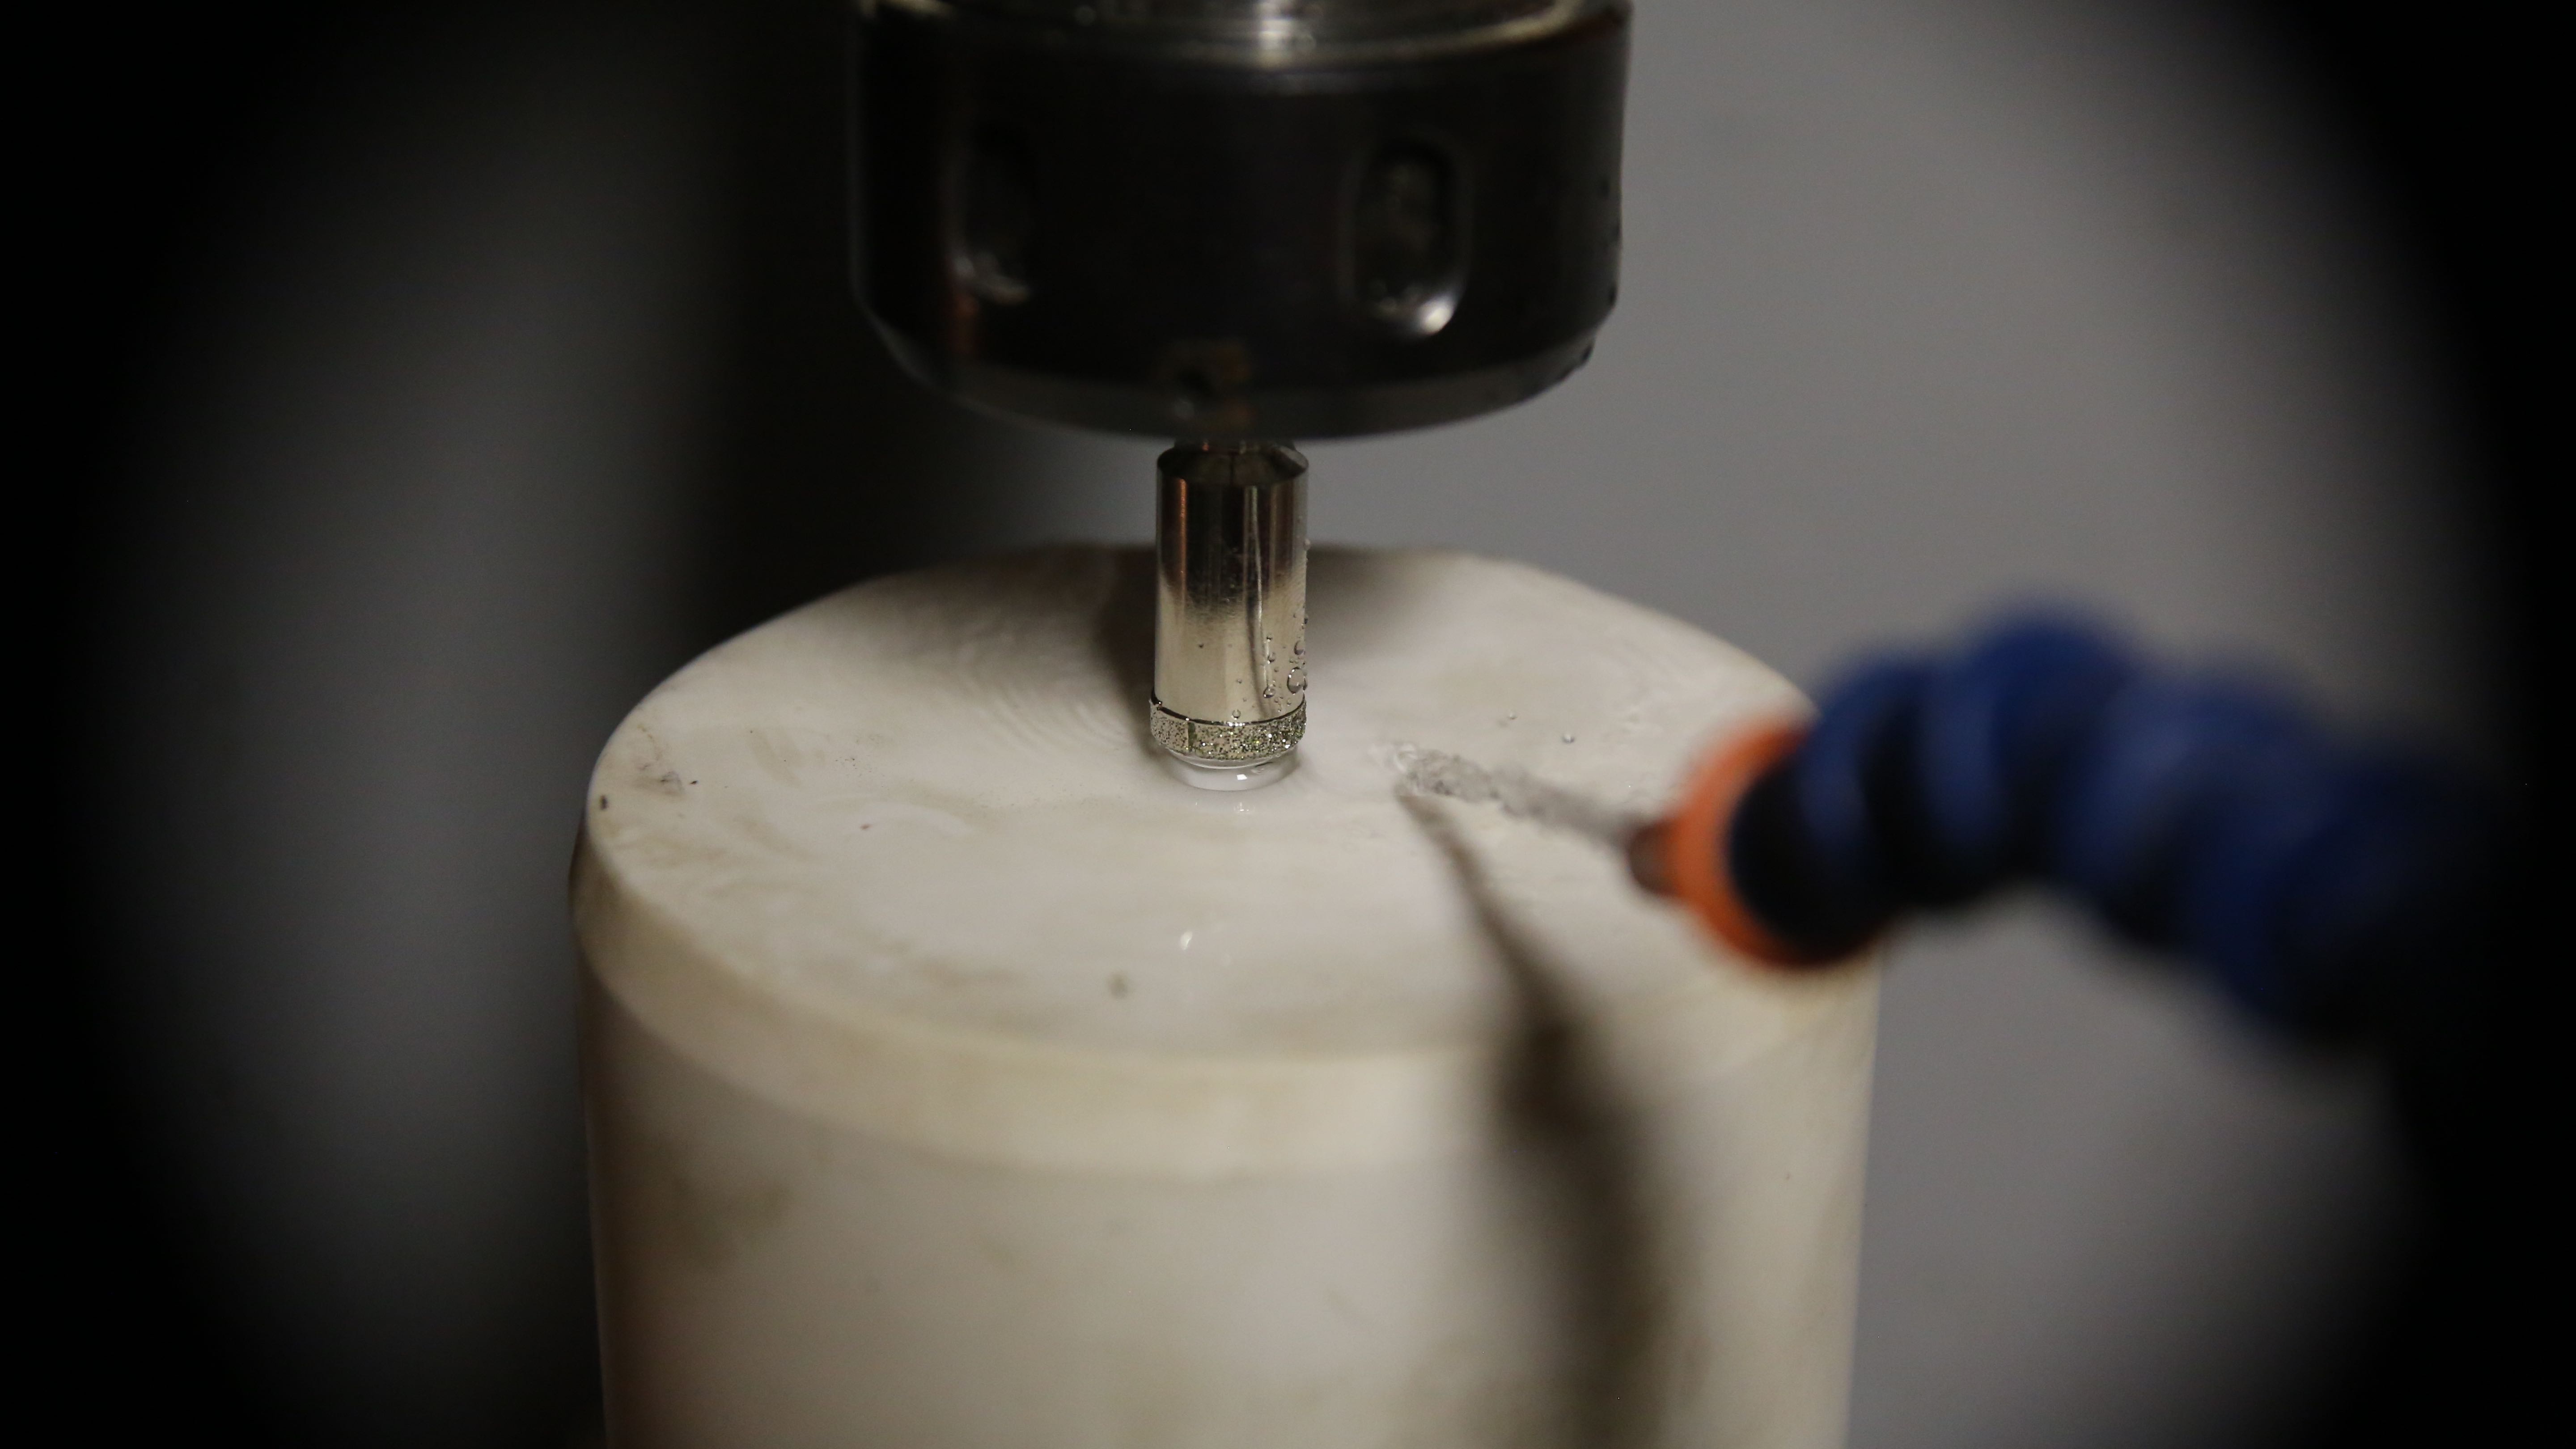
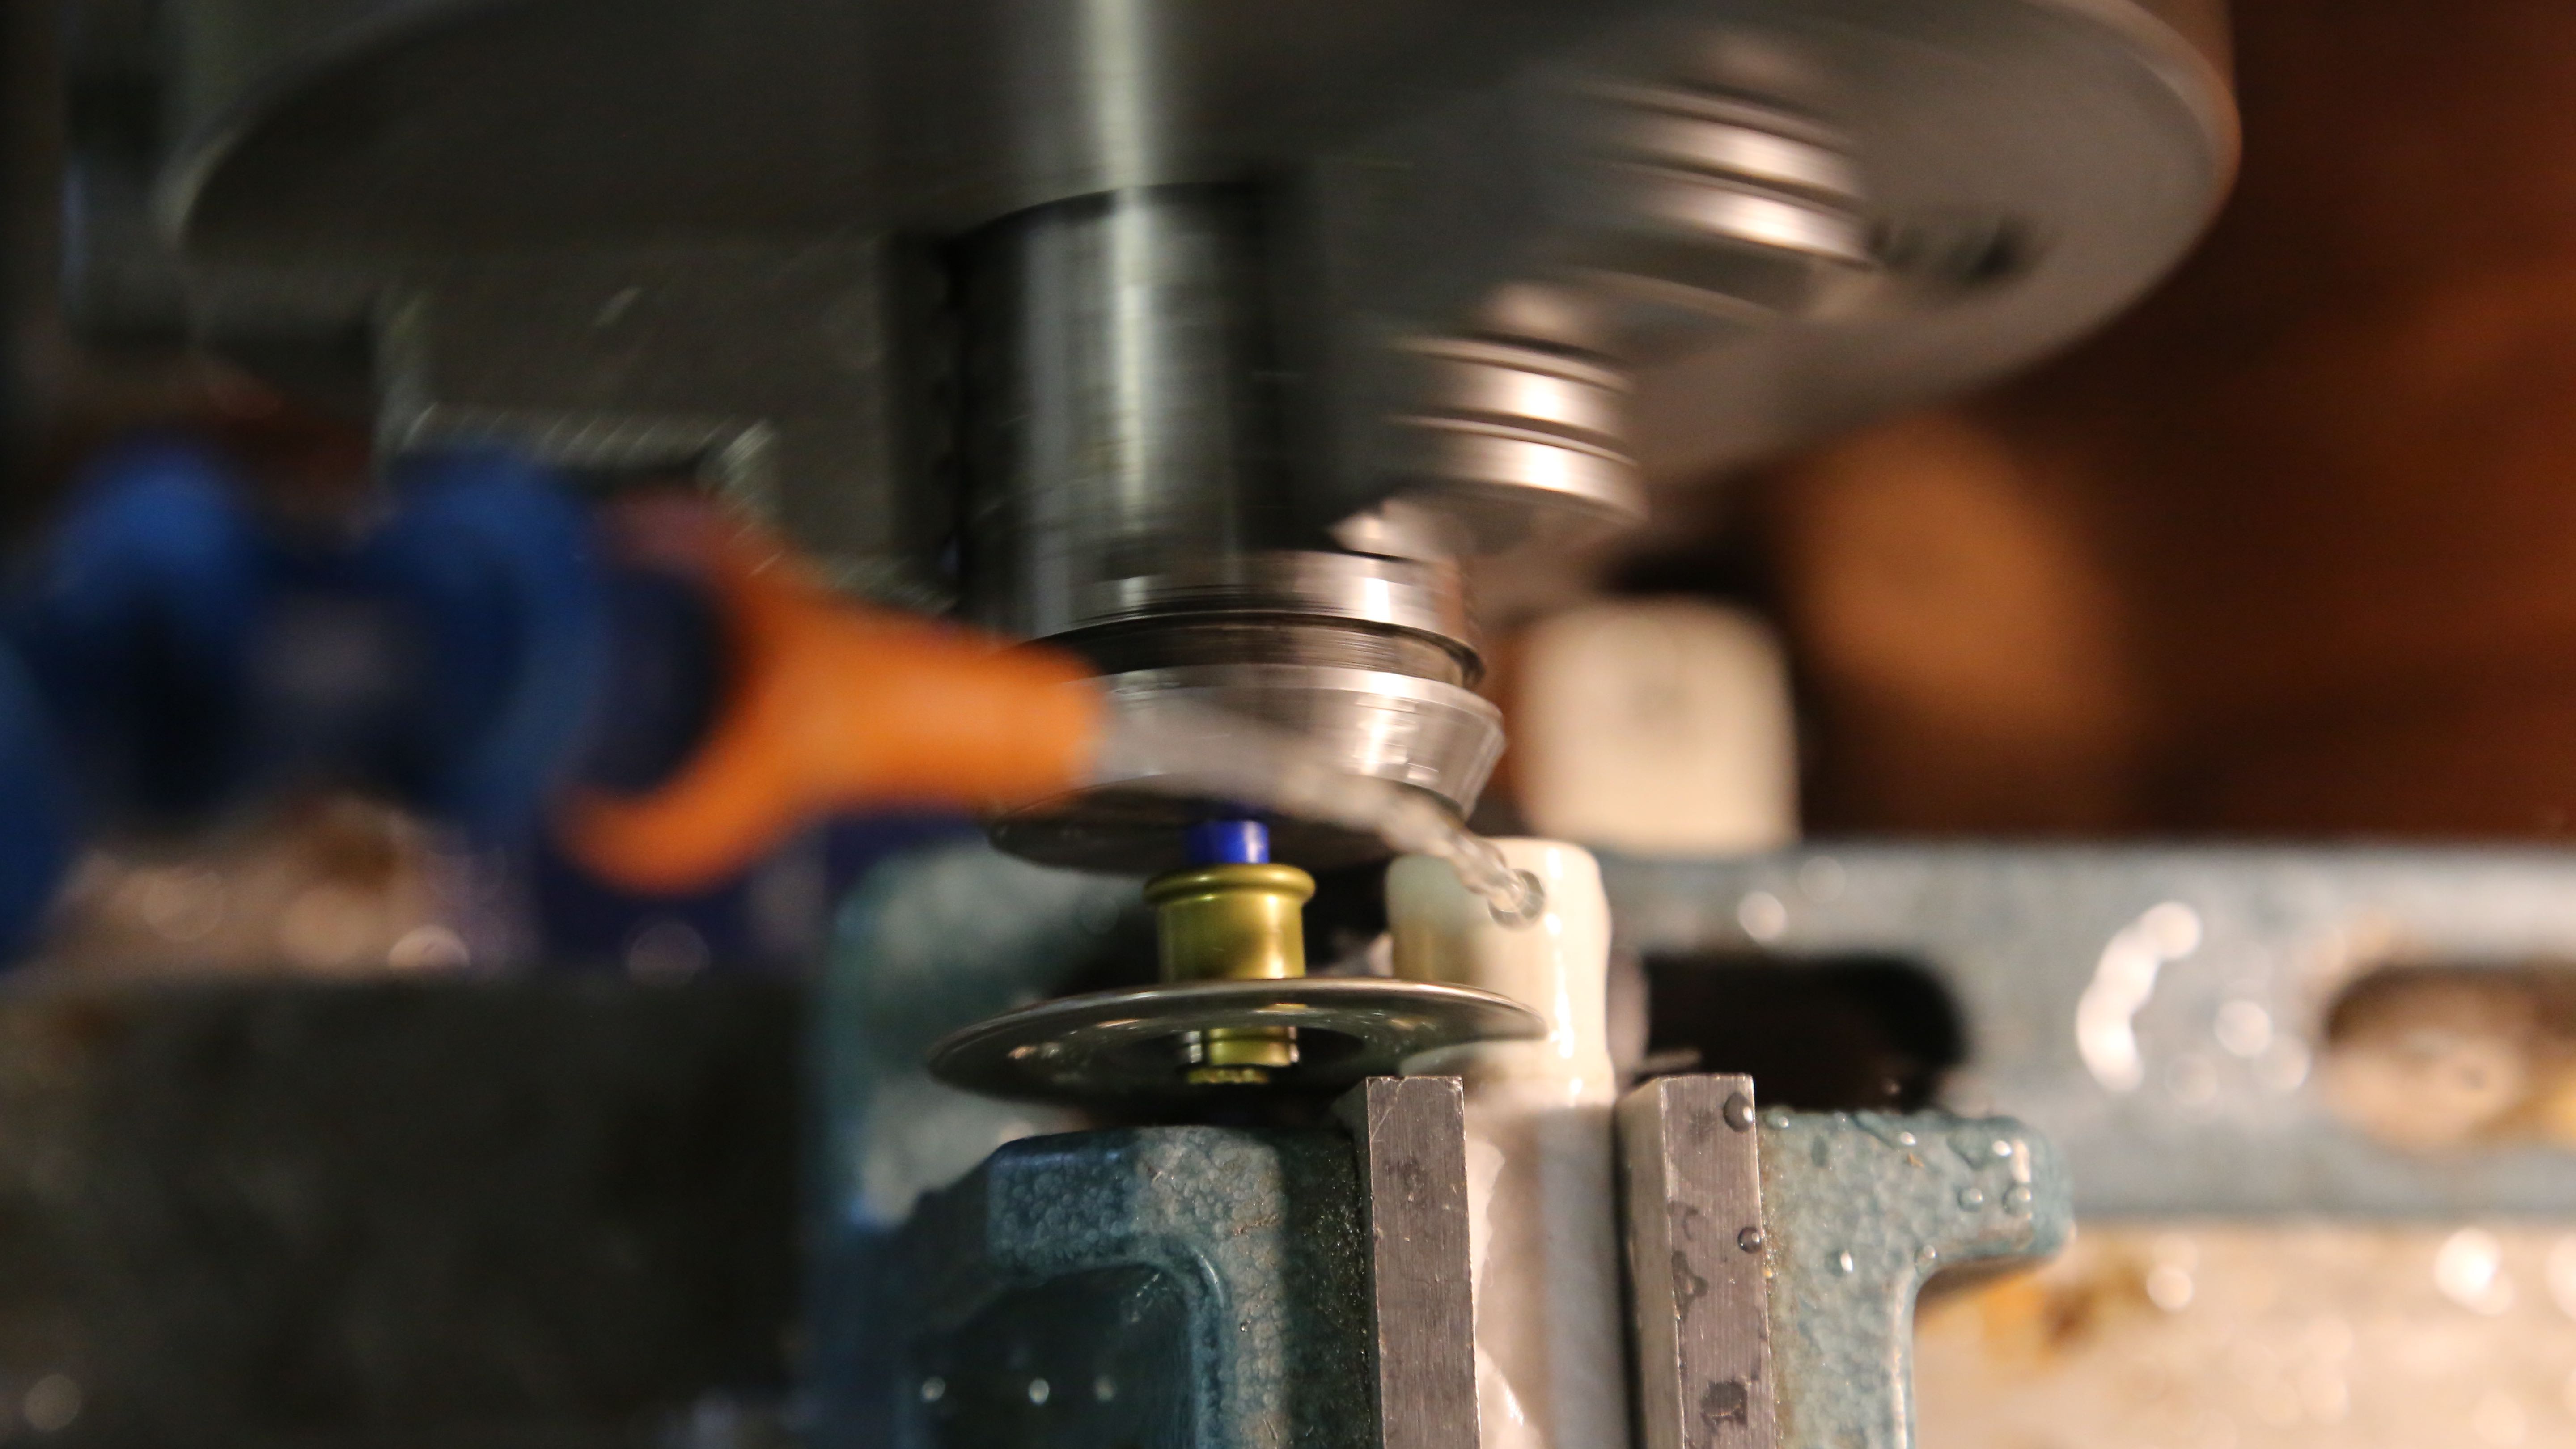
Today was a big day for the 3D printer! The machining for our lovely new crucible is now complete.
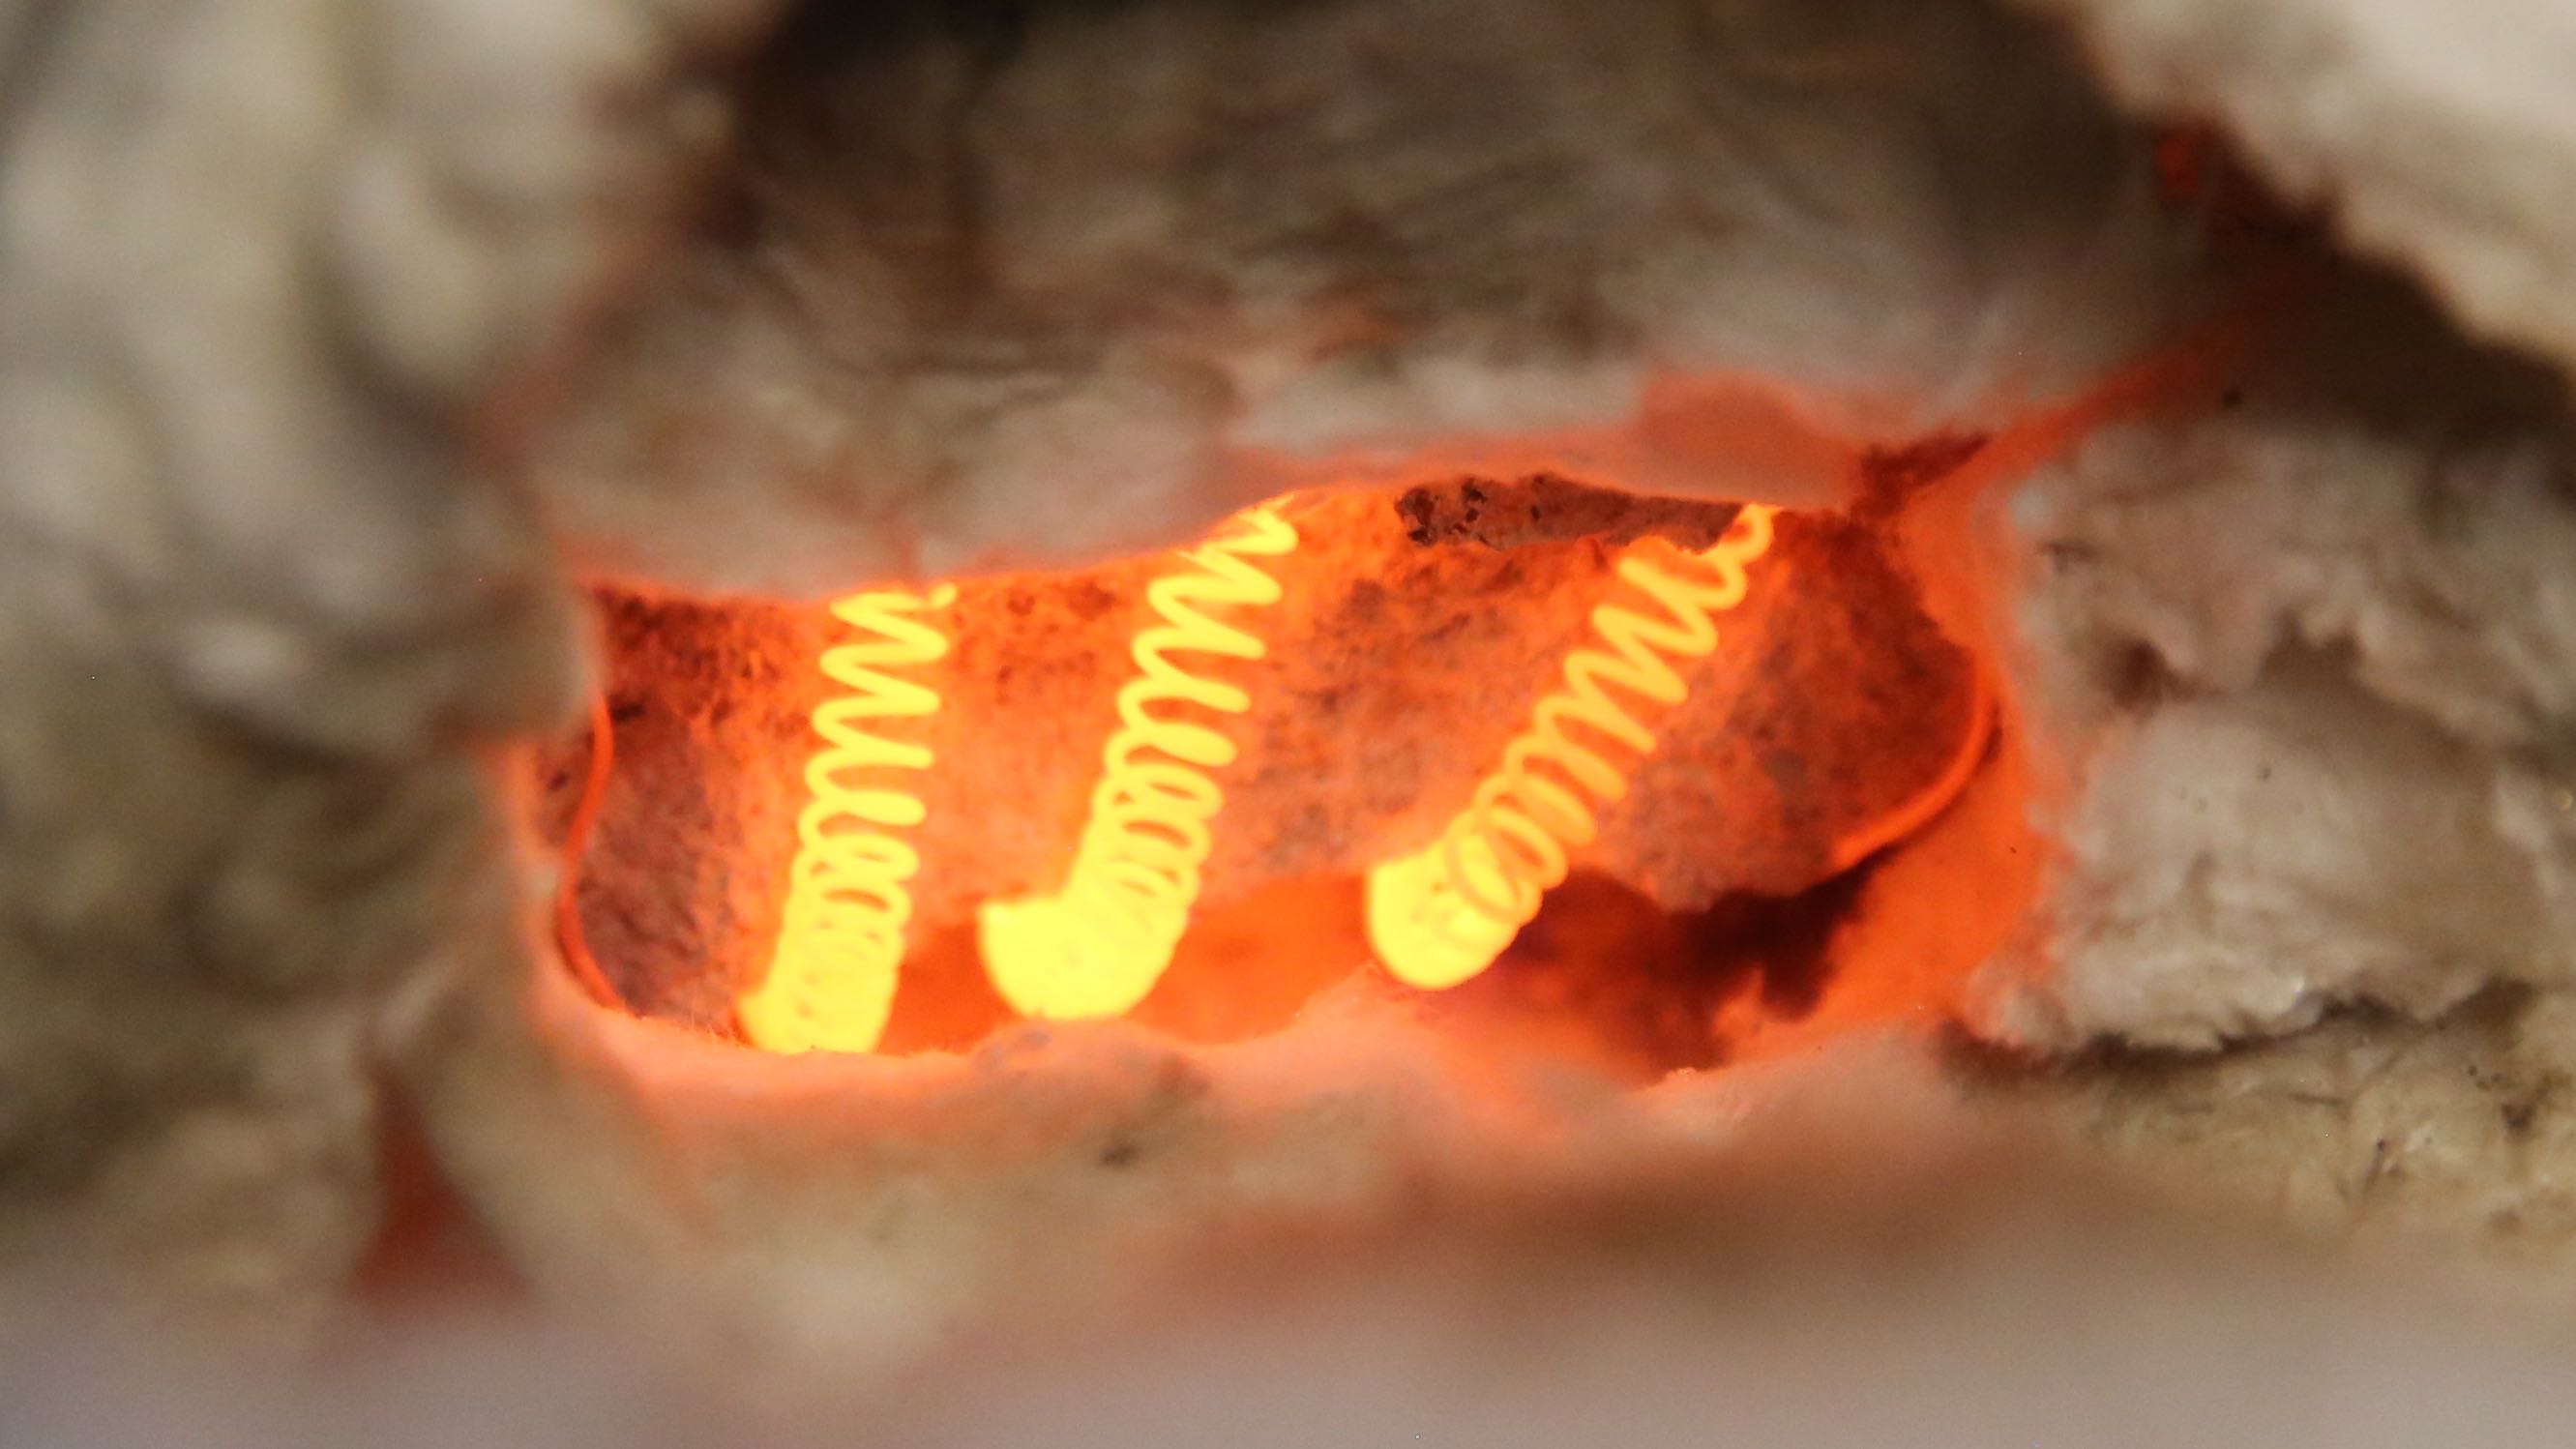
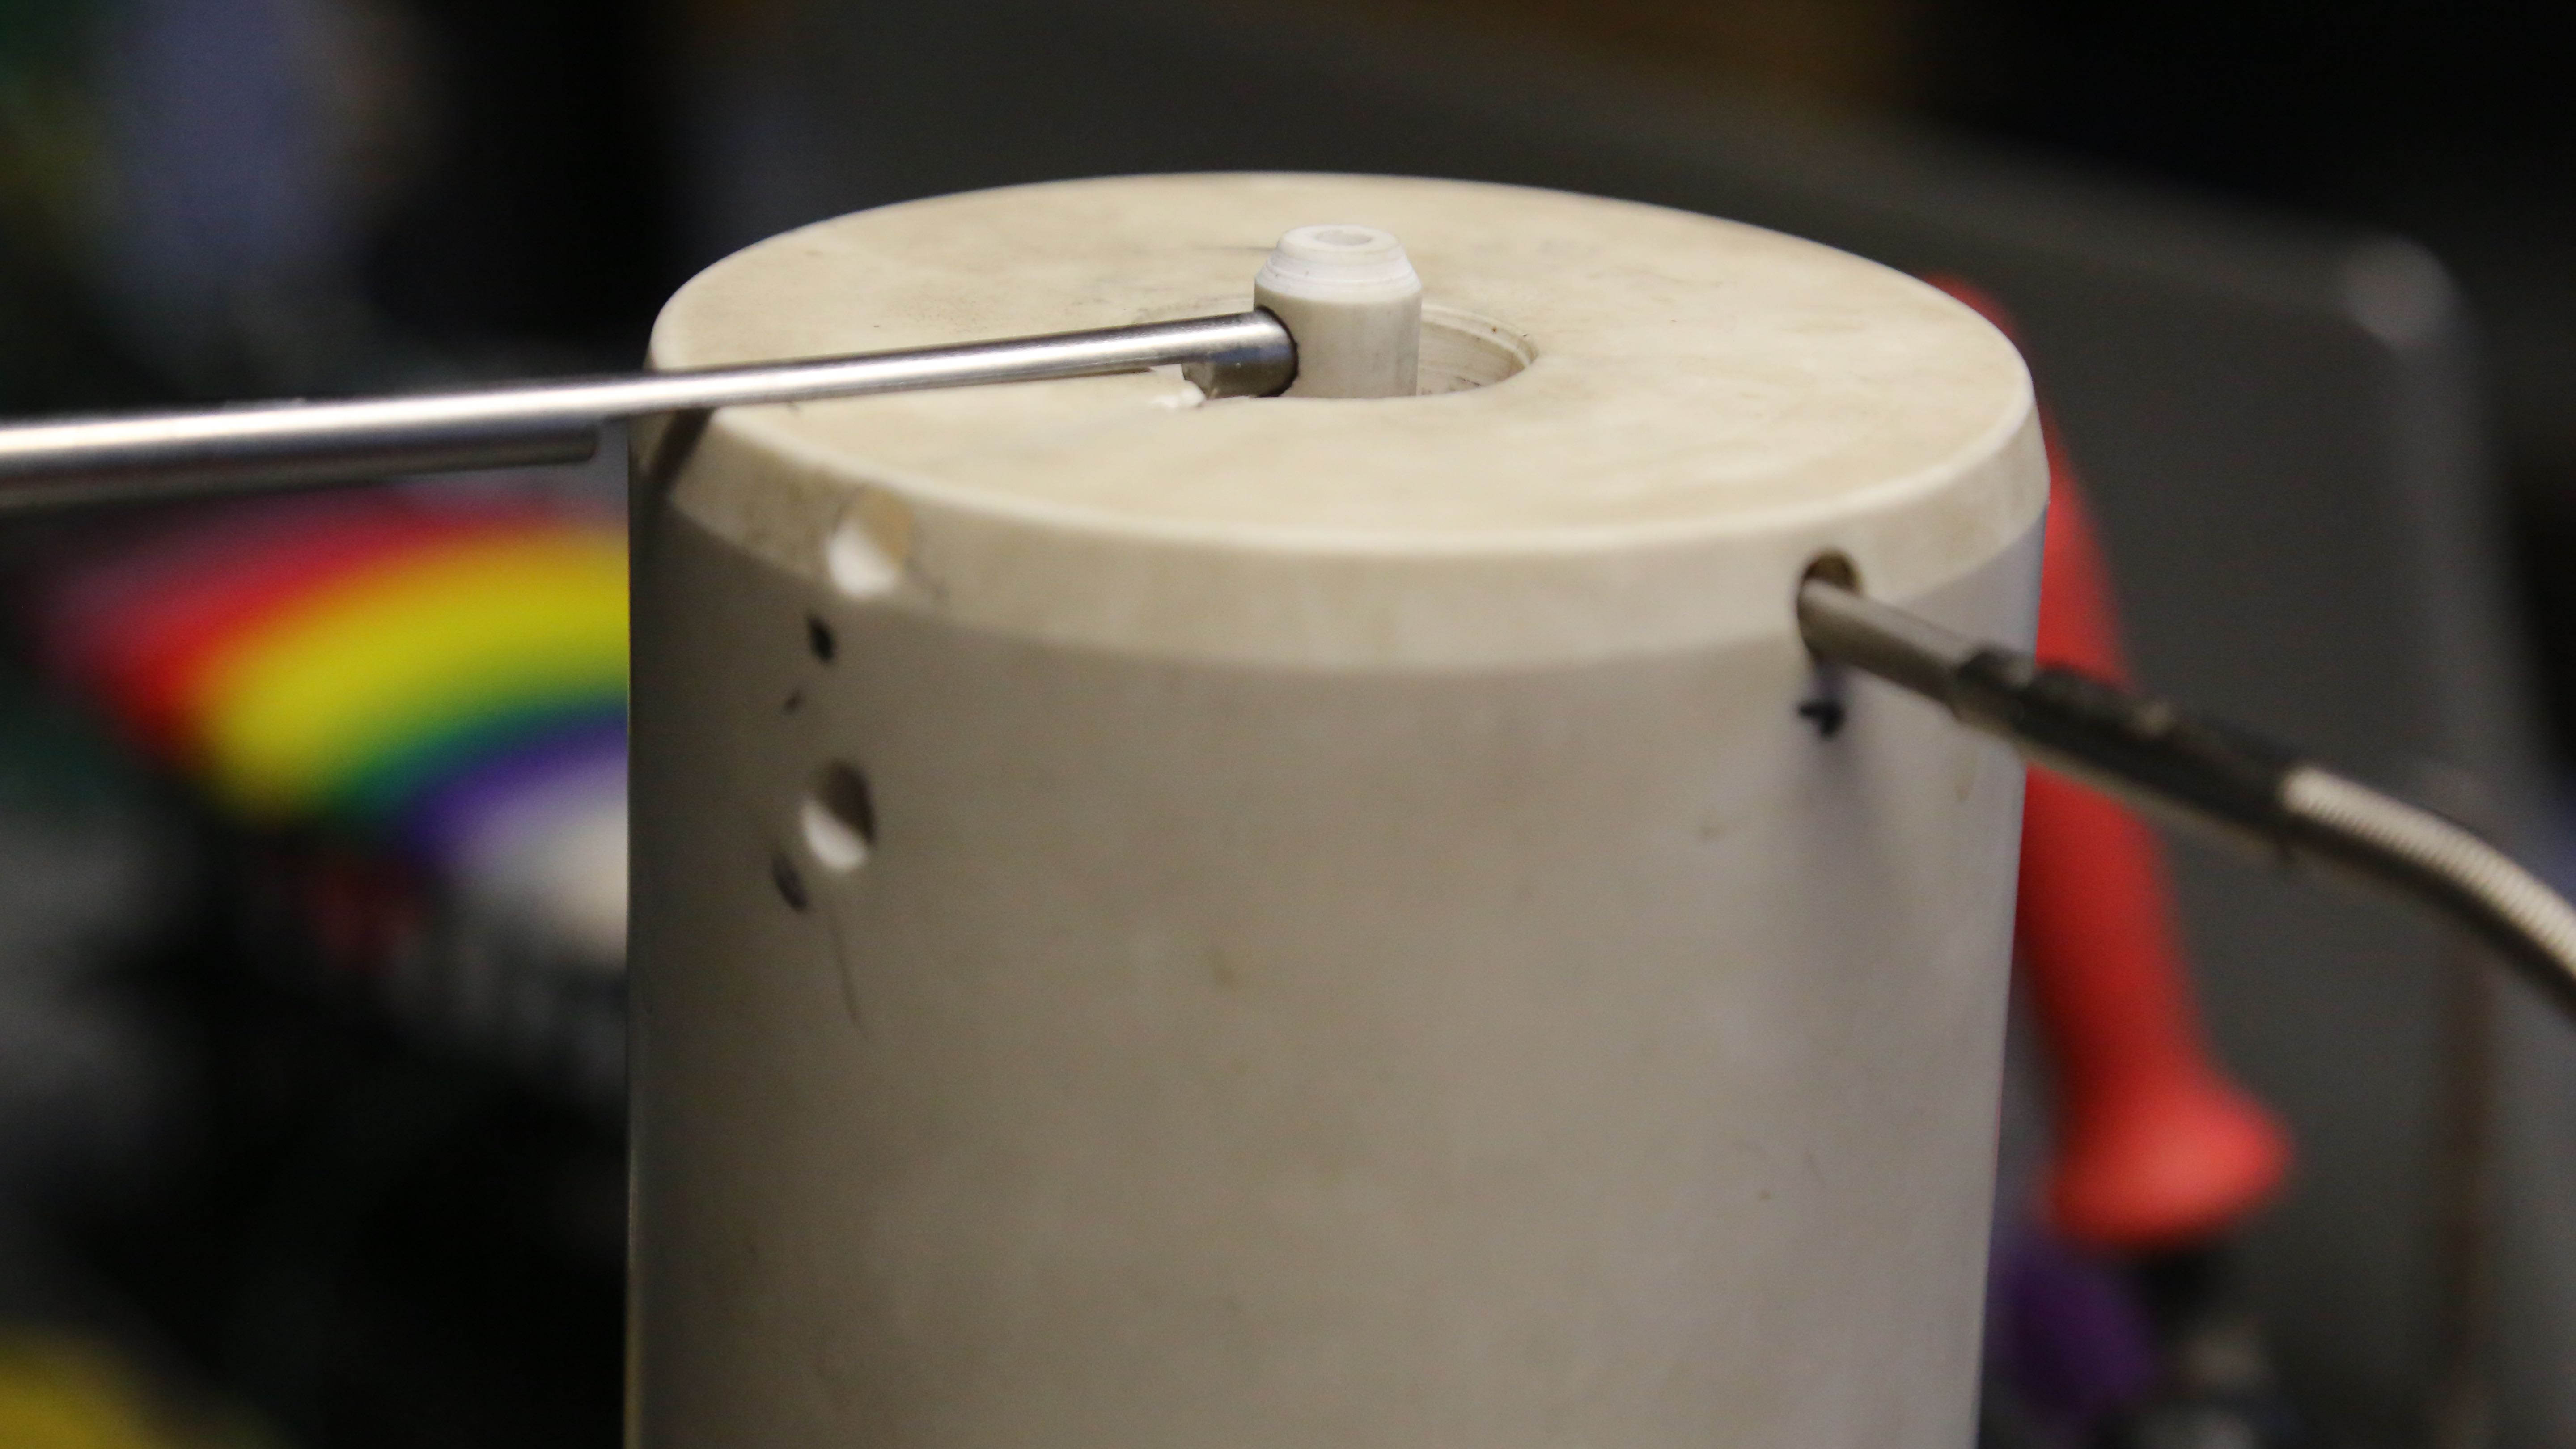
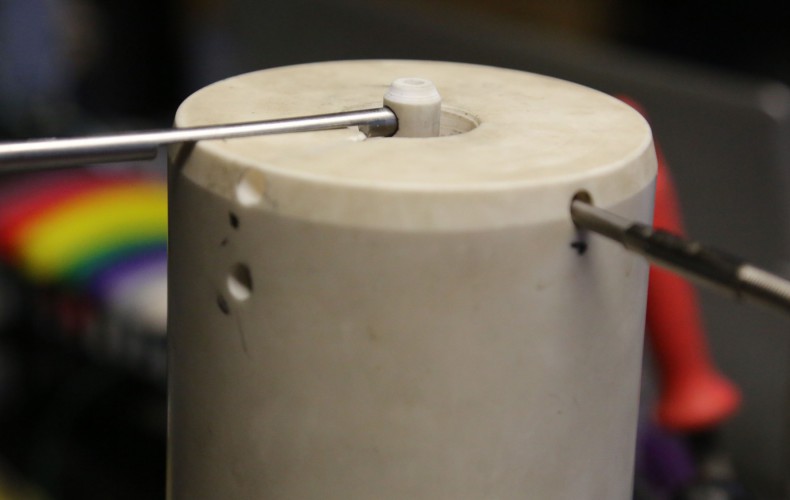
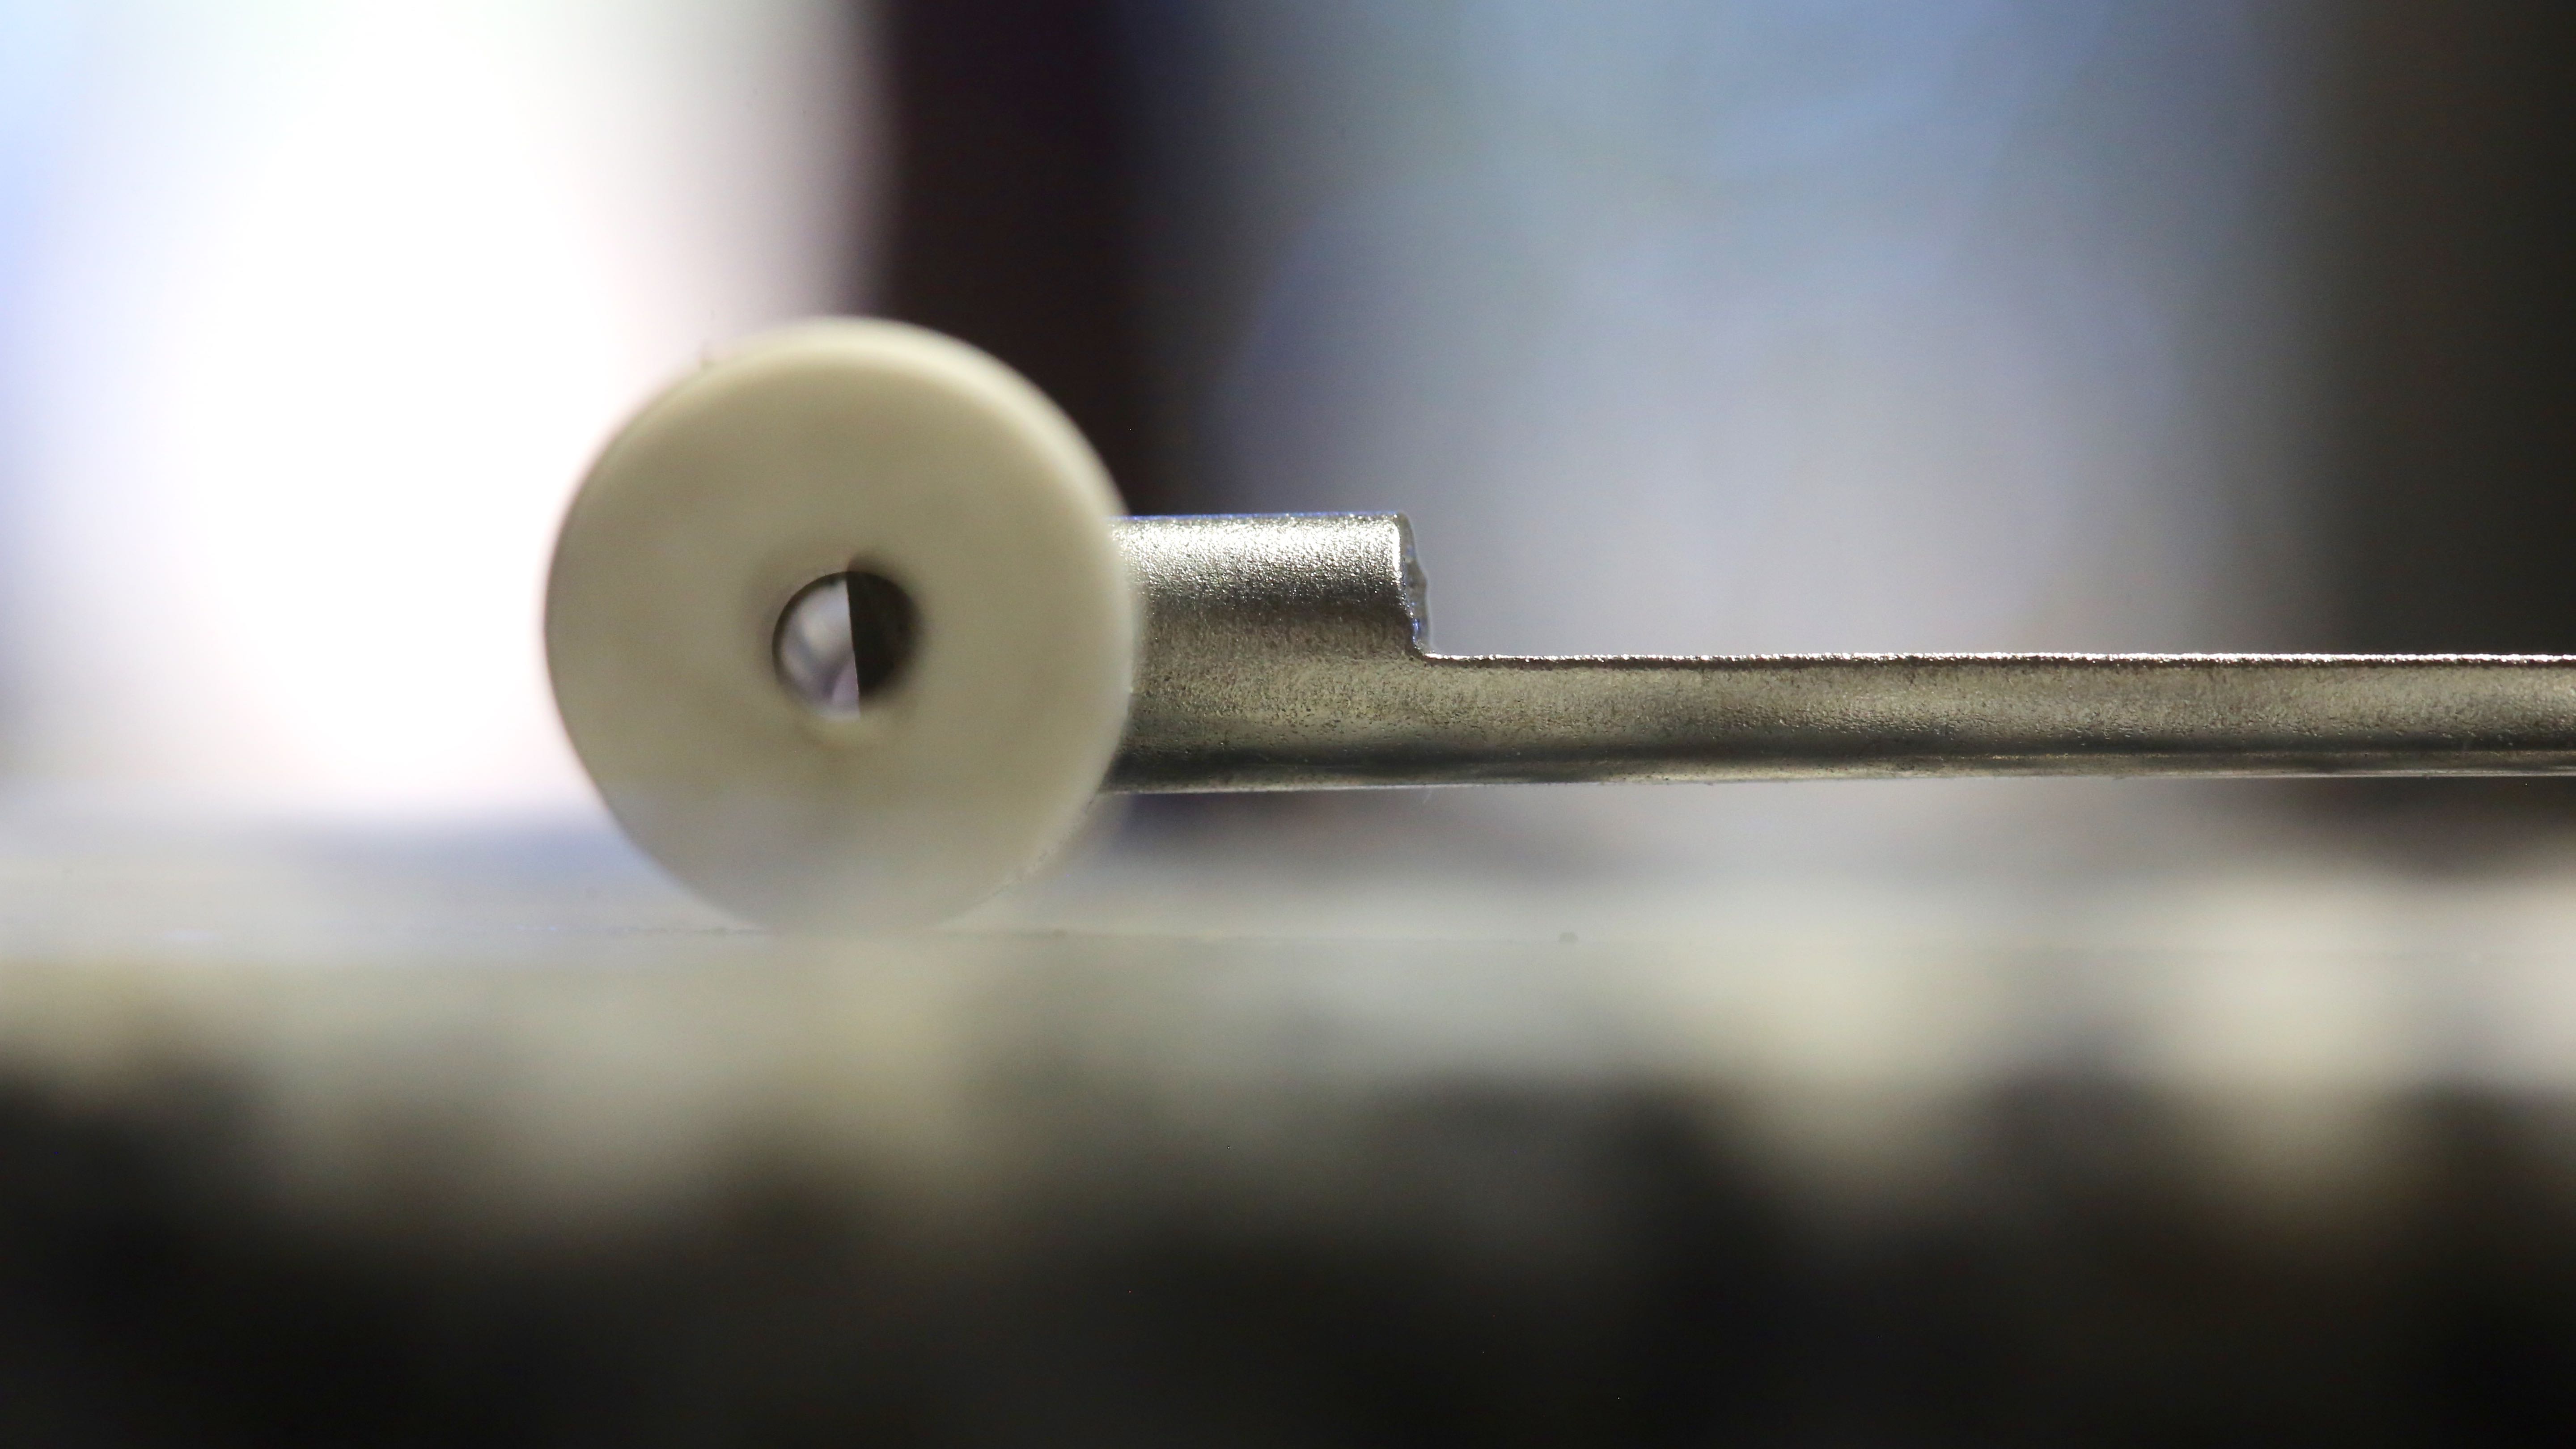
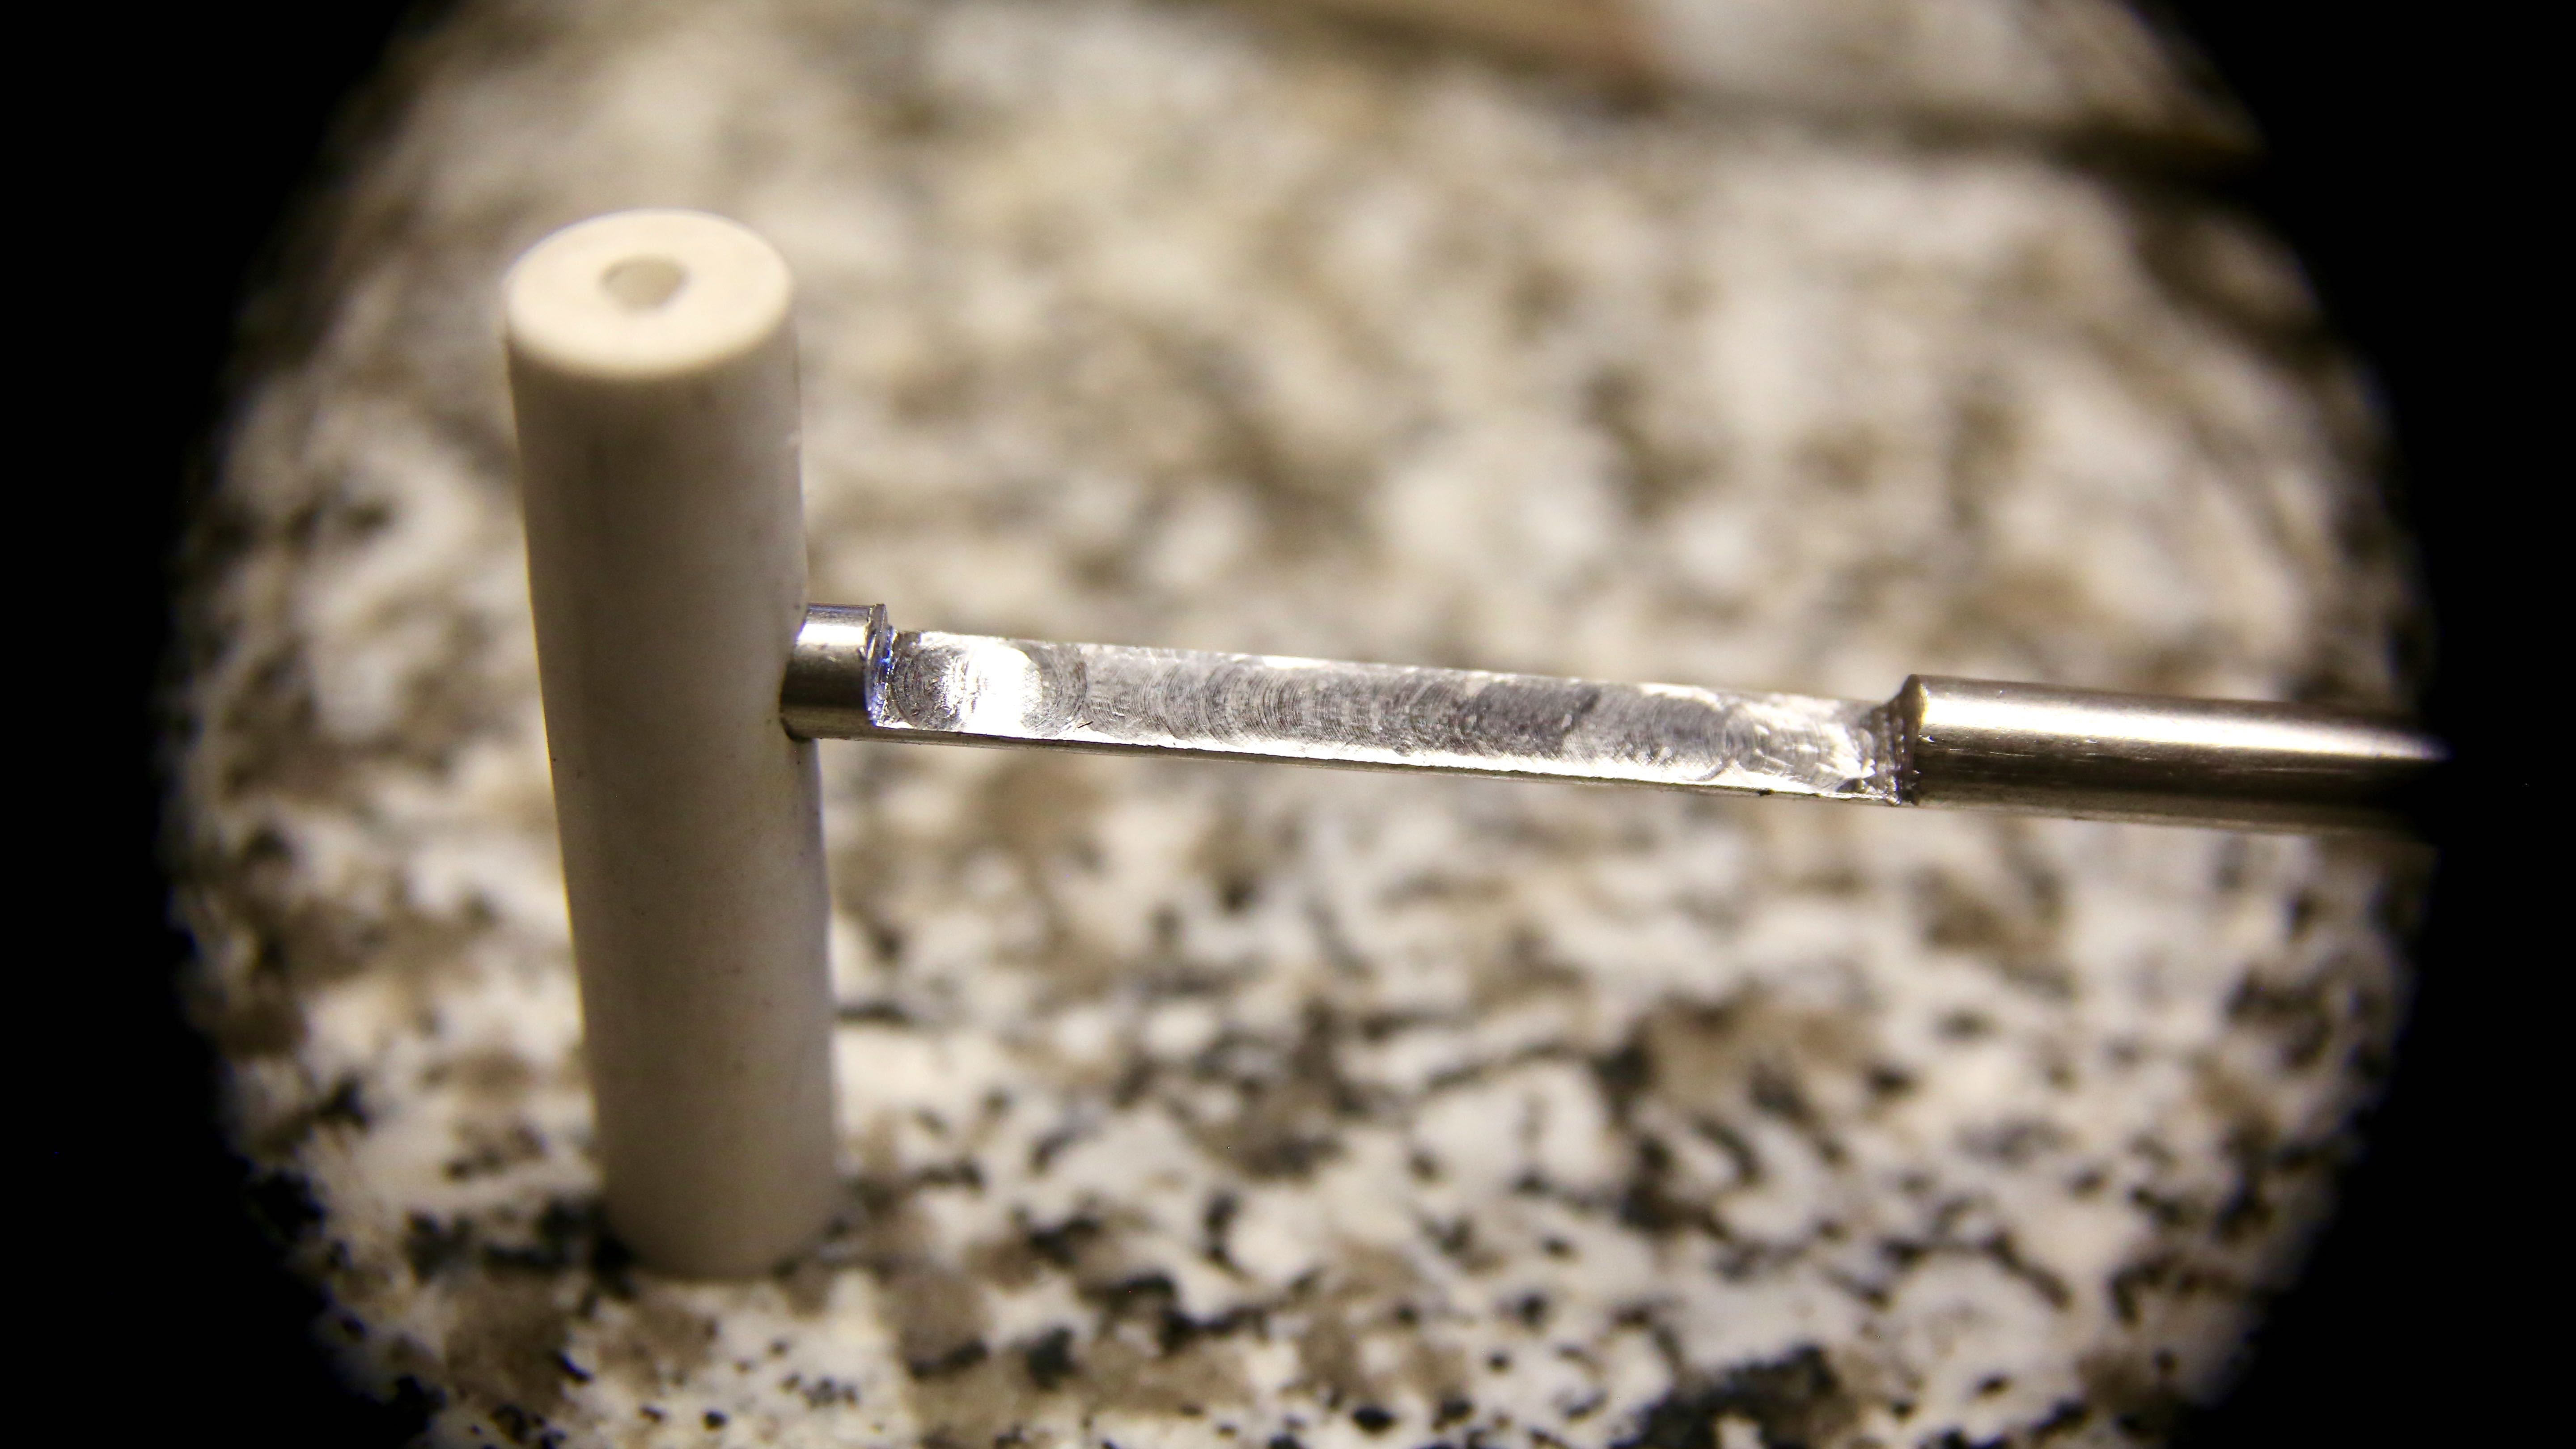
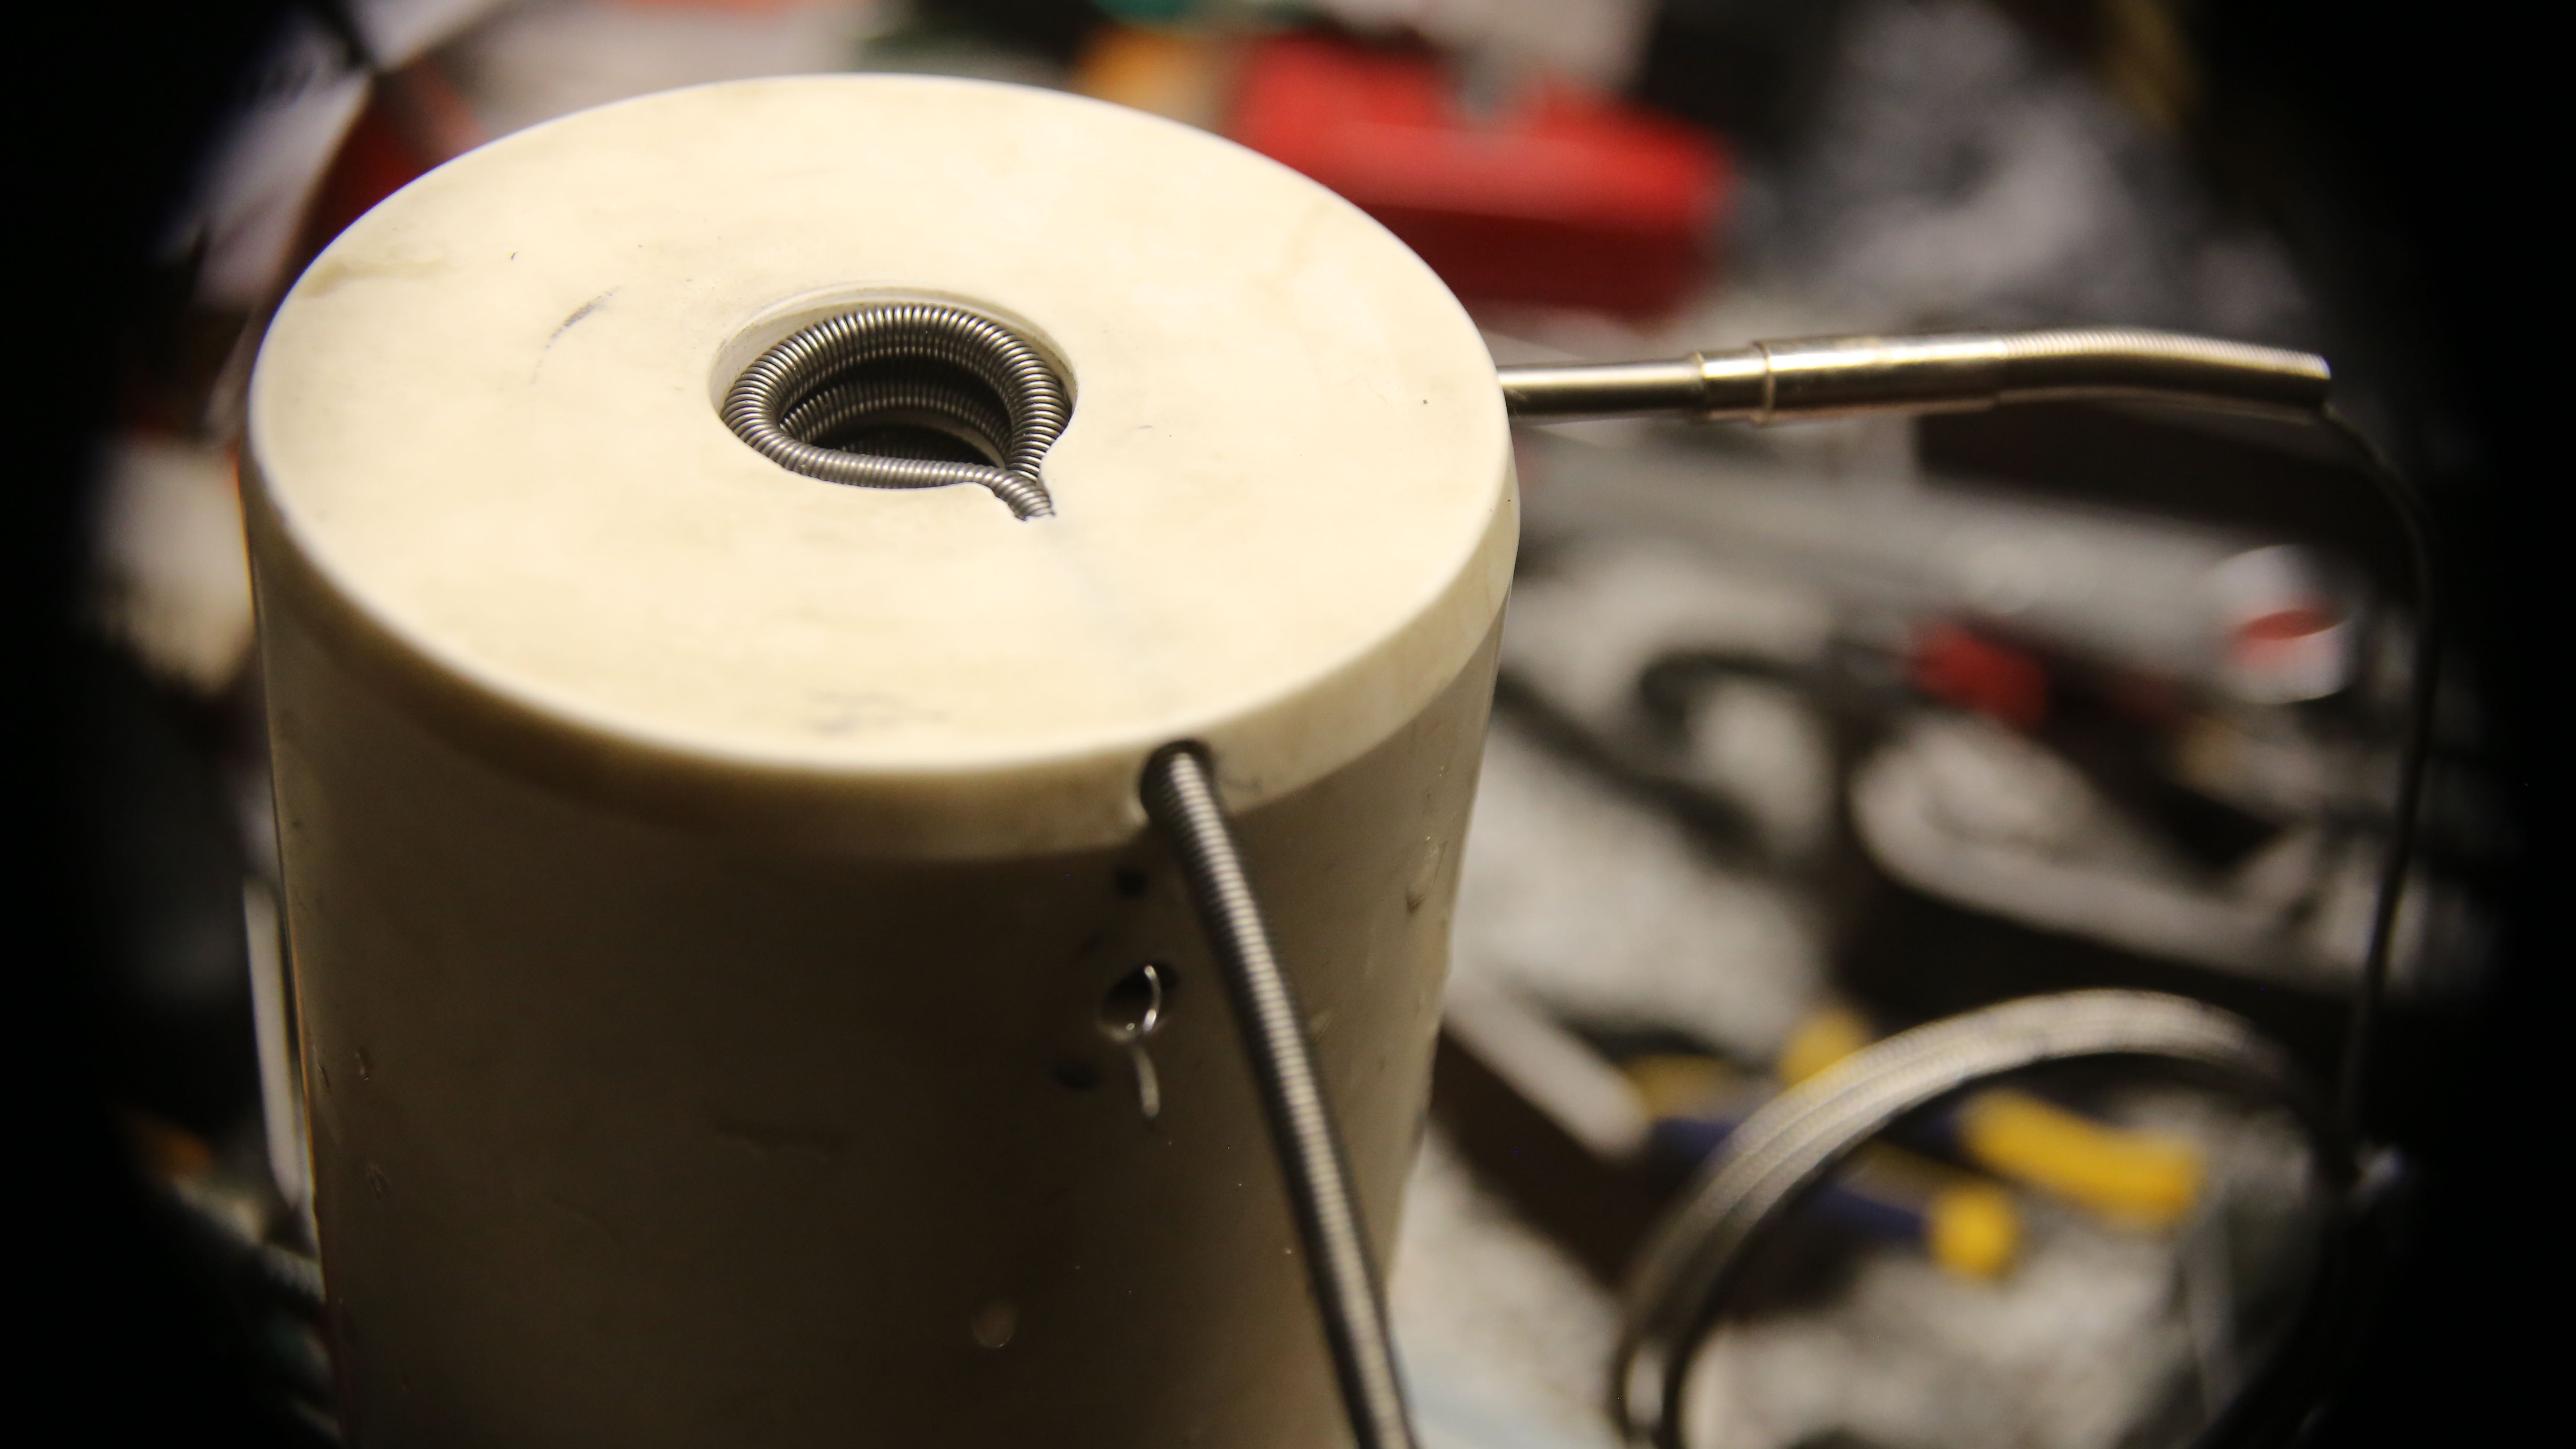
Shown here is a test fitting of the nozzle coil at last!
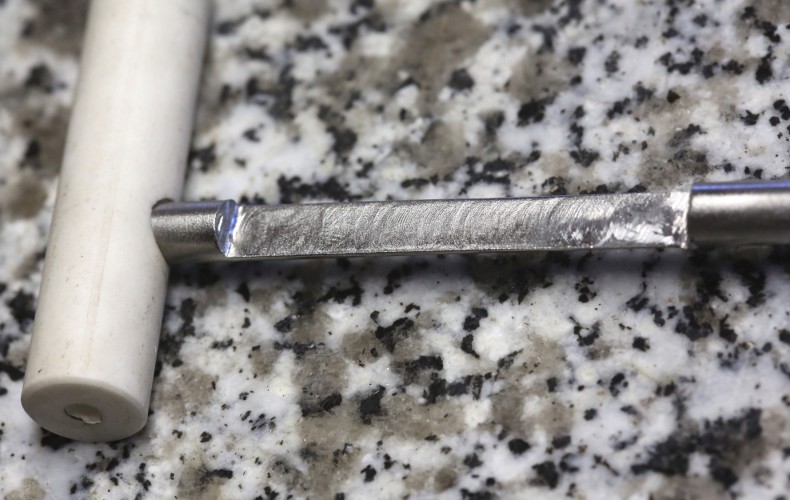
Not to fear; it will get pulled to spec and properly spaced before we will it with 3000F refractory. In fact, that will be the next entry as far as the crucible goes at least.
Then – we will be all set for the first firing! Whoooo-hoo!

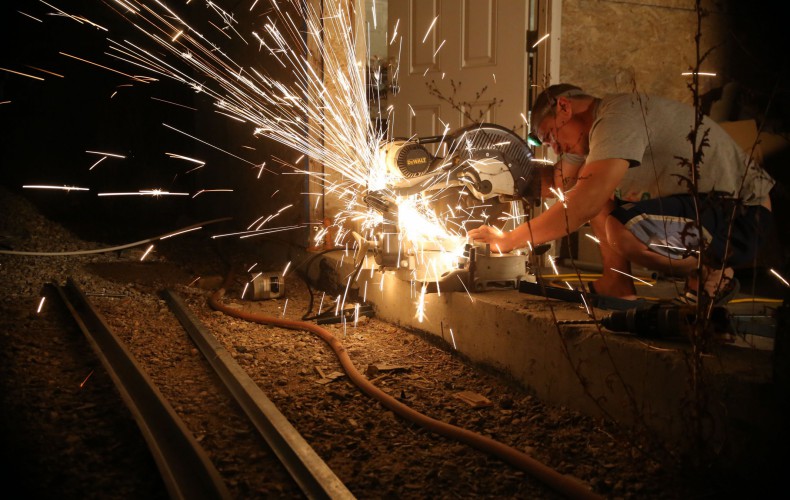
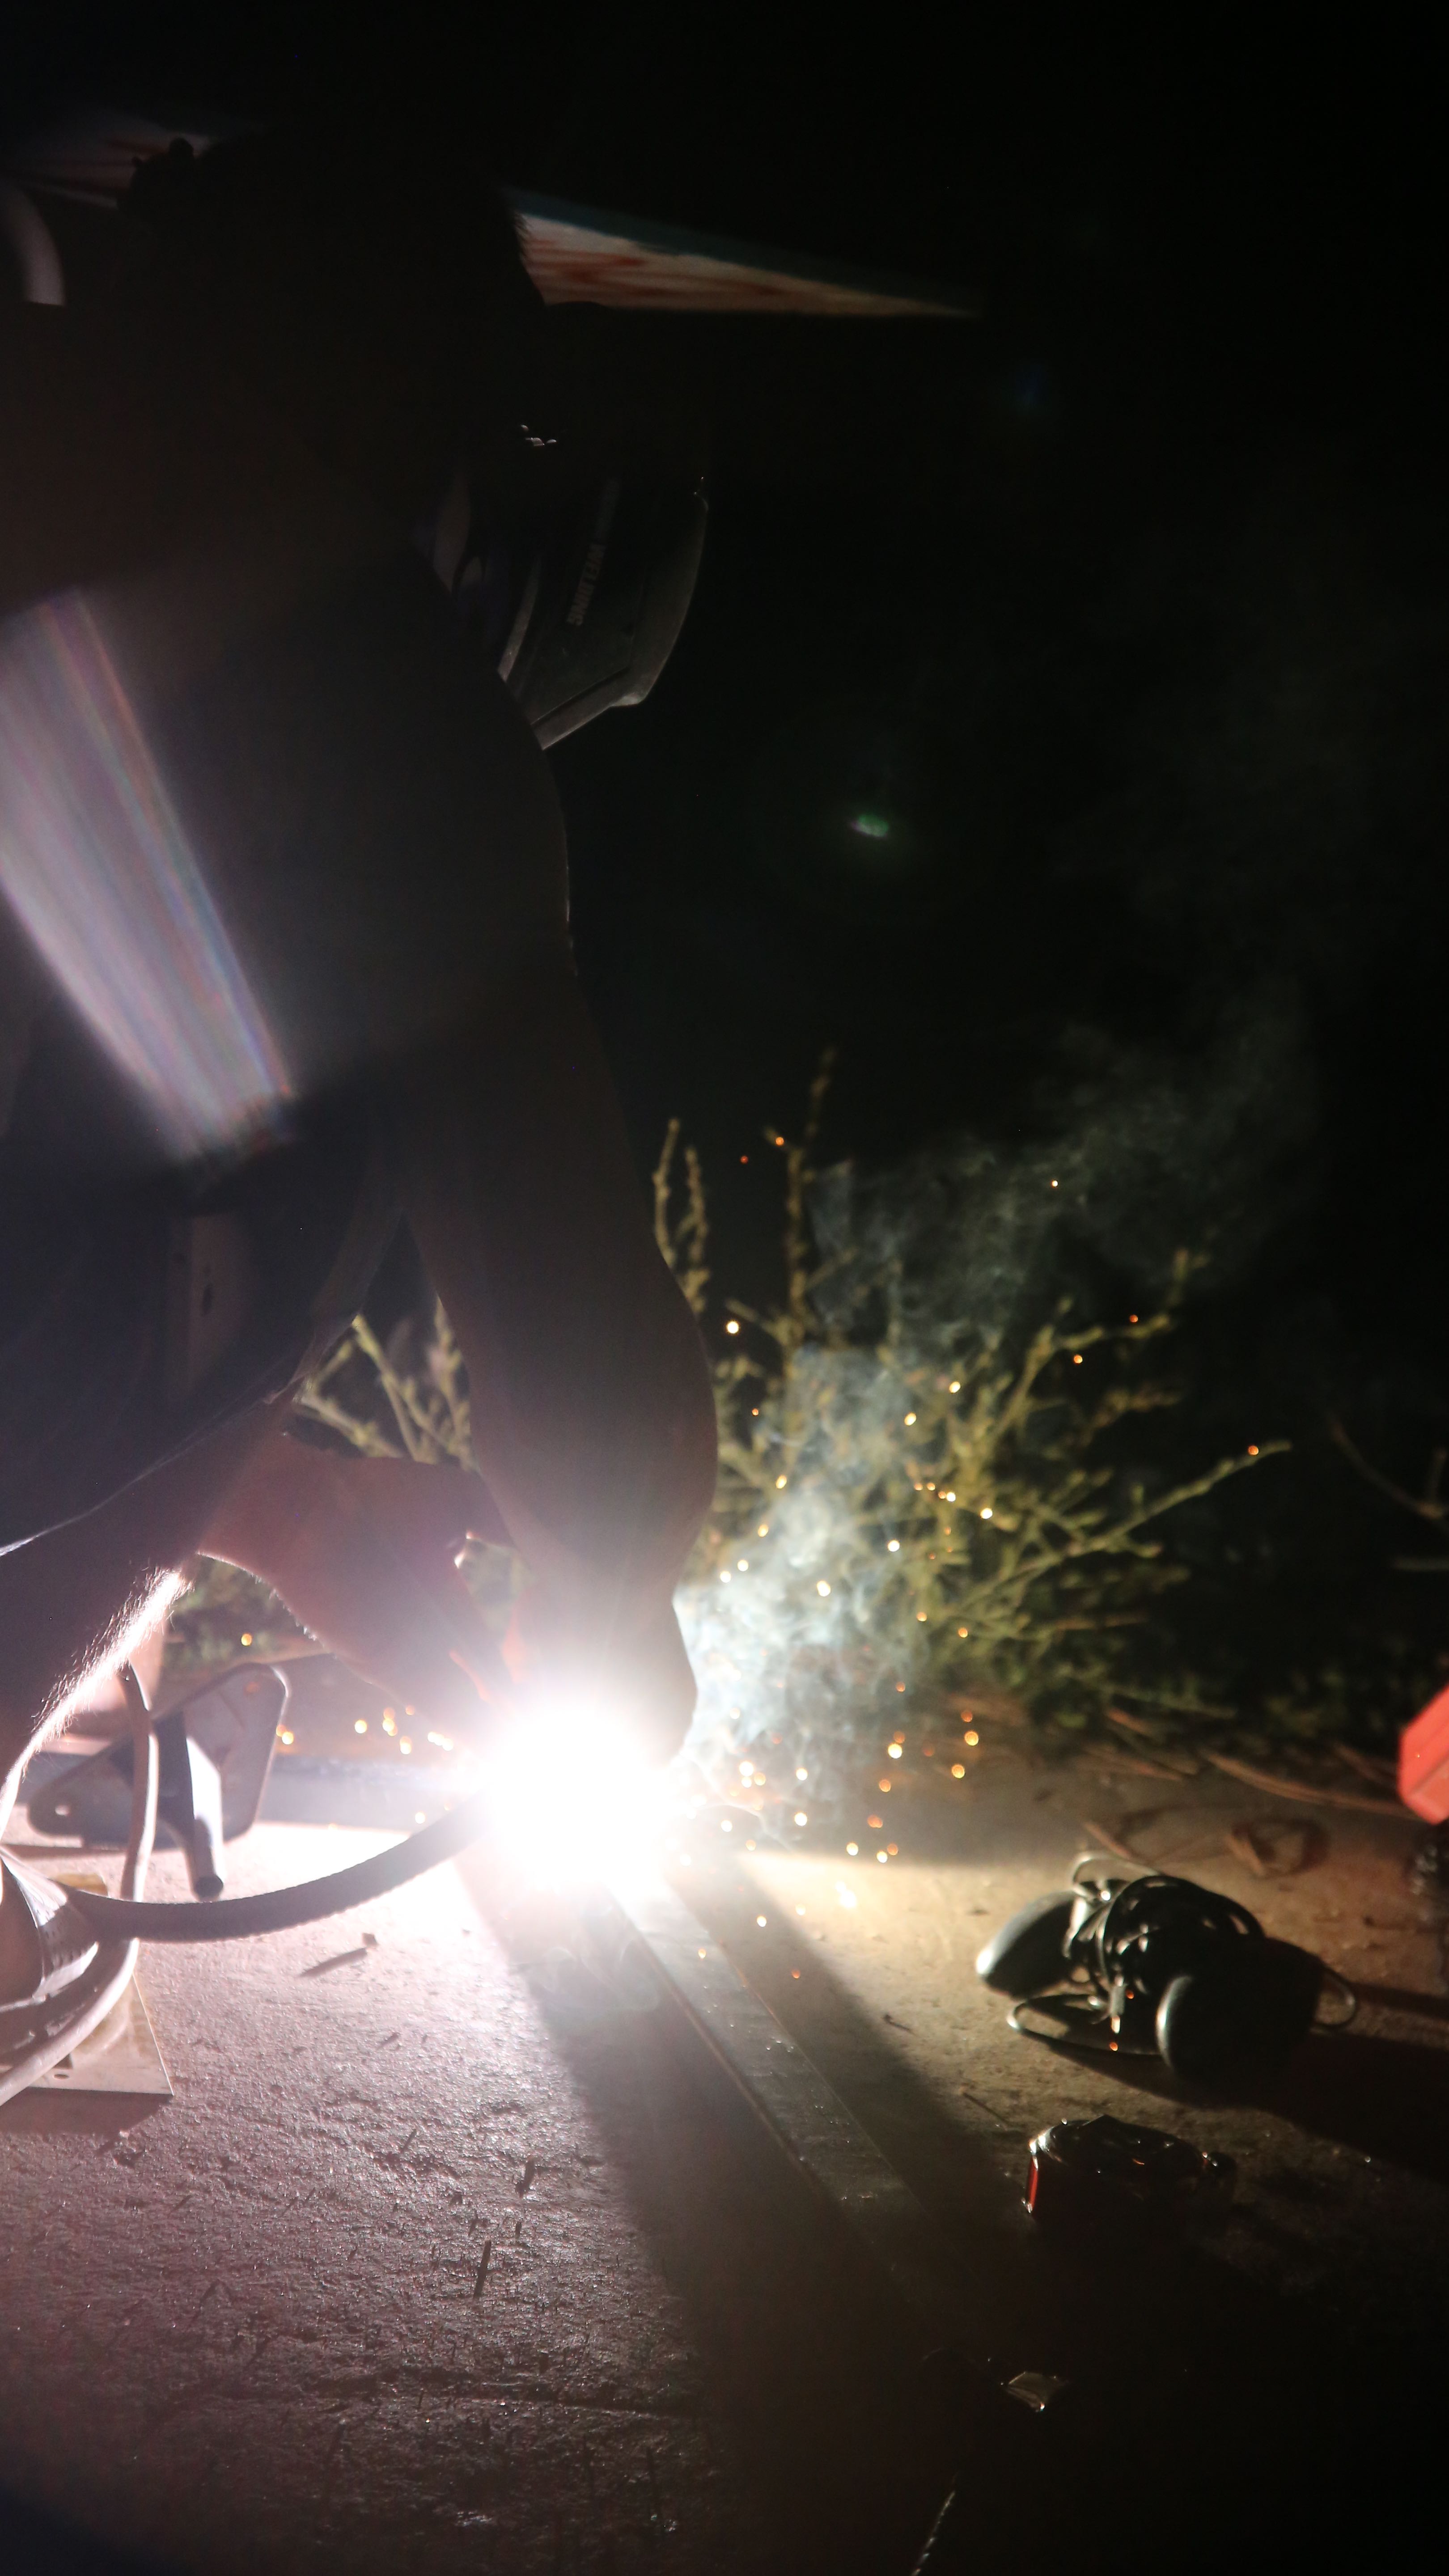
Brandon gittin’er done!!
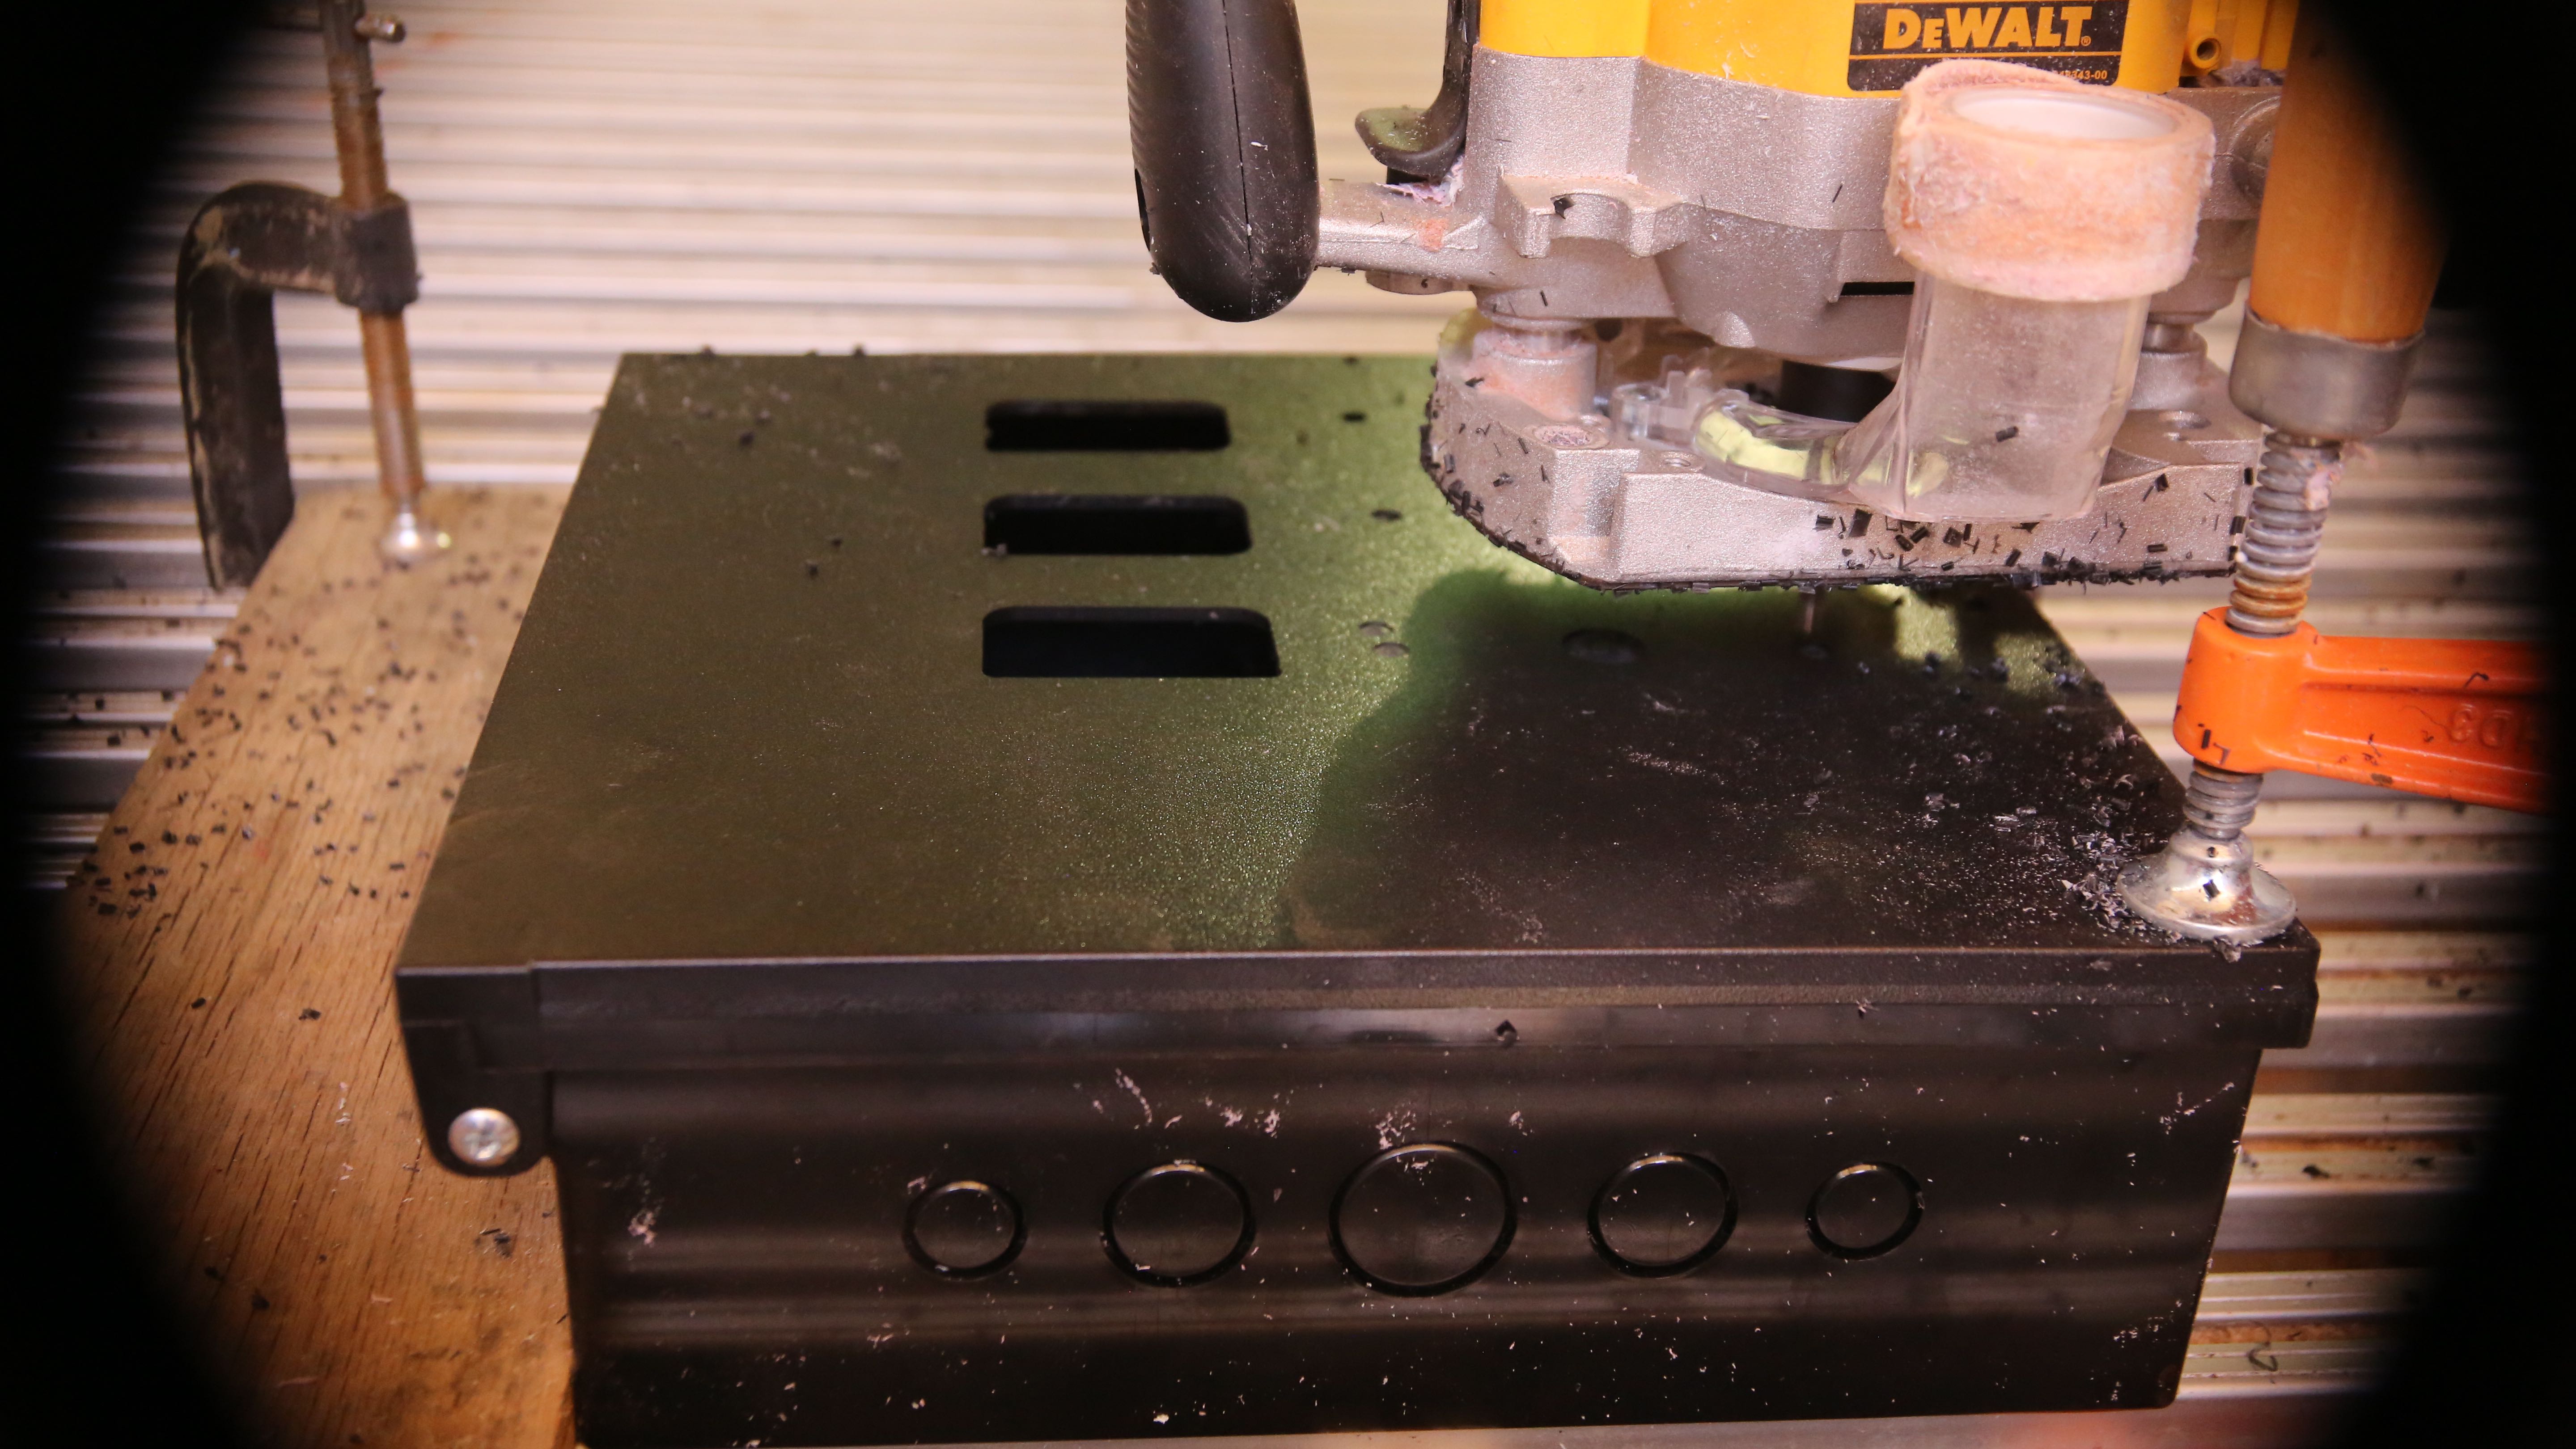
The frame is about complete now with working (drop down) front door. You can see our 14″ ceramic window to be installed in our door.
The build platform is a 21″ kiln shelf that MIT’s Glass Lab suggests that glass will stick nicely at print chamber temperatures (800F) and pop off when cools. We can’t wait for that!
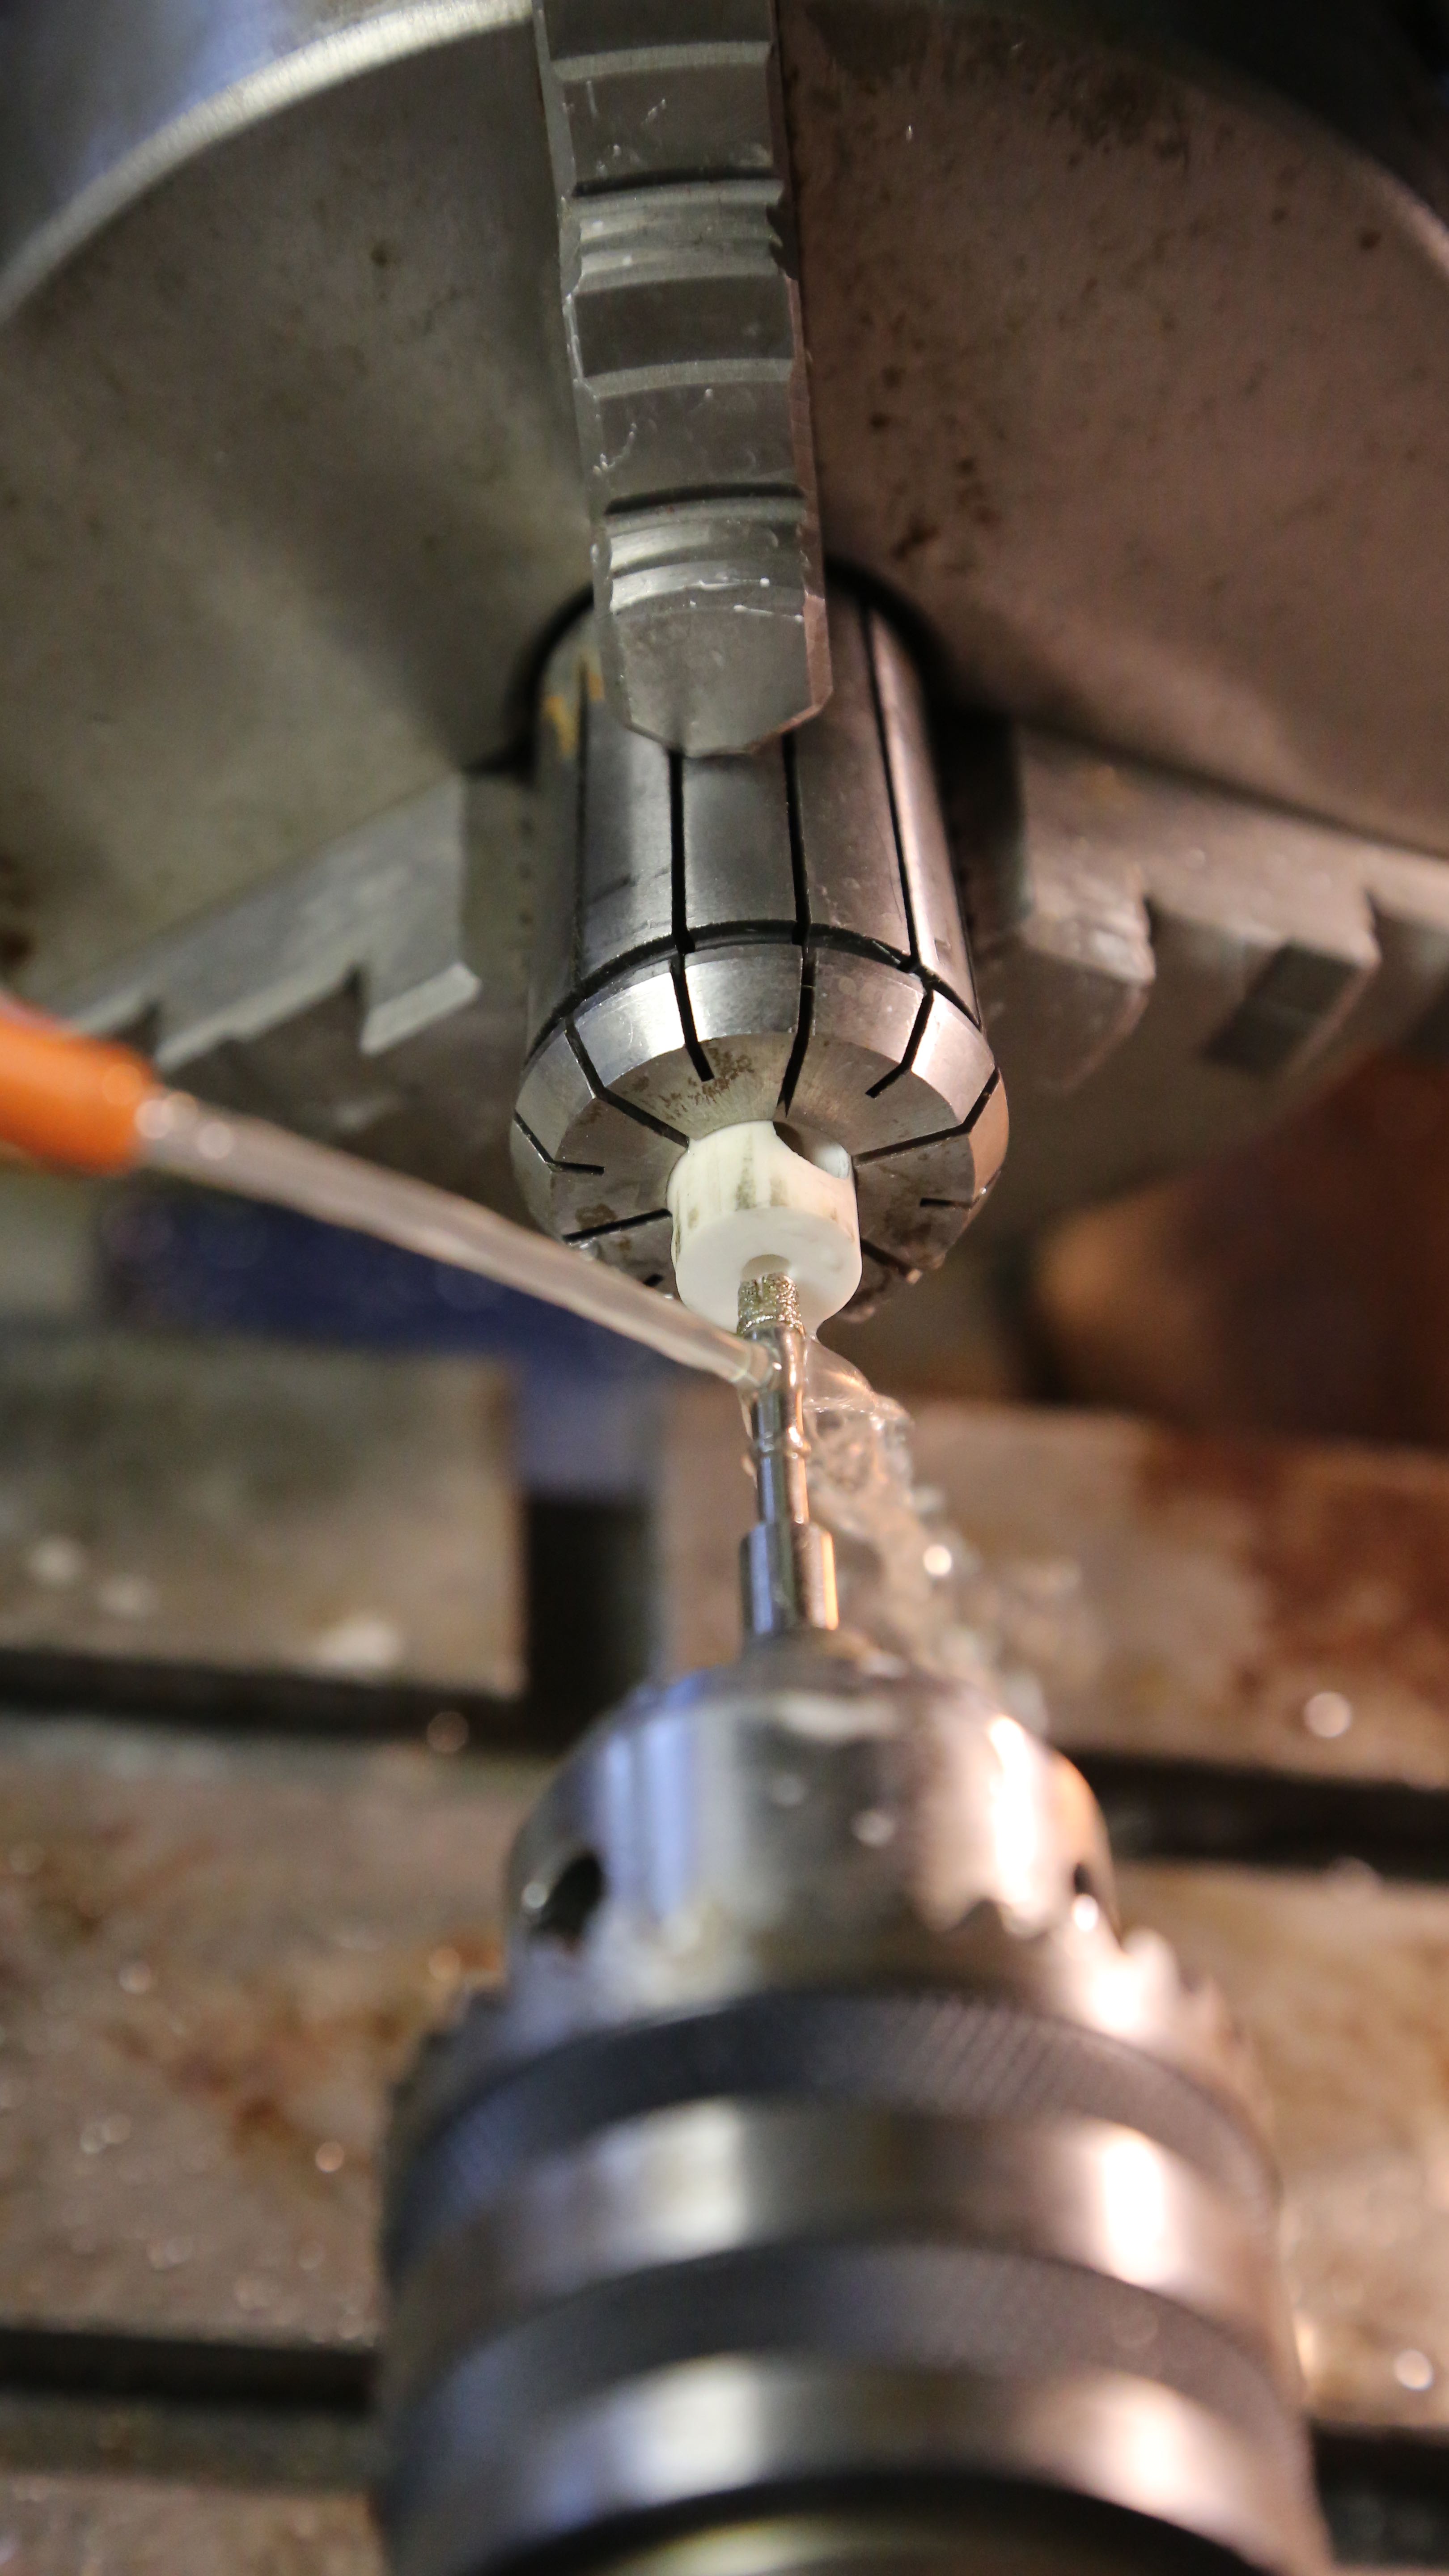
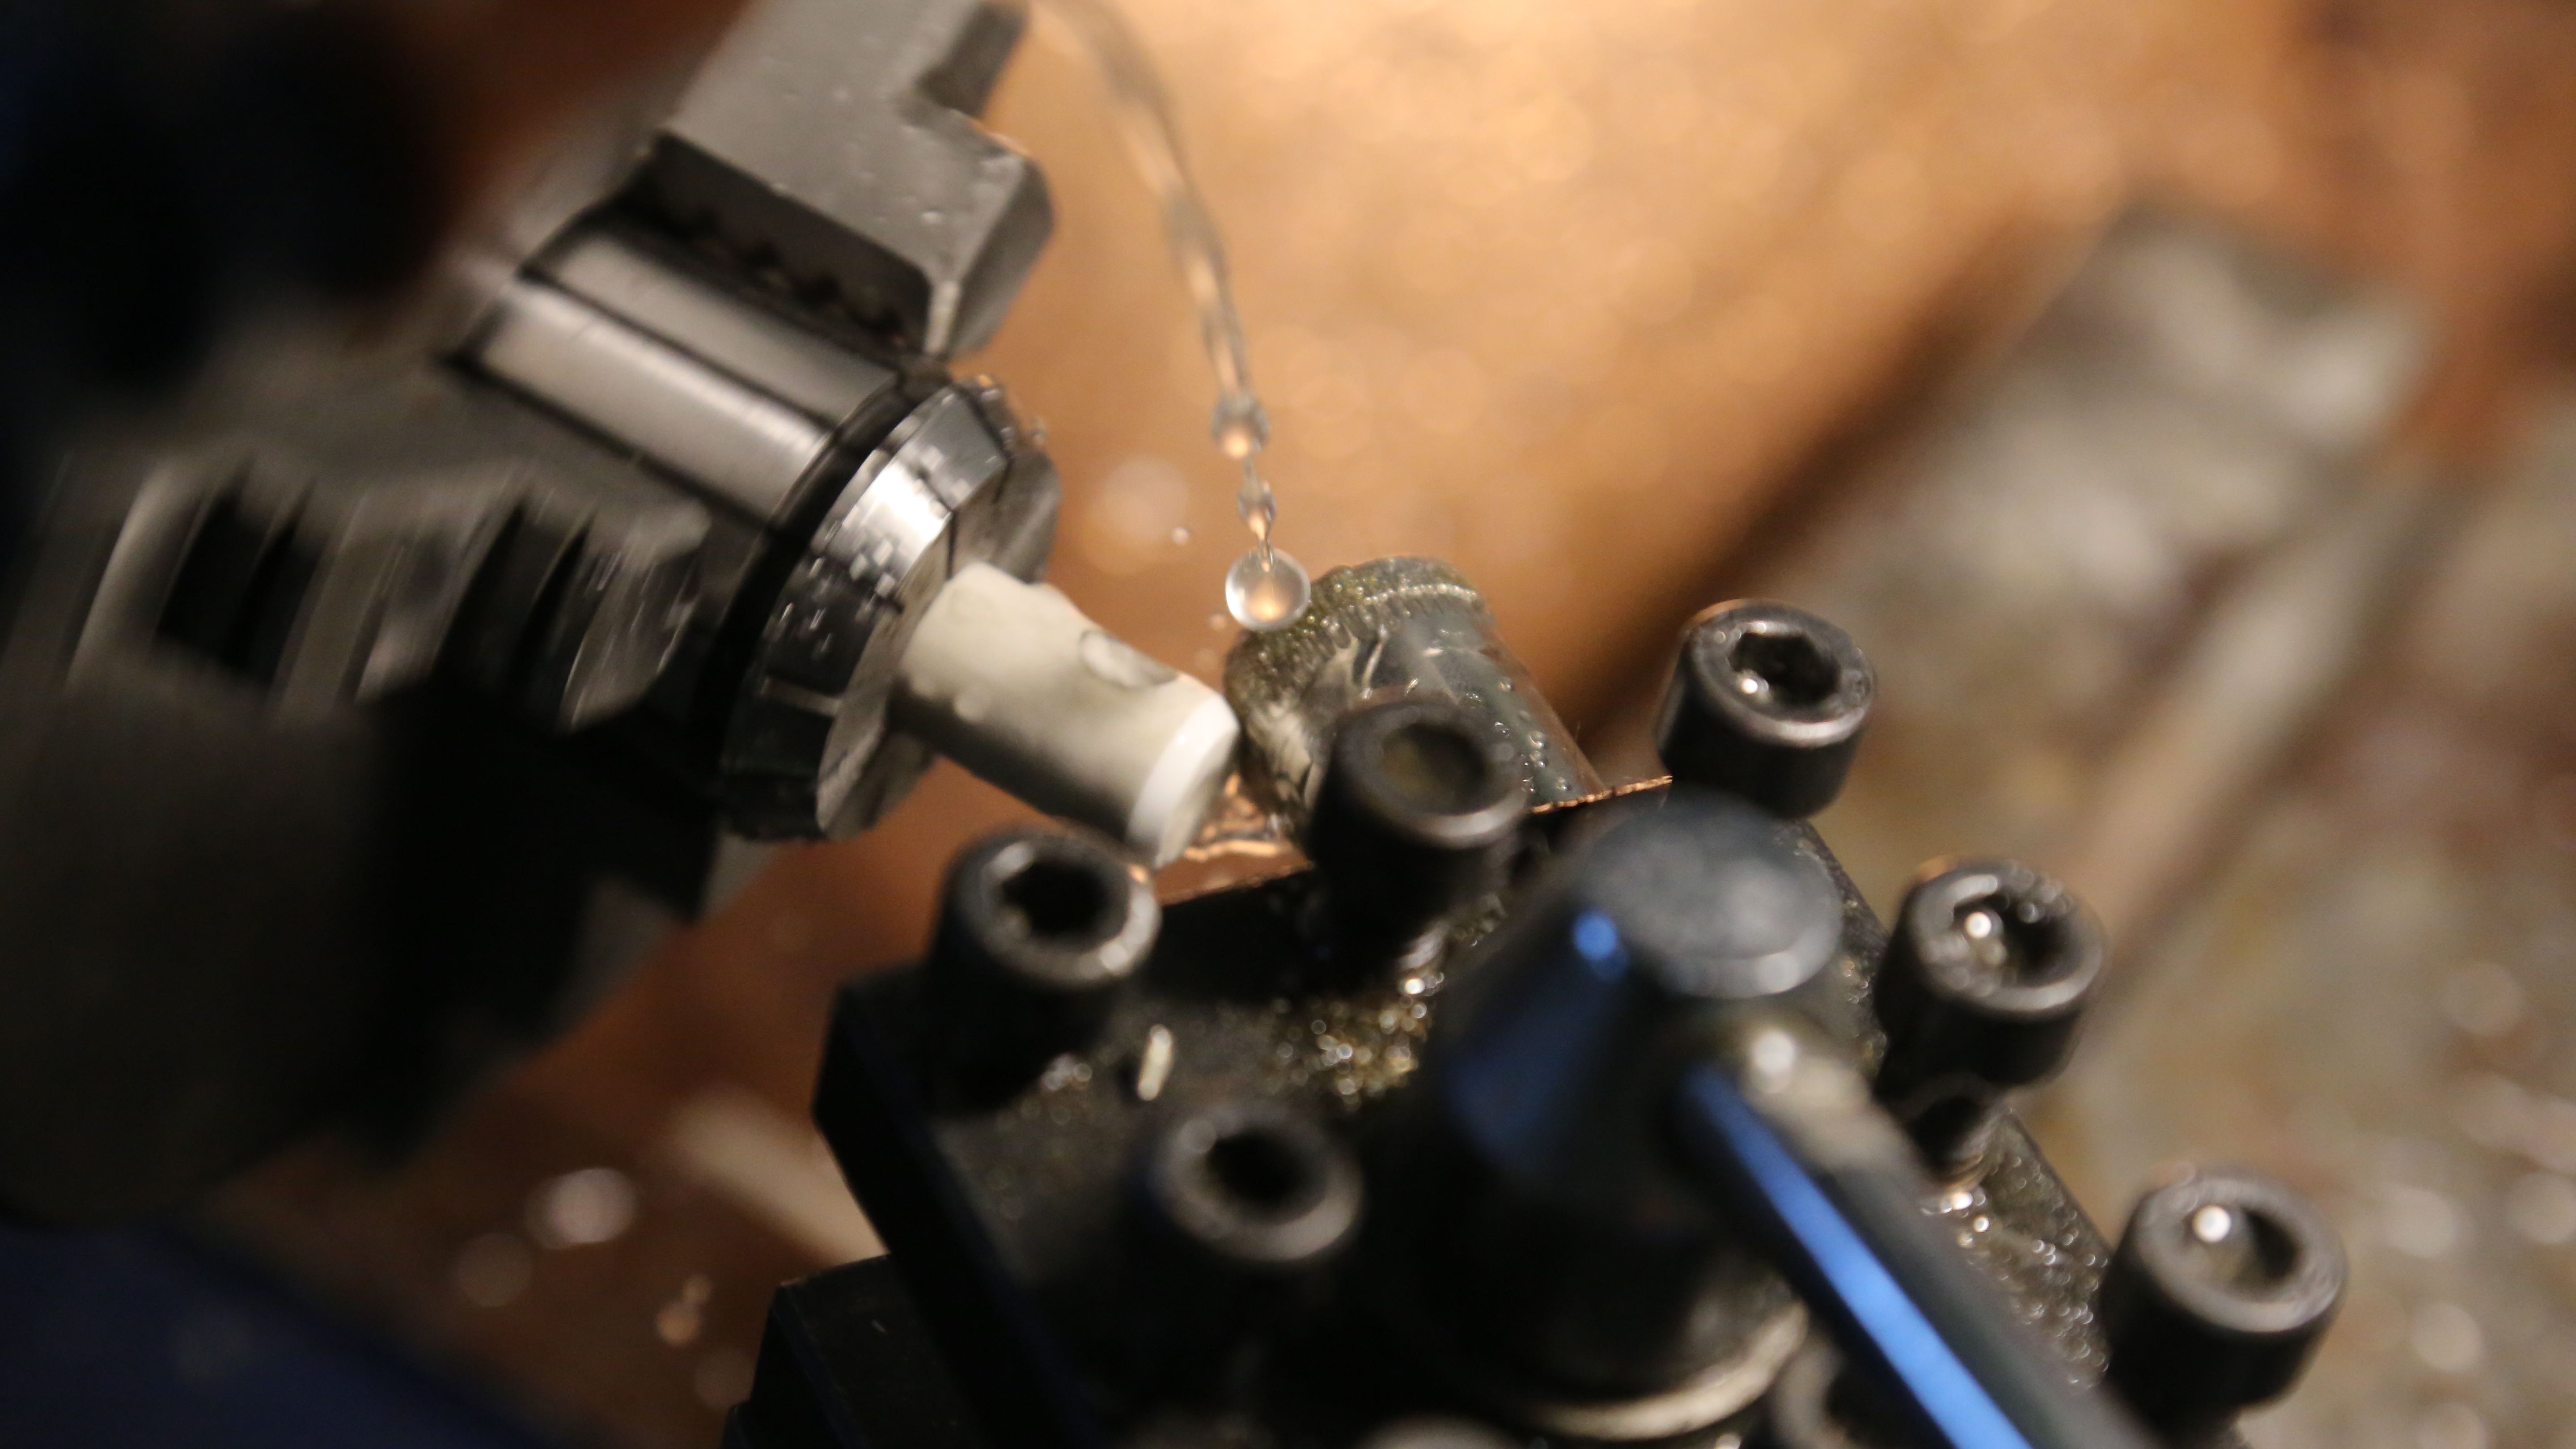
We got most the machining of the crucible done now. We just need to poke 3 small holes in the sides of it and we are done machining the very hard Alumina!
That said we have to wait for the bits to arrive – should be tomorrow. Then we can put the heater coils in and test fire it pretty soon after.
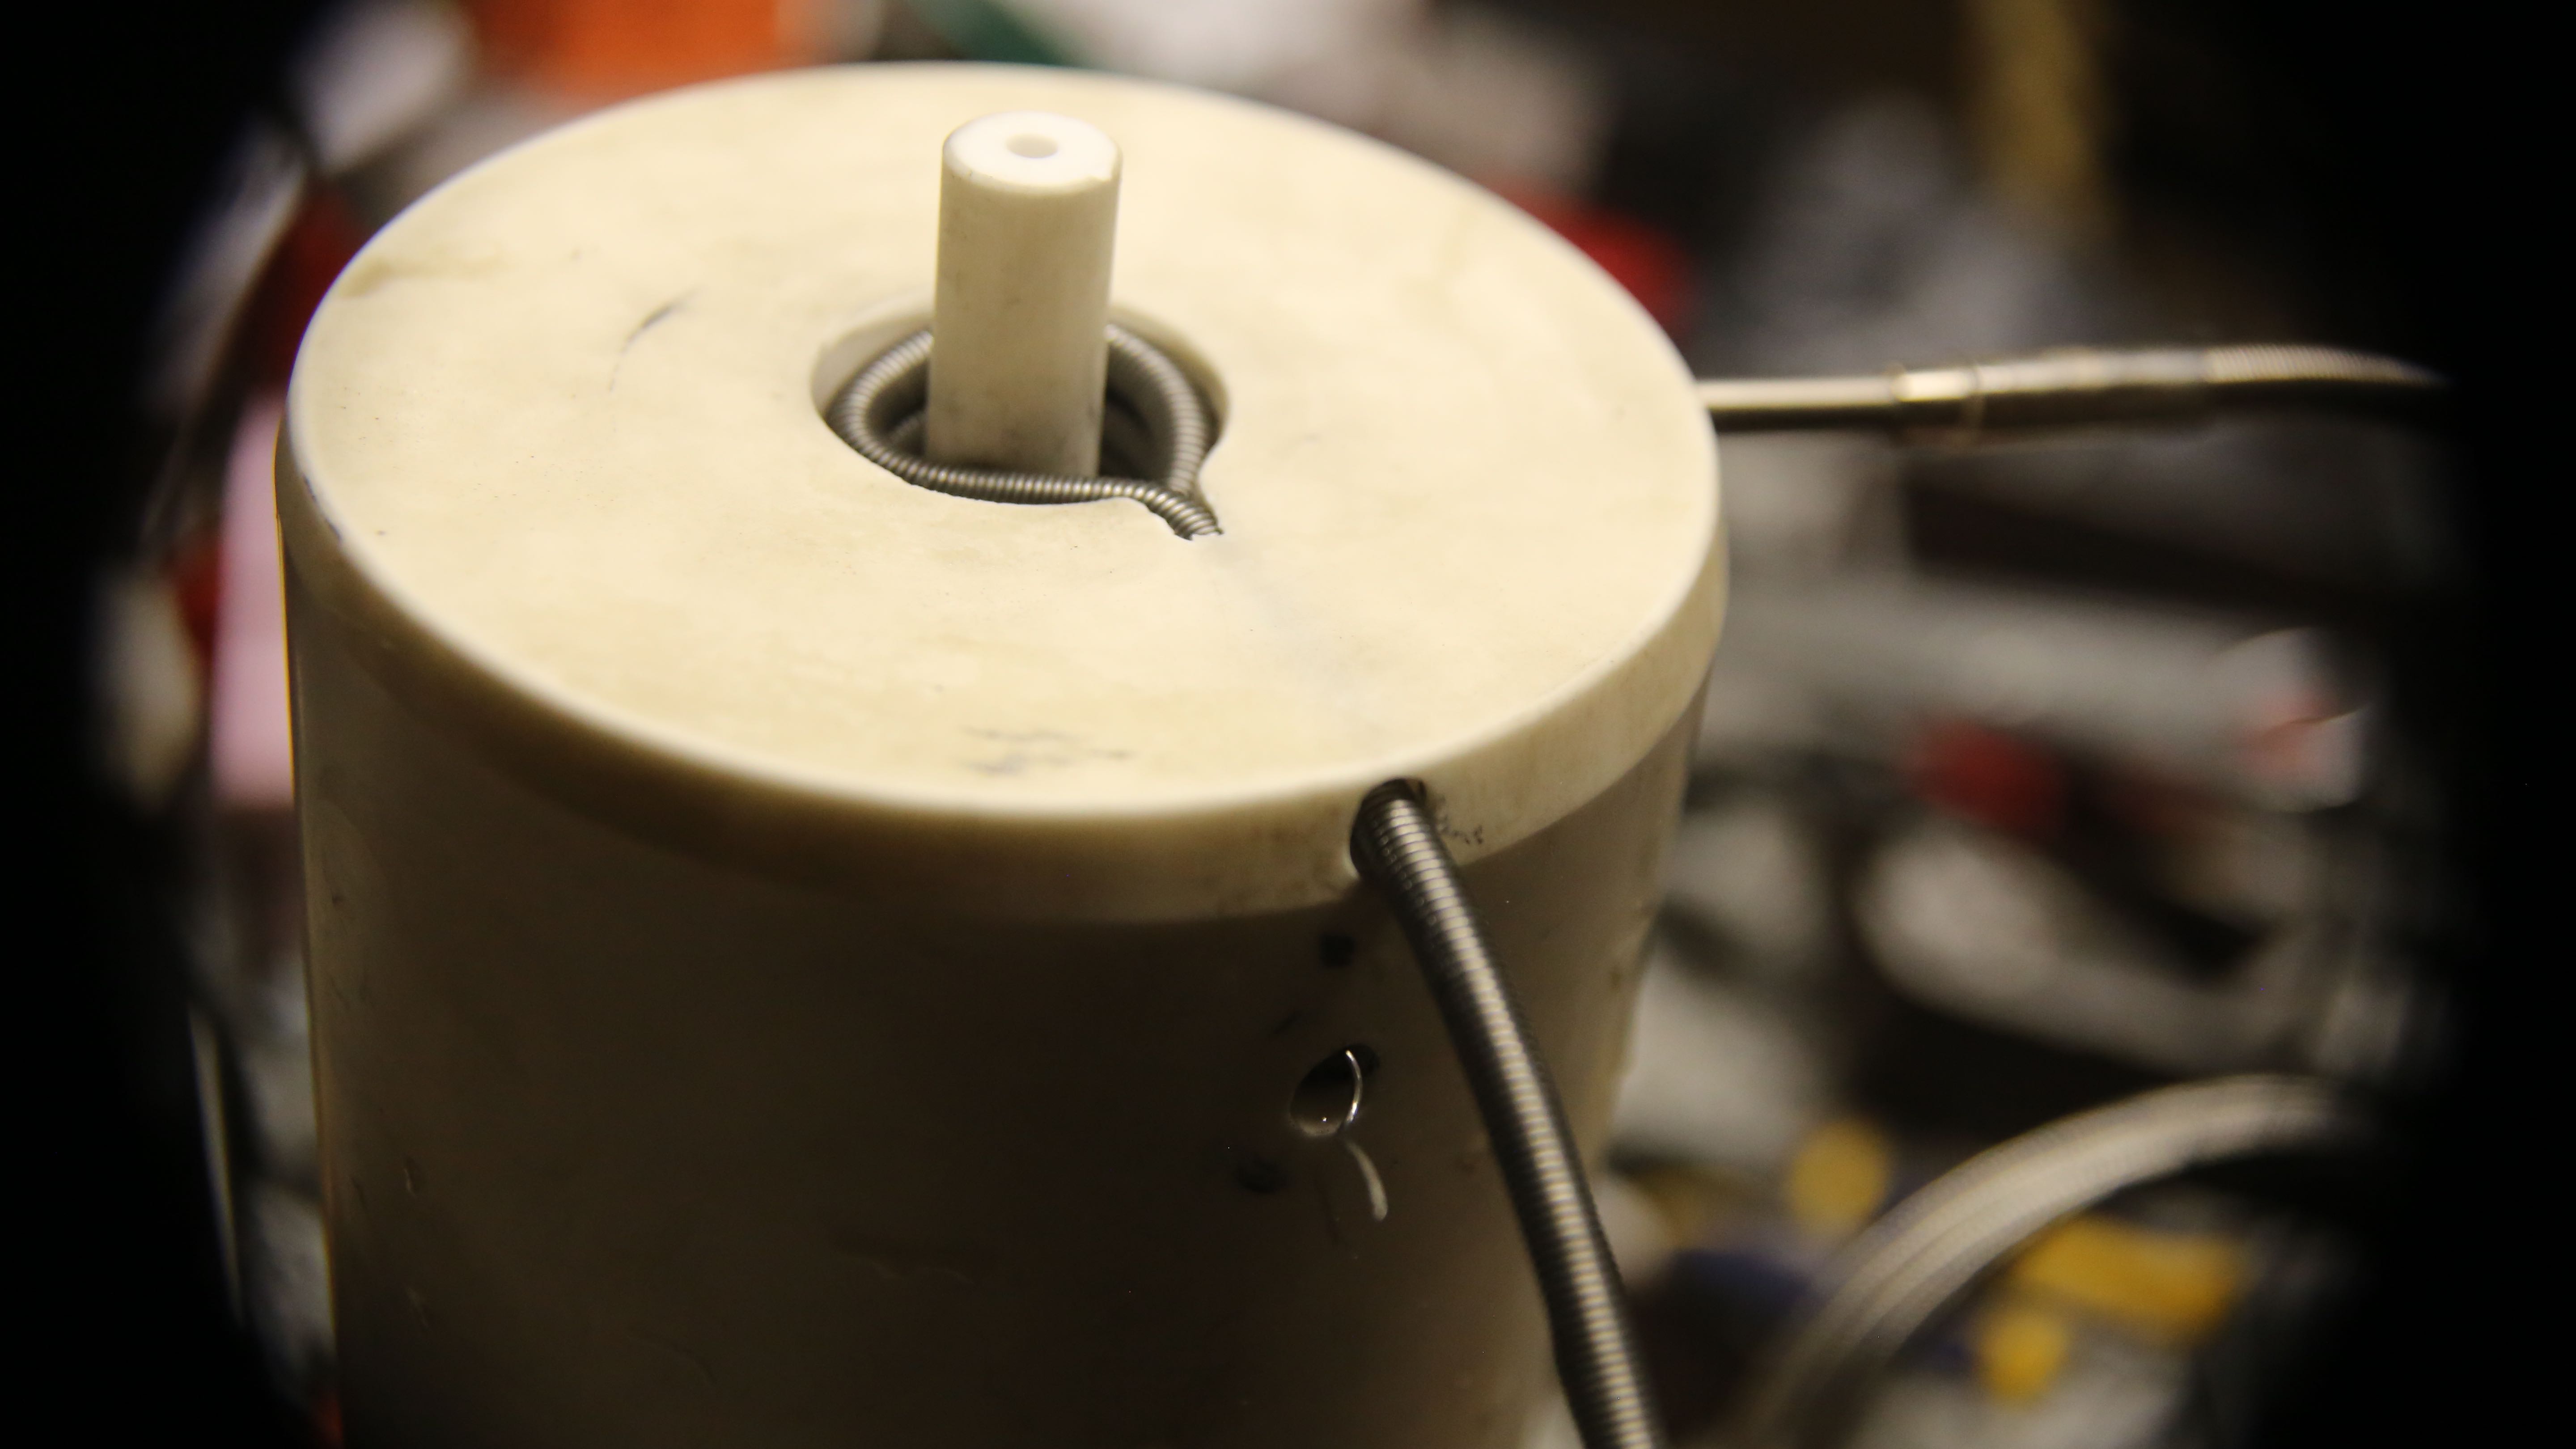
Let the glass flow, let it flow!
Note the nozzle currently protrudes too far – it will get cut in the near future.
The rest of our printer is currently sitting around waiting for this super hot end and we can’t wait to let it have it.
We had some much needed steel arrive today. The bands around the crucible will be filled with mostly insulating refractory and some steel to connect and drive her ’round and ’round.
This is going to be one HOT End! Woot!