Blog :

Furnace Re-insulated

Furnace Re-insulated

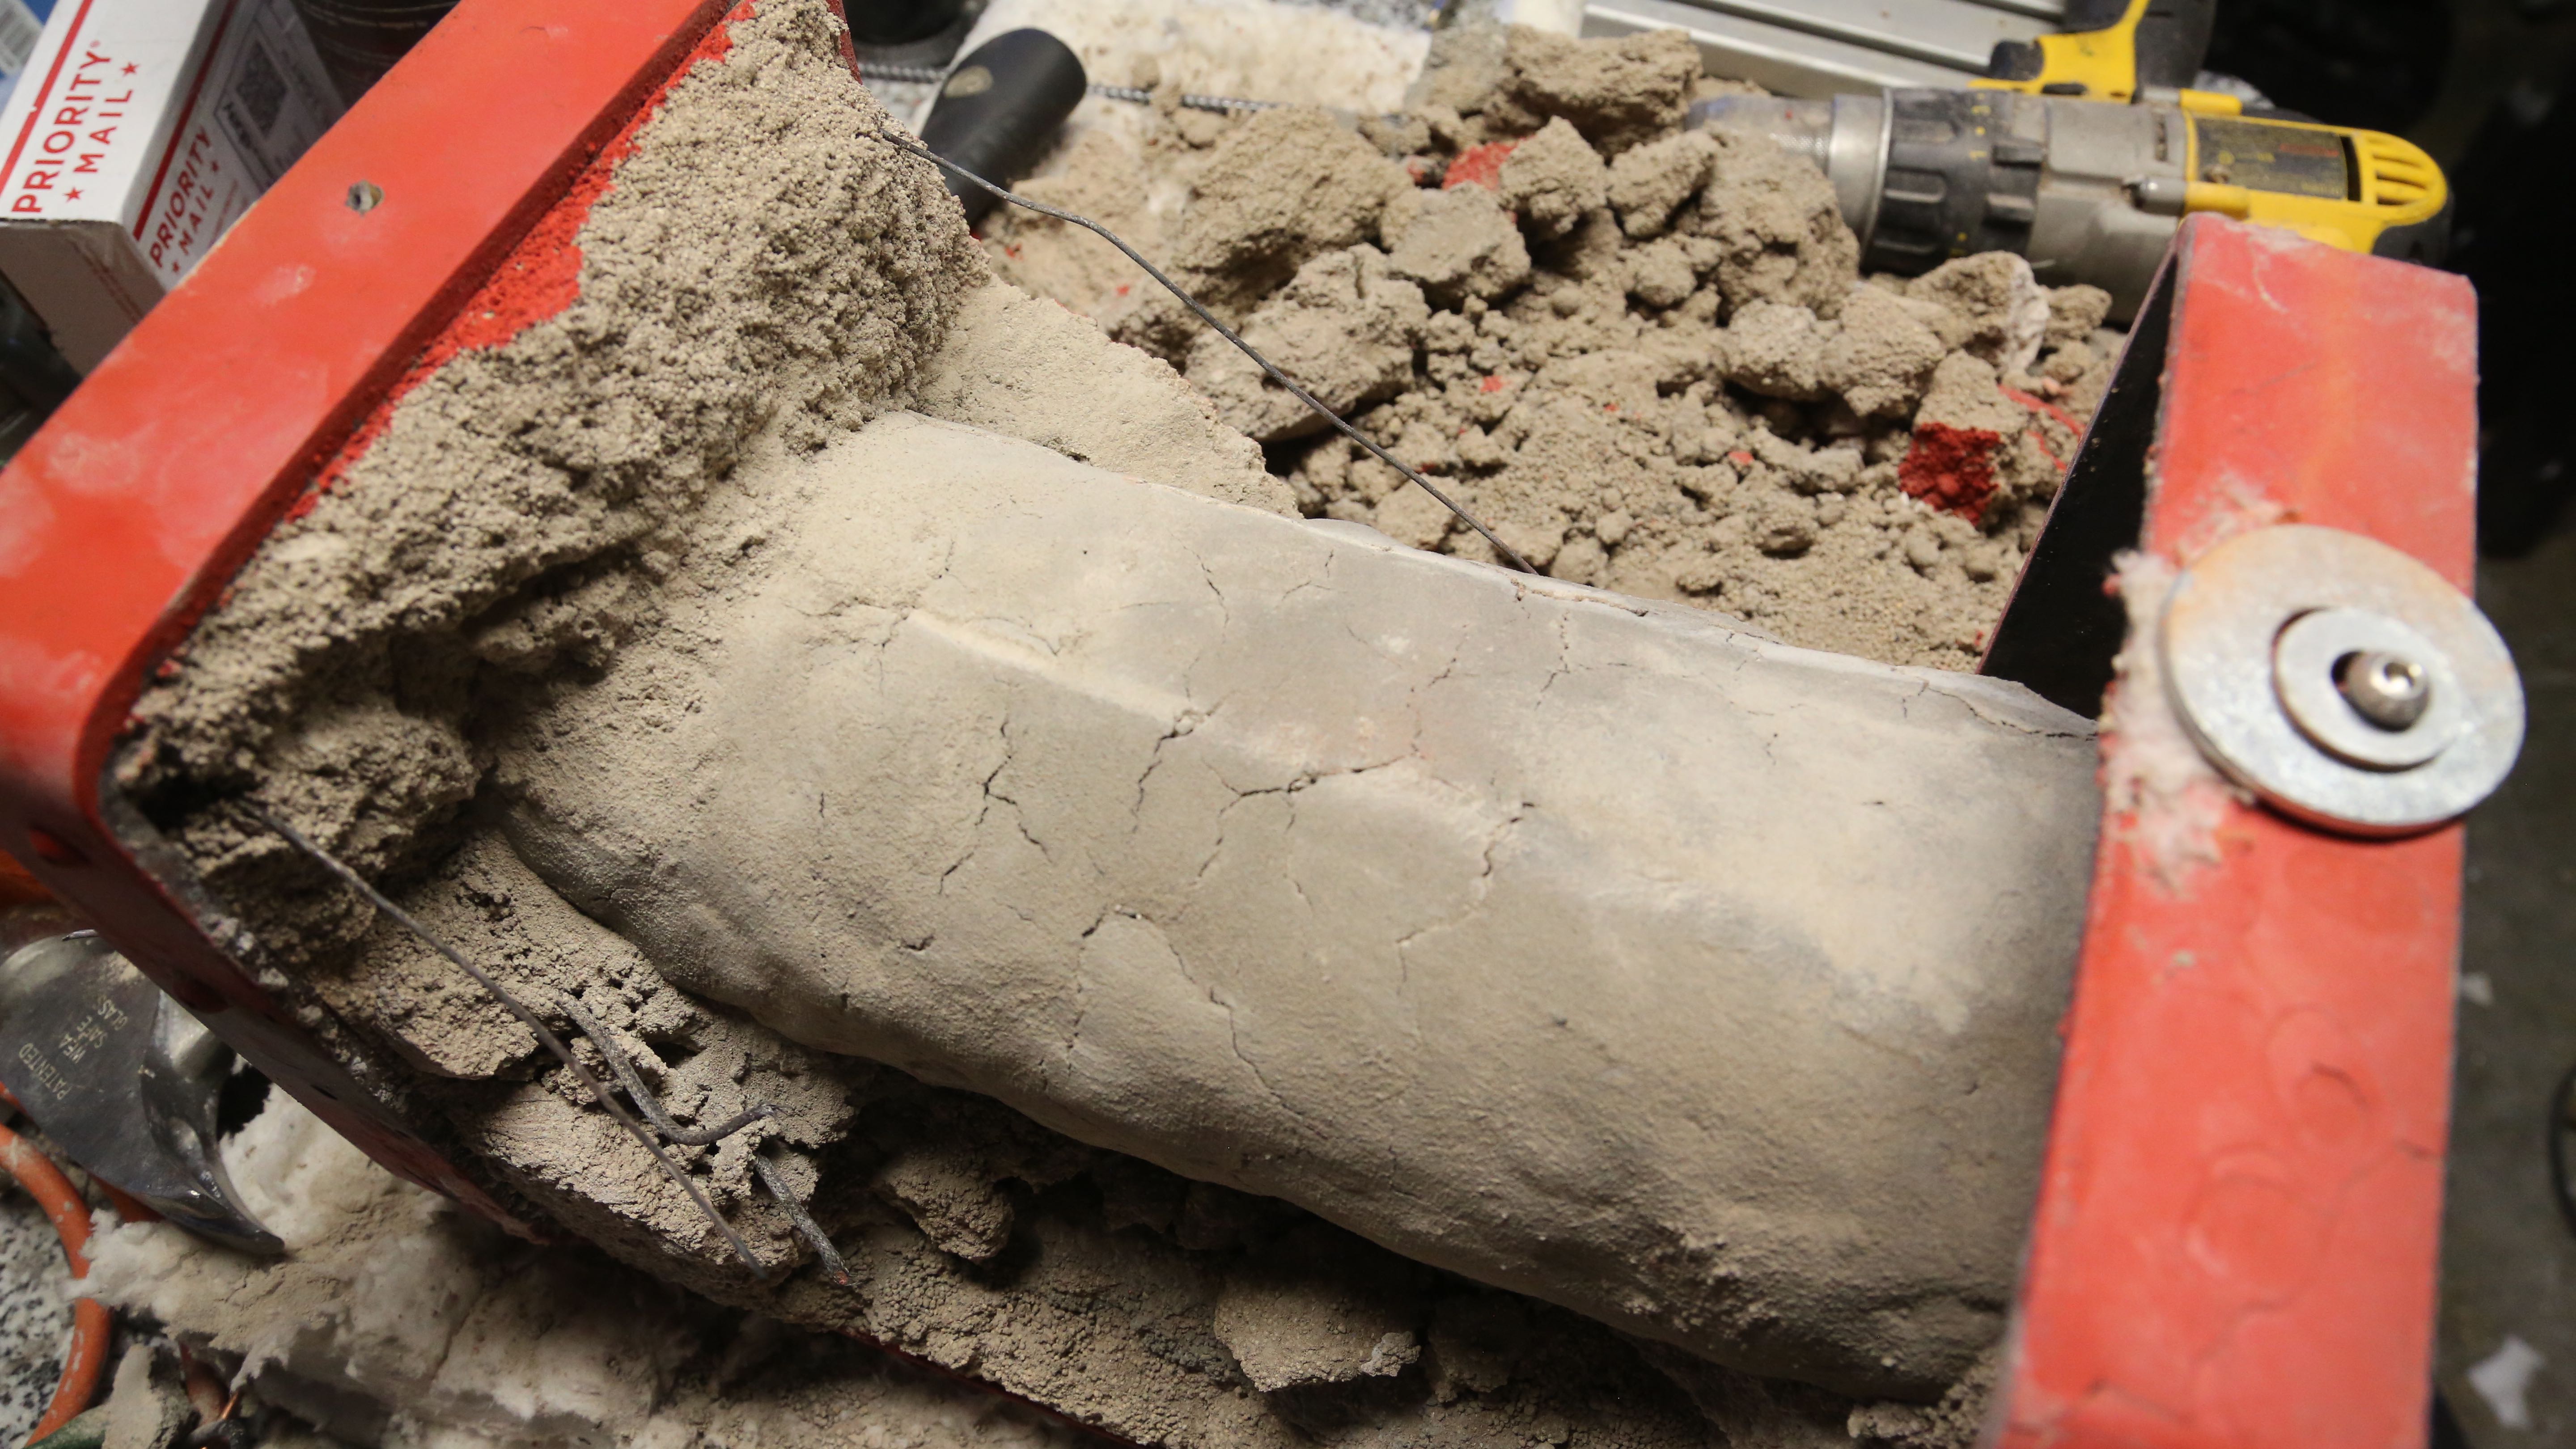
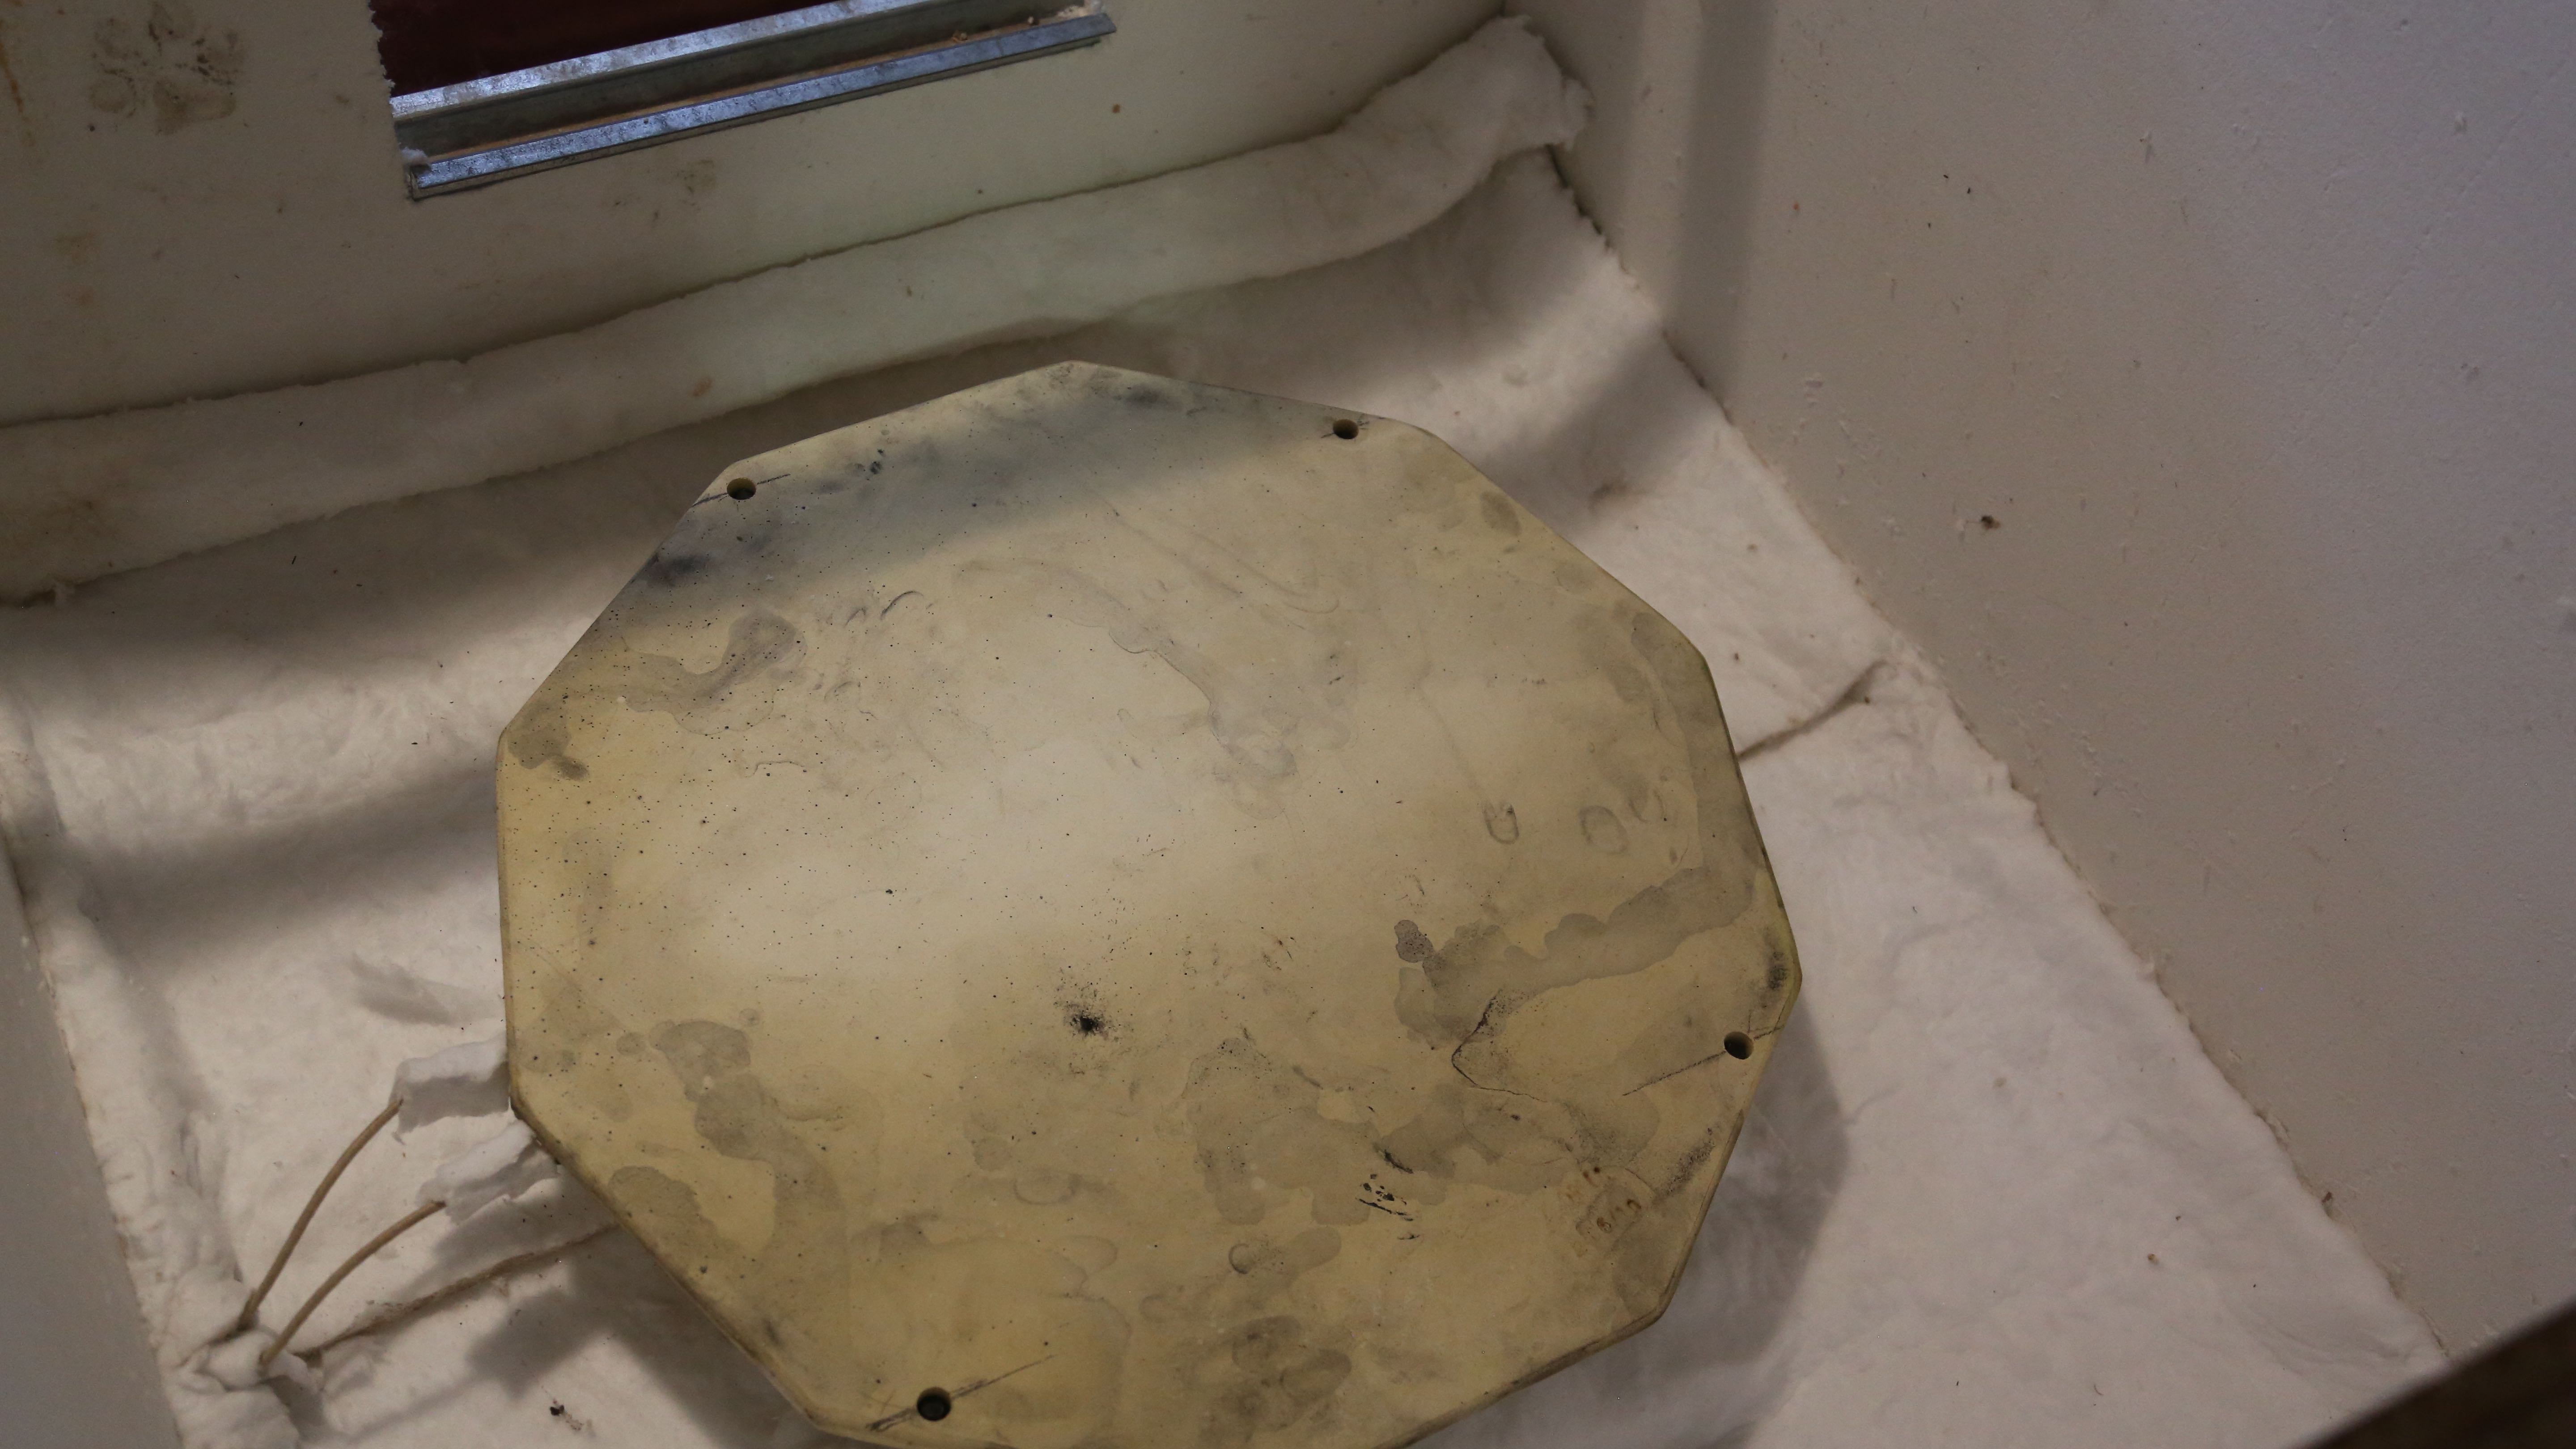
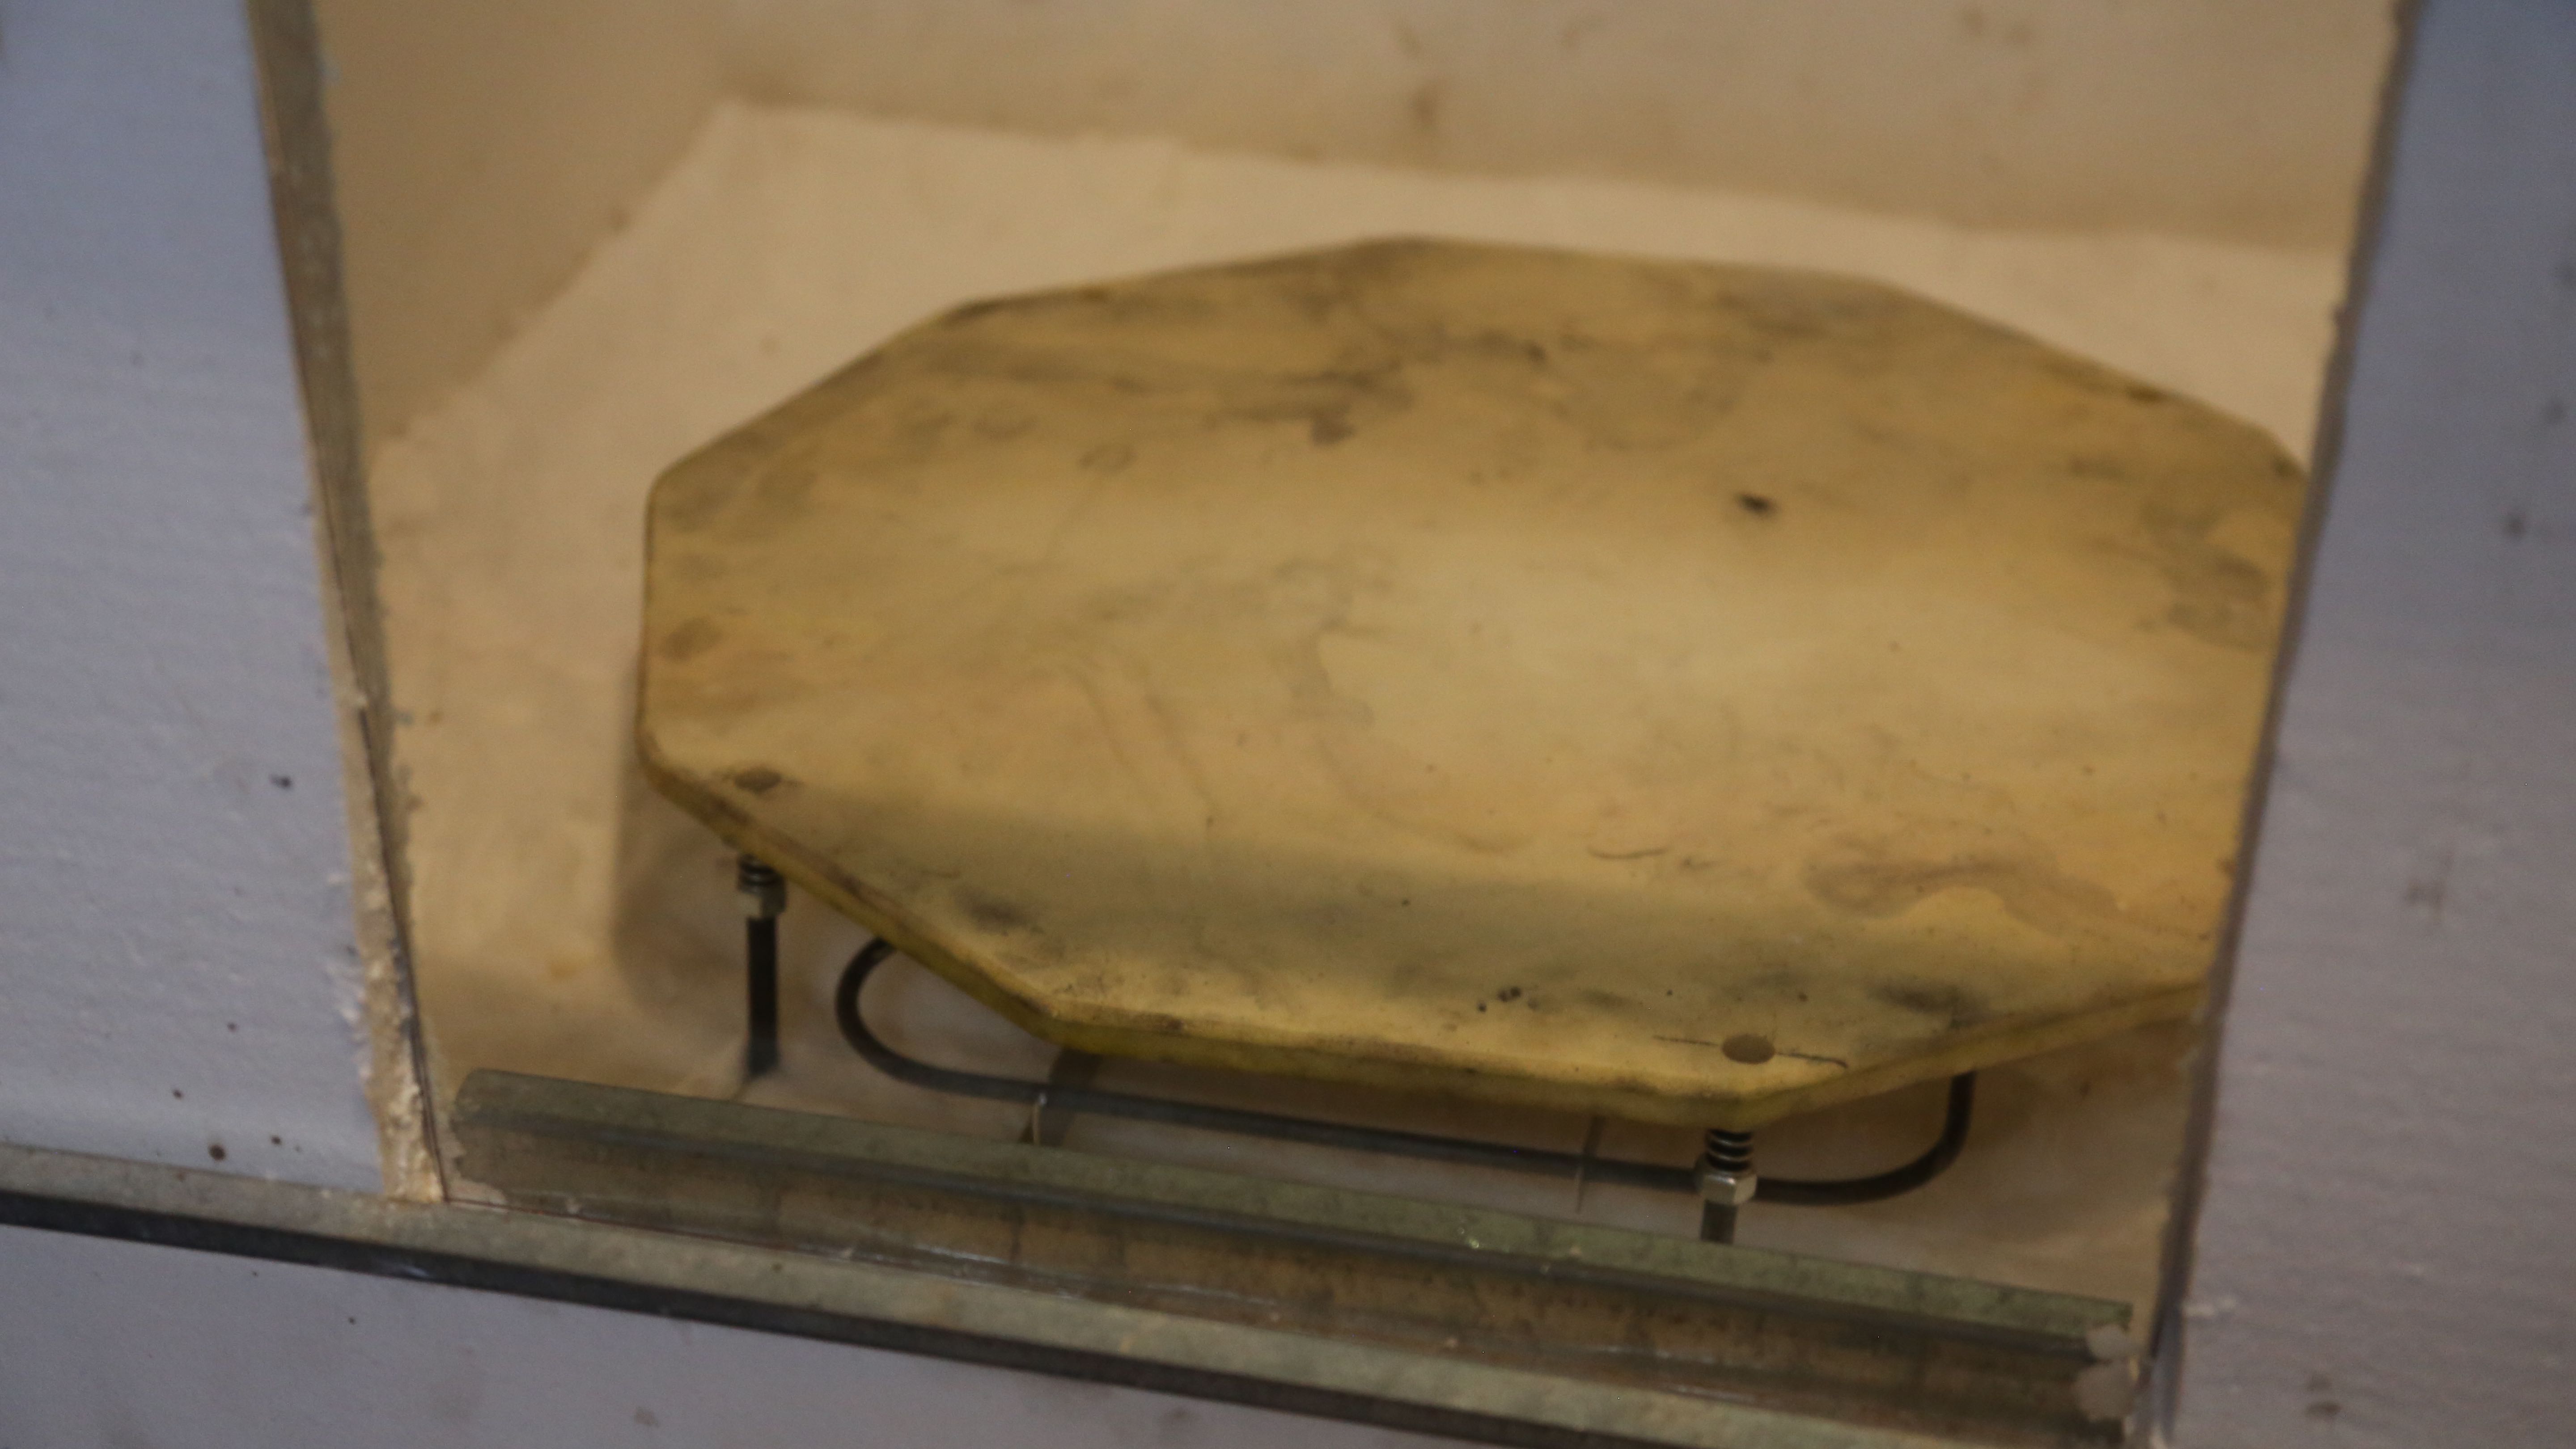
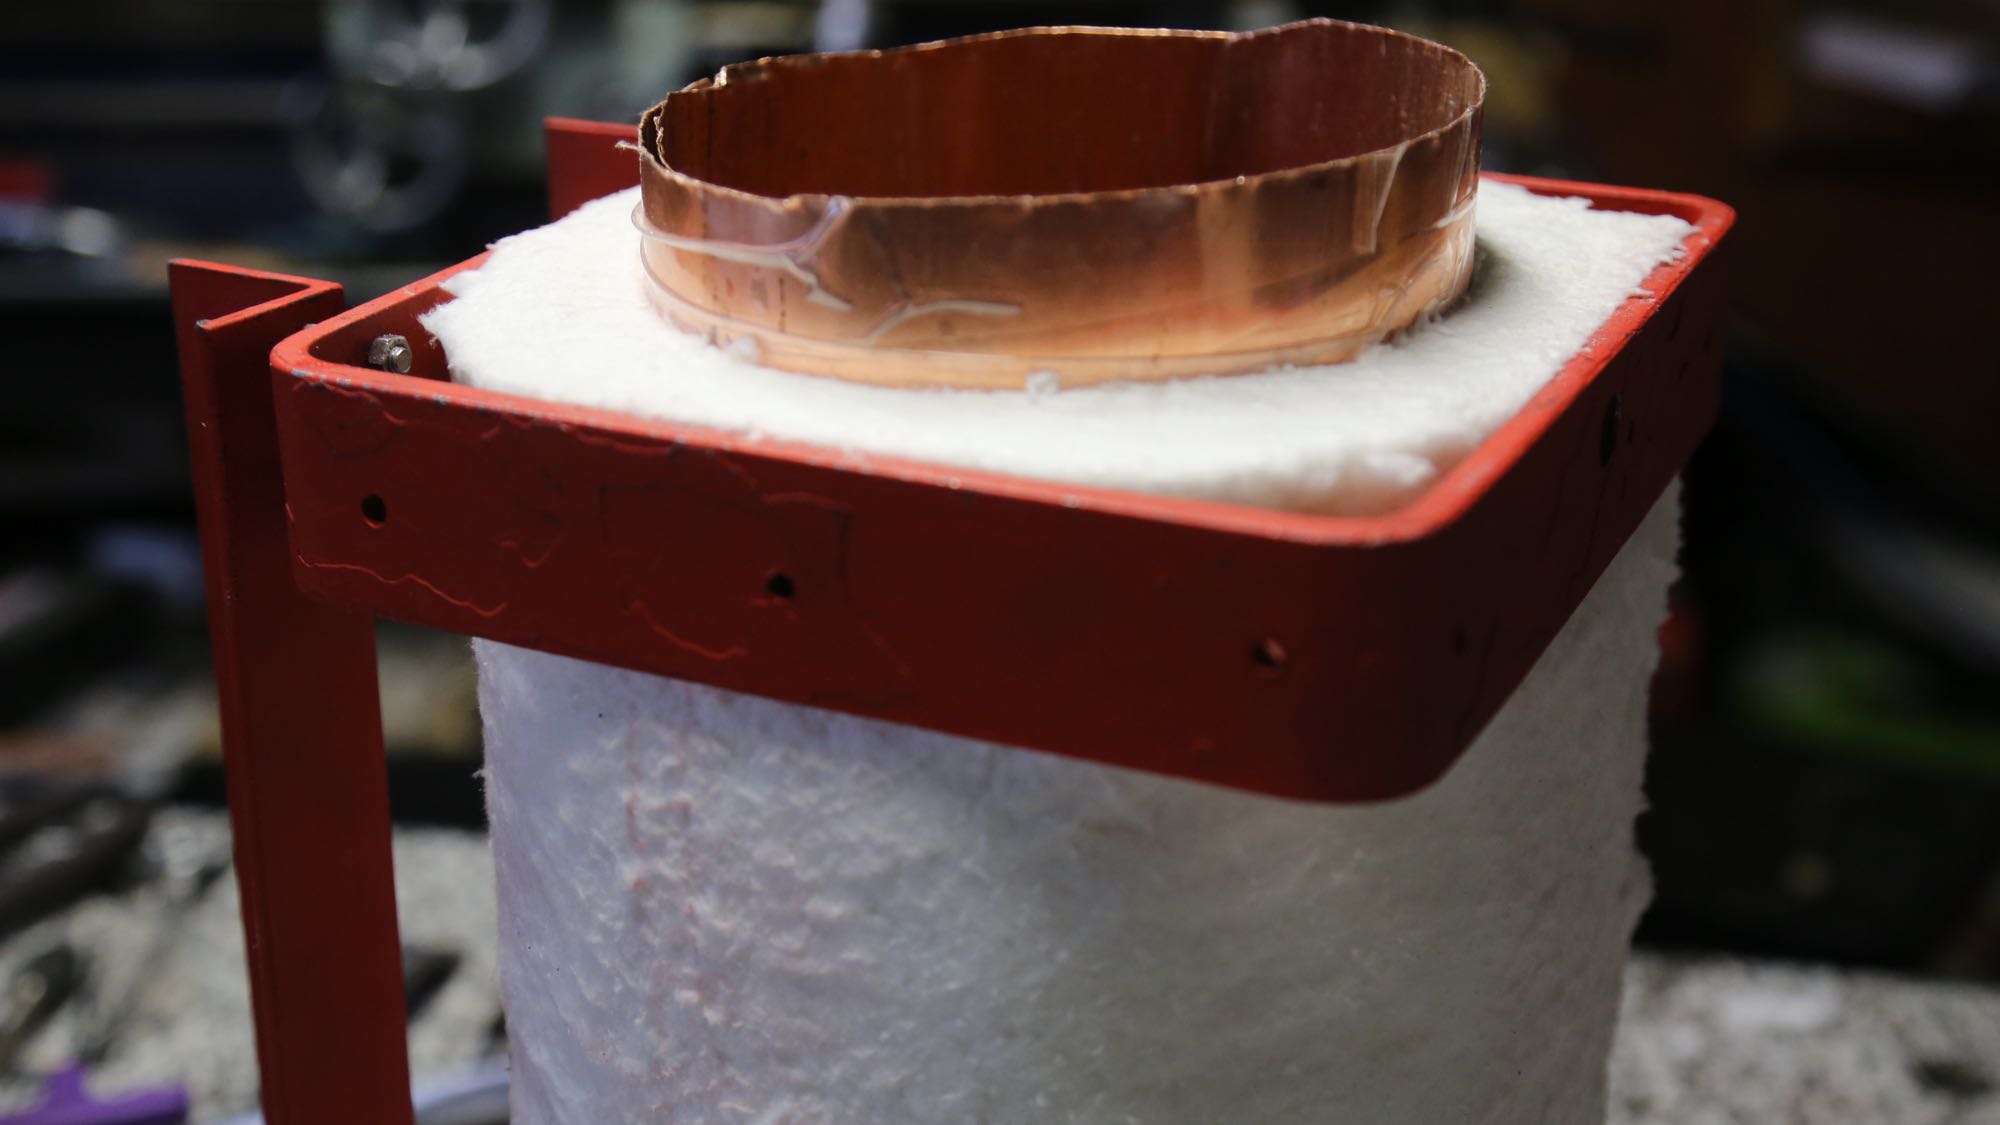
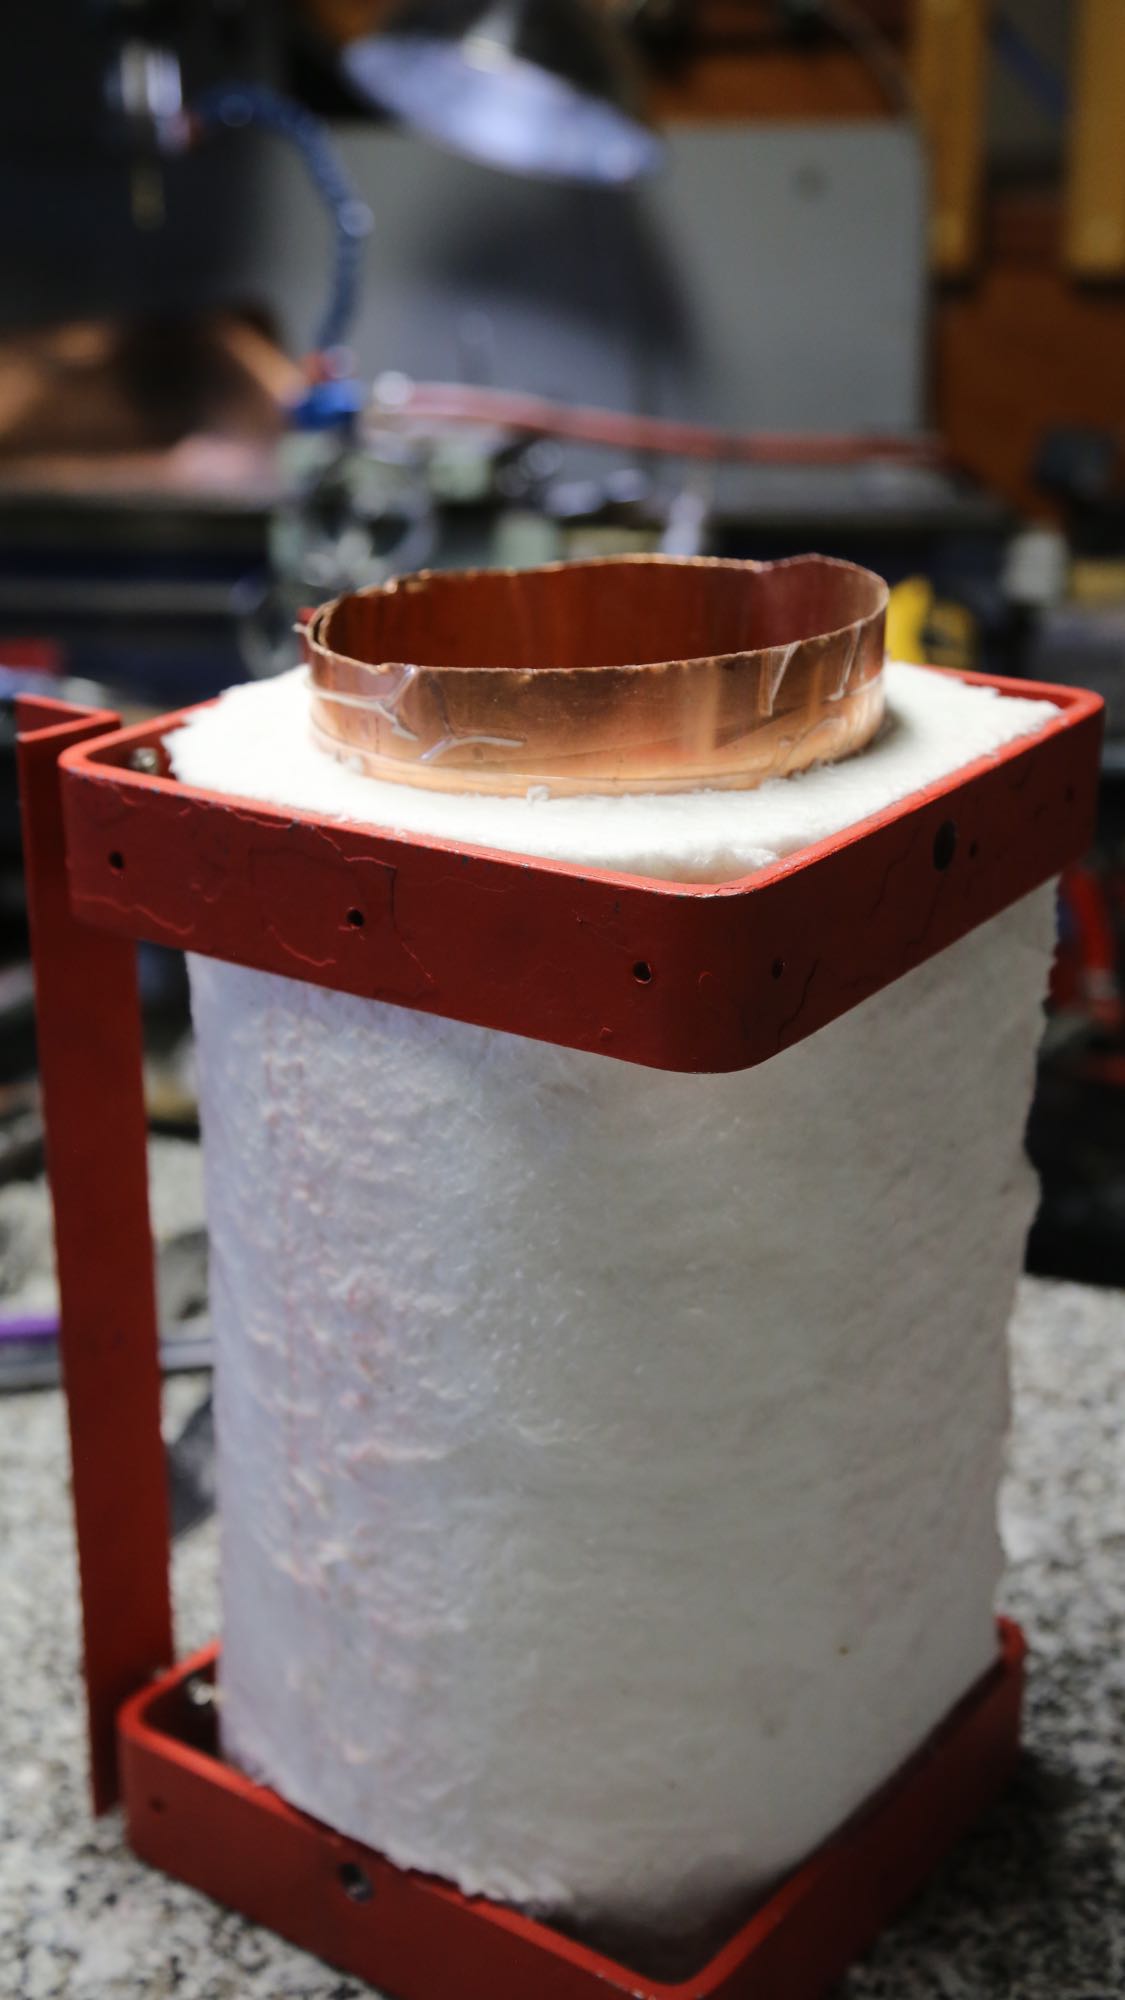
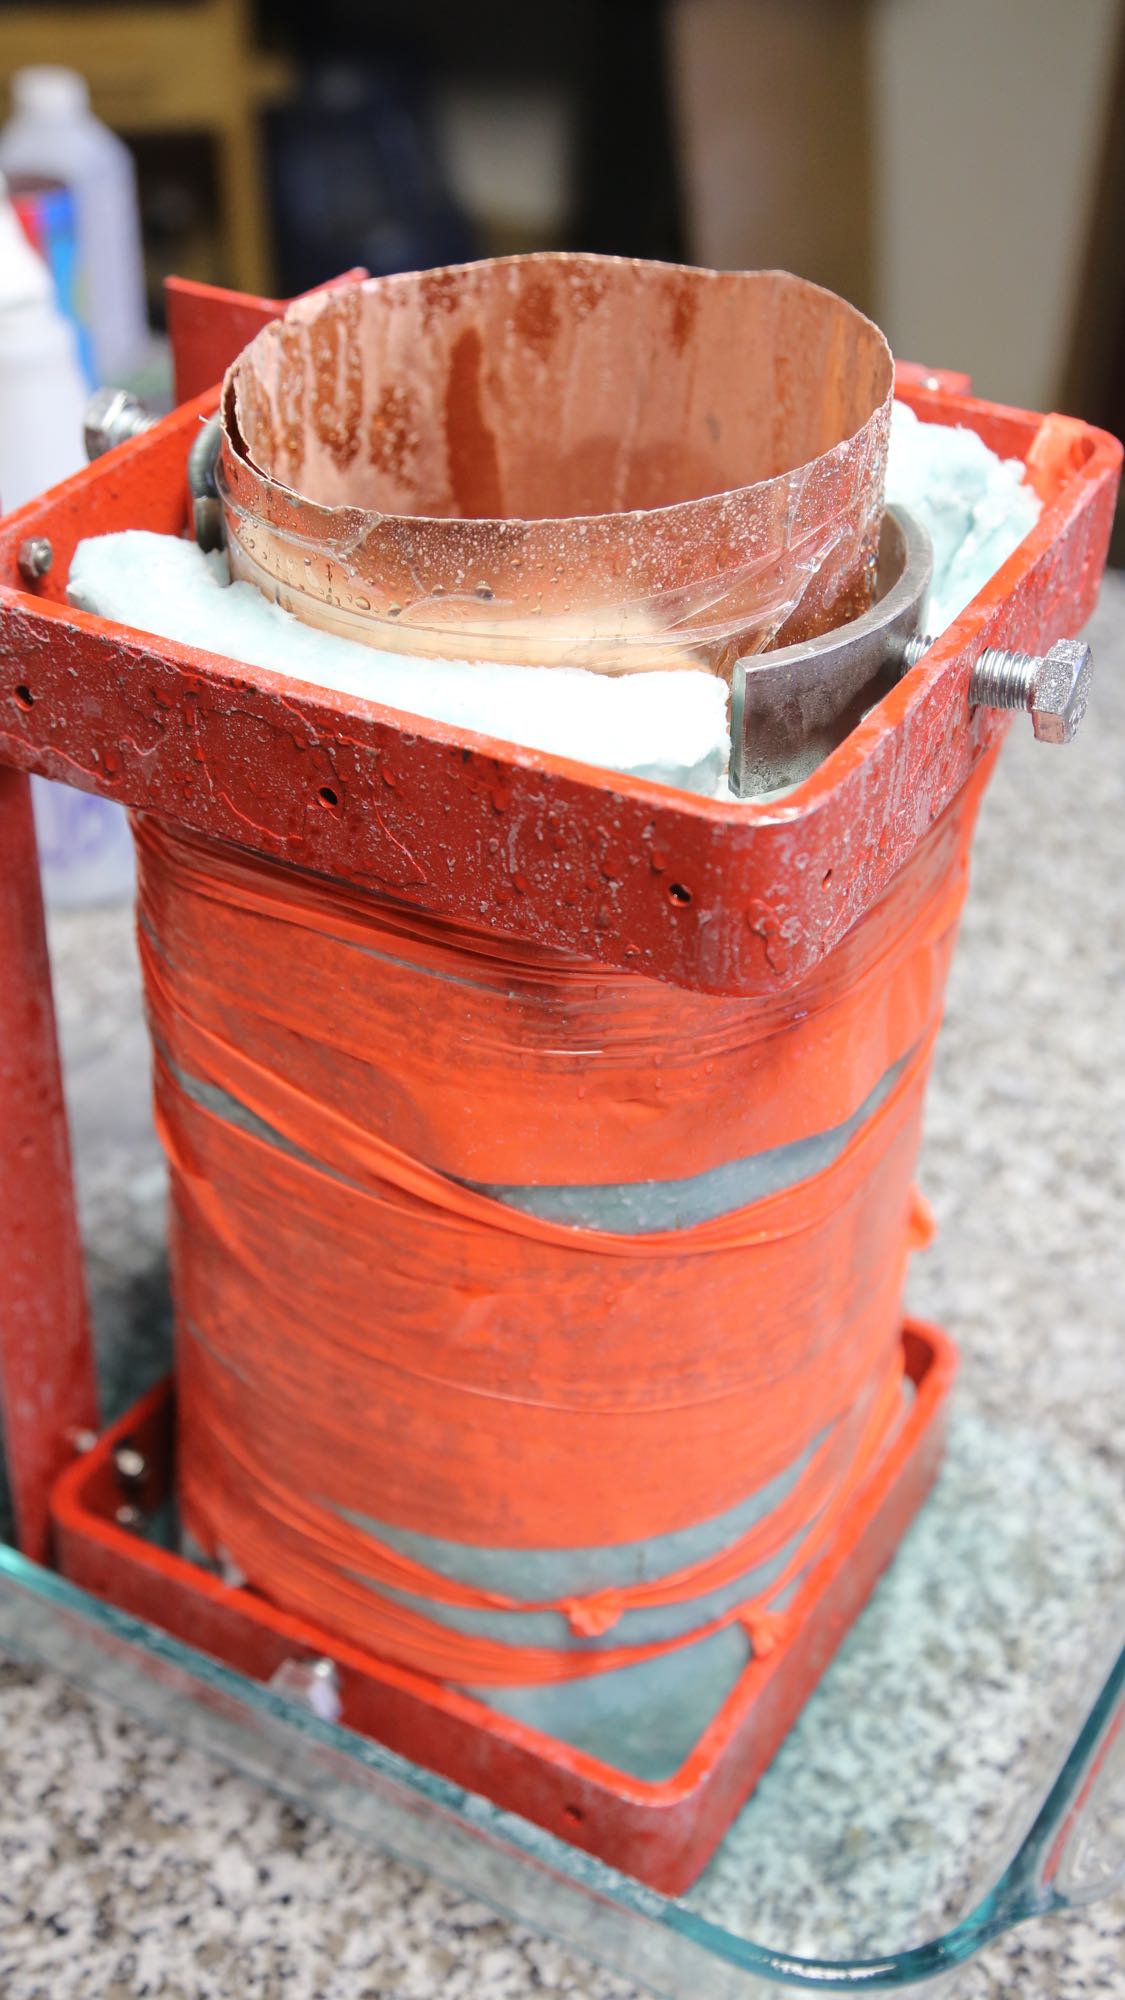
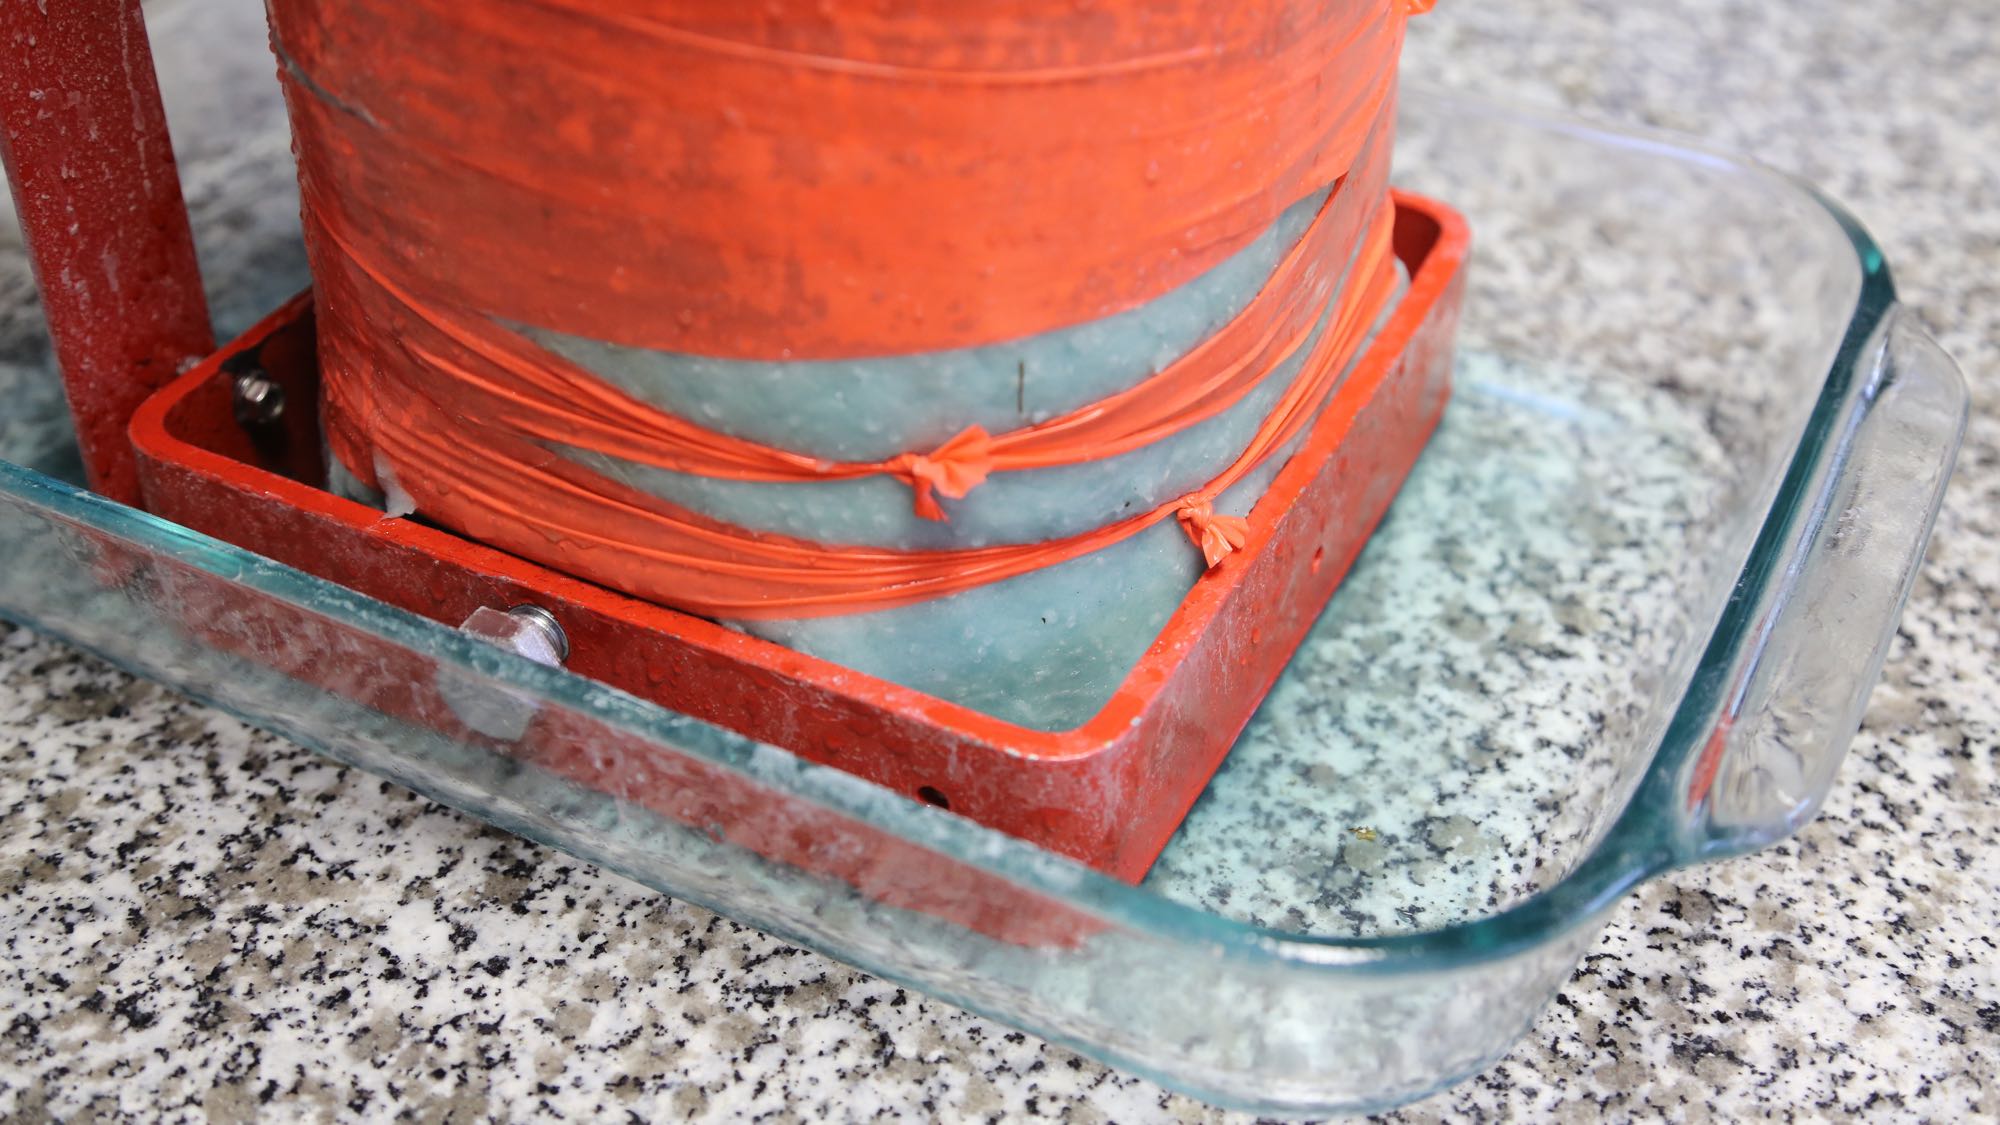
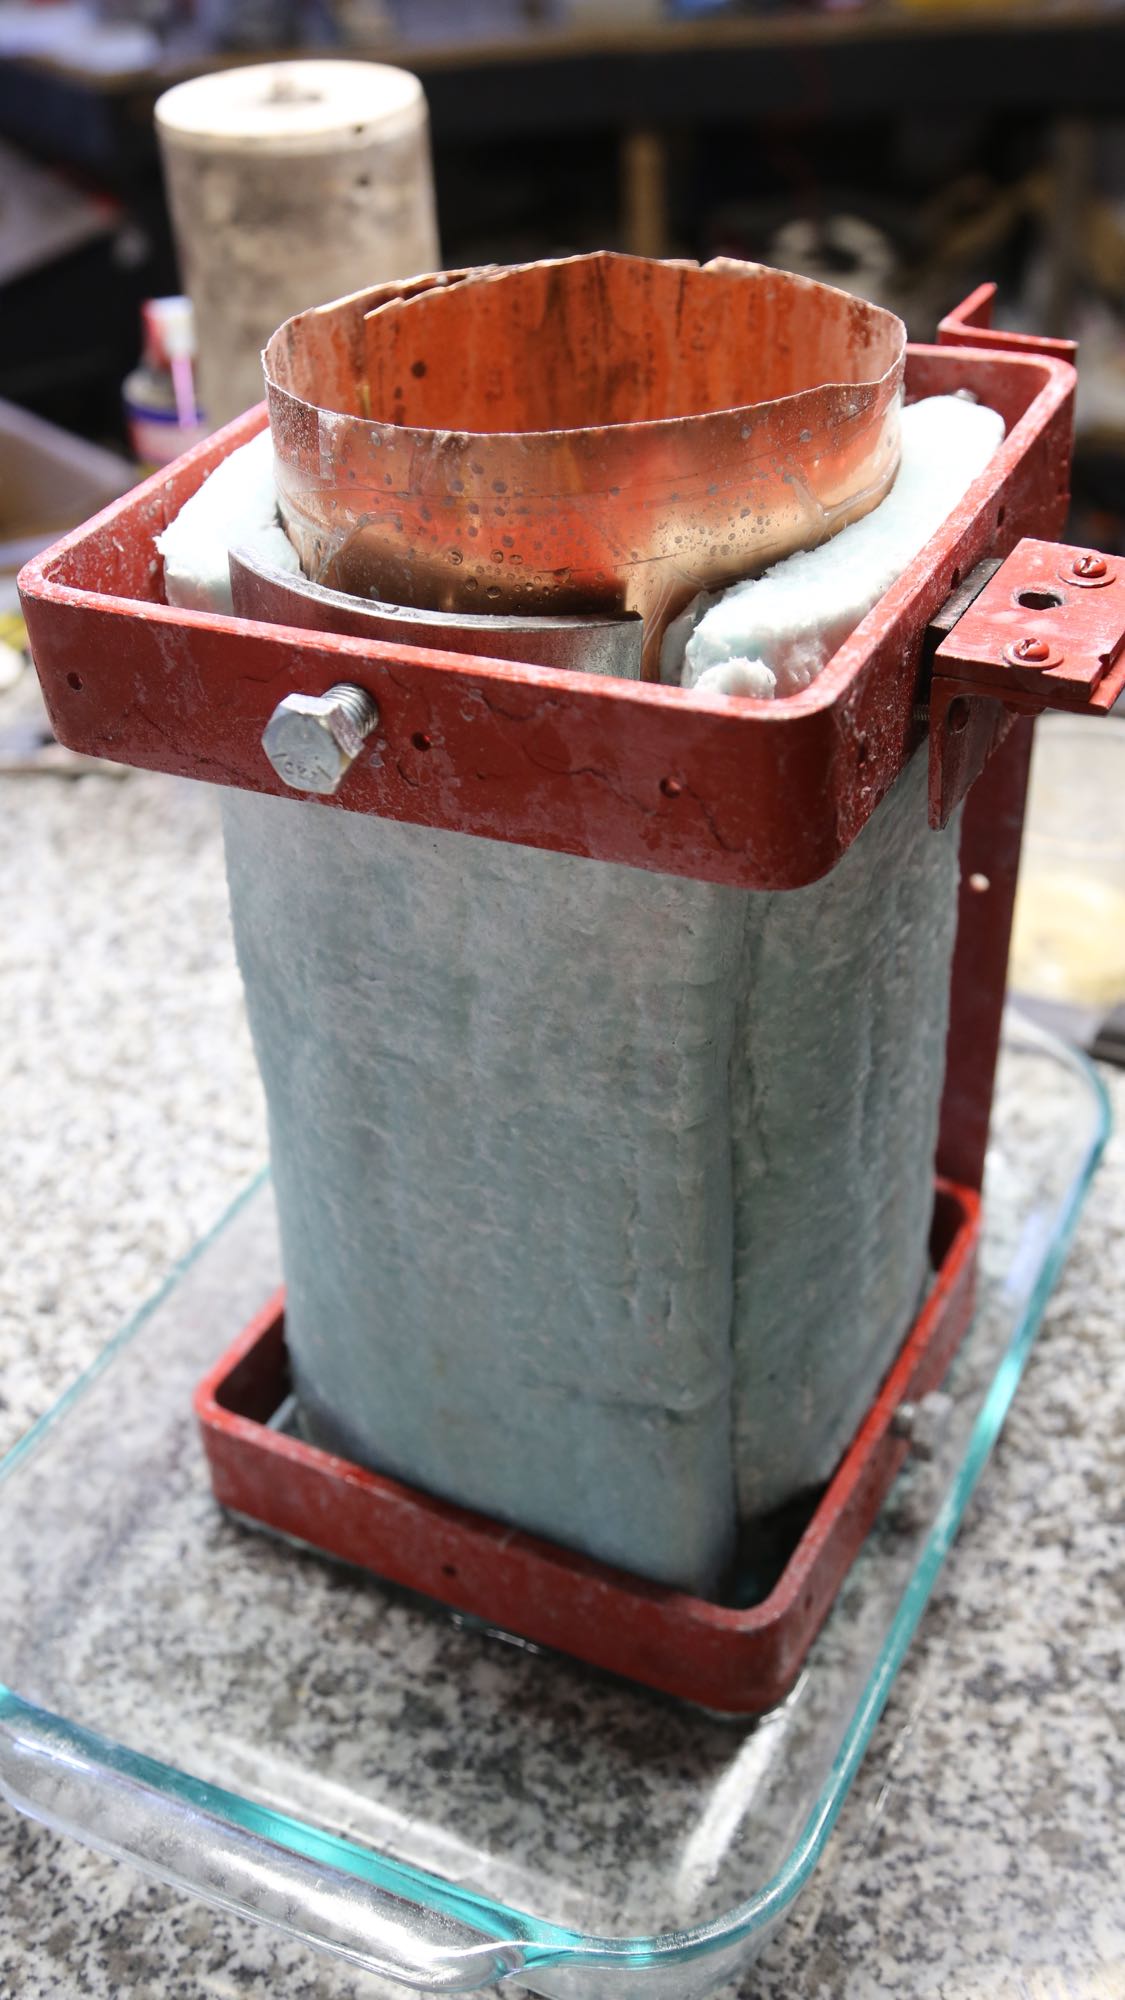
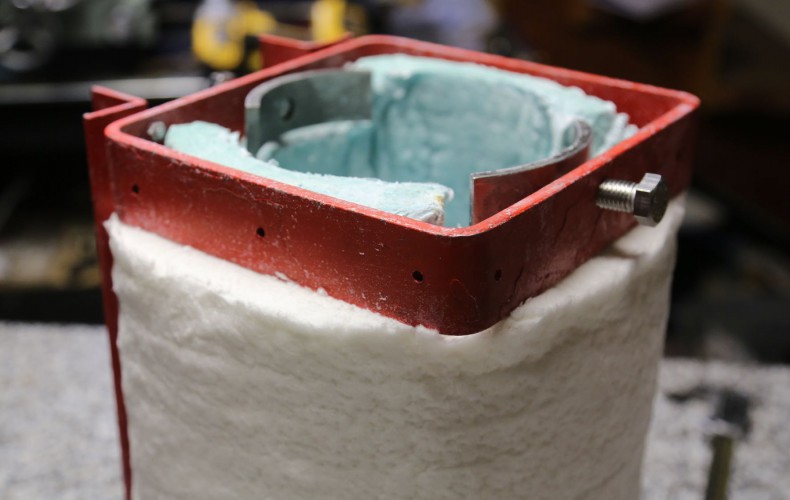
A naked furnace frame wouldn’t run very efficiently, so time for some fluffy 2600F-rated spun alumina (industrial sapphire) blanket.

We used a scrap of copper for a form and added a 1" layer of blanket around it.
We used a scrap of copper for a form and added a 1″ layer of blanket around it.
Looking nice and cozy already with more insulation to come!
A soft floppy blanket won't do as a frame to hold our SiC elements (coming soon) so we soaked the alumina blanket in colloidal silica to rigidize it (once it is dry)
A soft floppy blanket won’t do as a frame to hold our SiC elements (coming soon) so we soaked the alumina blanket in colloidal silica to rigidize it (once it is dry)
We made sure the blanket was soaked good. The orange tape was a temporary form to keep the blanket from sagging under its wet weight.
After not long it was stiff enough to remove the tape, though still quite colloidal-logged.
Wrapped up! Still wet with colloidal silica but she is really starting to look like a toasty furnace. We'll probably add one one layer of blanket - its quite light and would add considerable more efficiency.
Wrapped up! Still wet with colloidal silica but she is really starting to look like a toasty furnace. We’ll probably add one one layer of blanket – its quite light and would add considerable more efficiency.
Furnace Frame Rebuild

Furnace Frame Rebuild

Once the furnace was re-designed (prior post), of course the next step is to implement it.

Here Christian is cutting some stainless chips like a metal shop champ
Taking our time cutting the hard stuff
Stainless steel collars cut and drilled
Tap tap tap and some more tapping
Frame stripped down. Added some new threaded holes to clamp our thermal blanket.
A few coats of 2000F rated paint to protect the steel
Ready to reassemble.
We took the rebuild opportunity to add an additional thermal break
All ready for the refractory blanket insulation installation
1500C Furnace Redesign

1500C Furnace Redesign

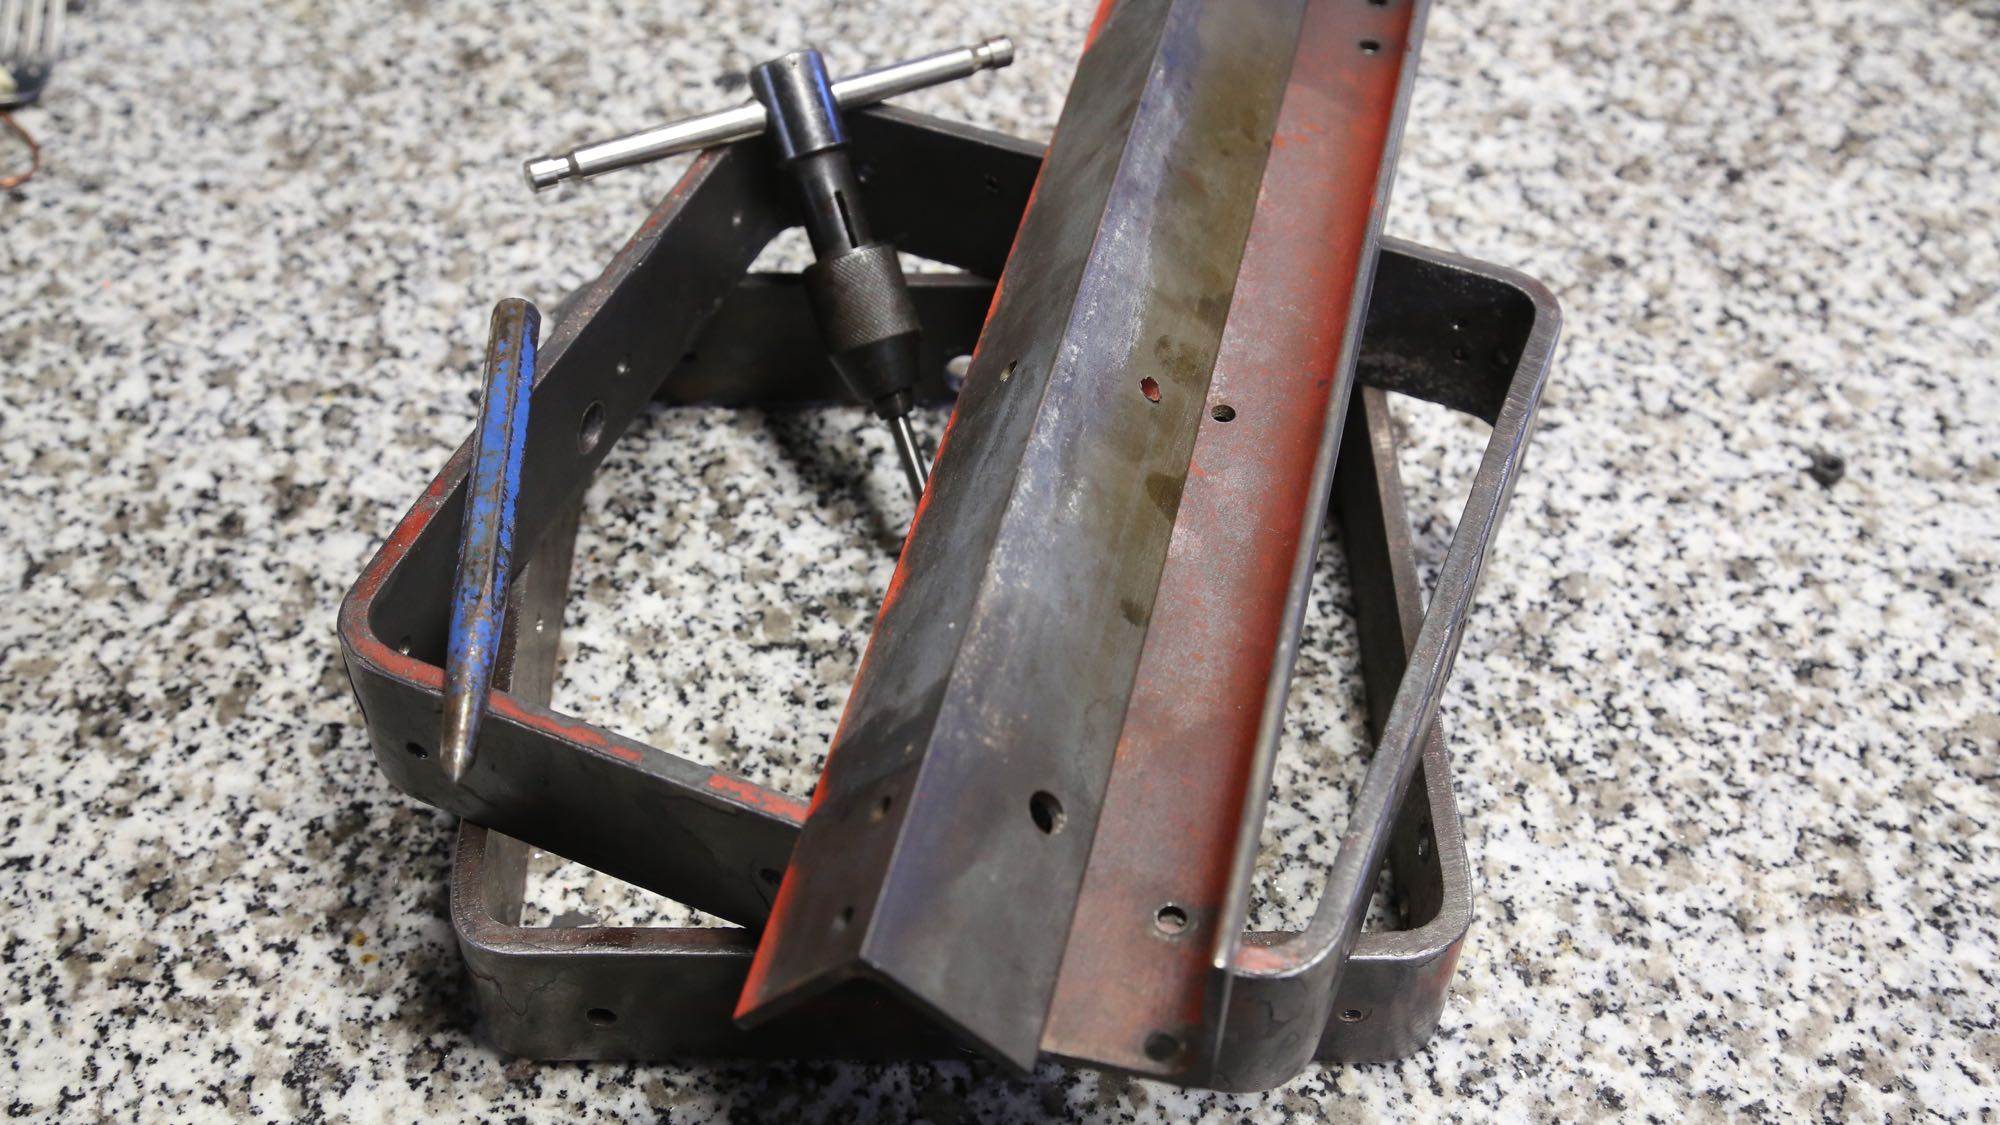
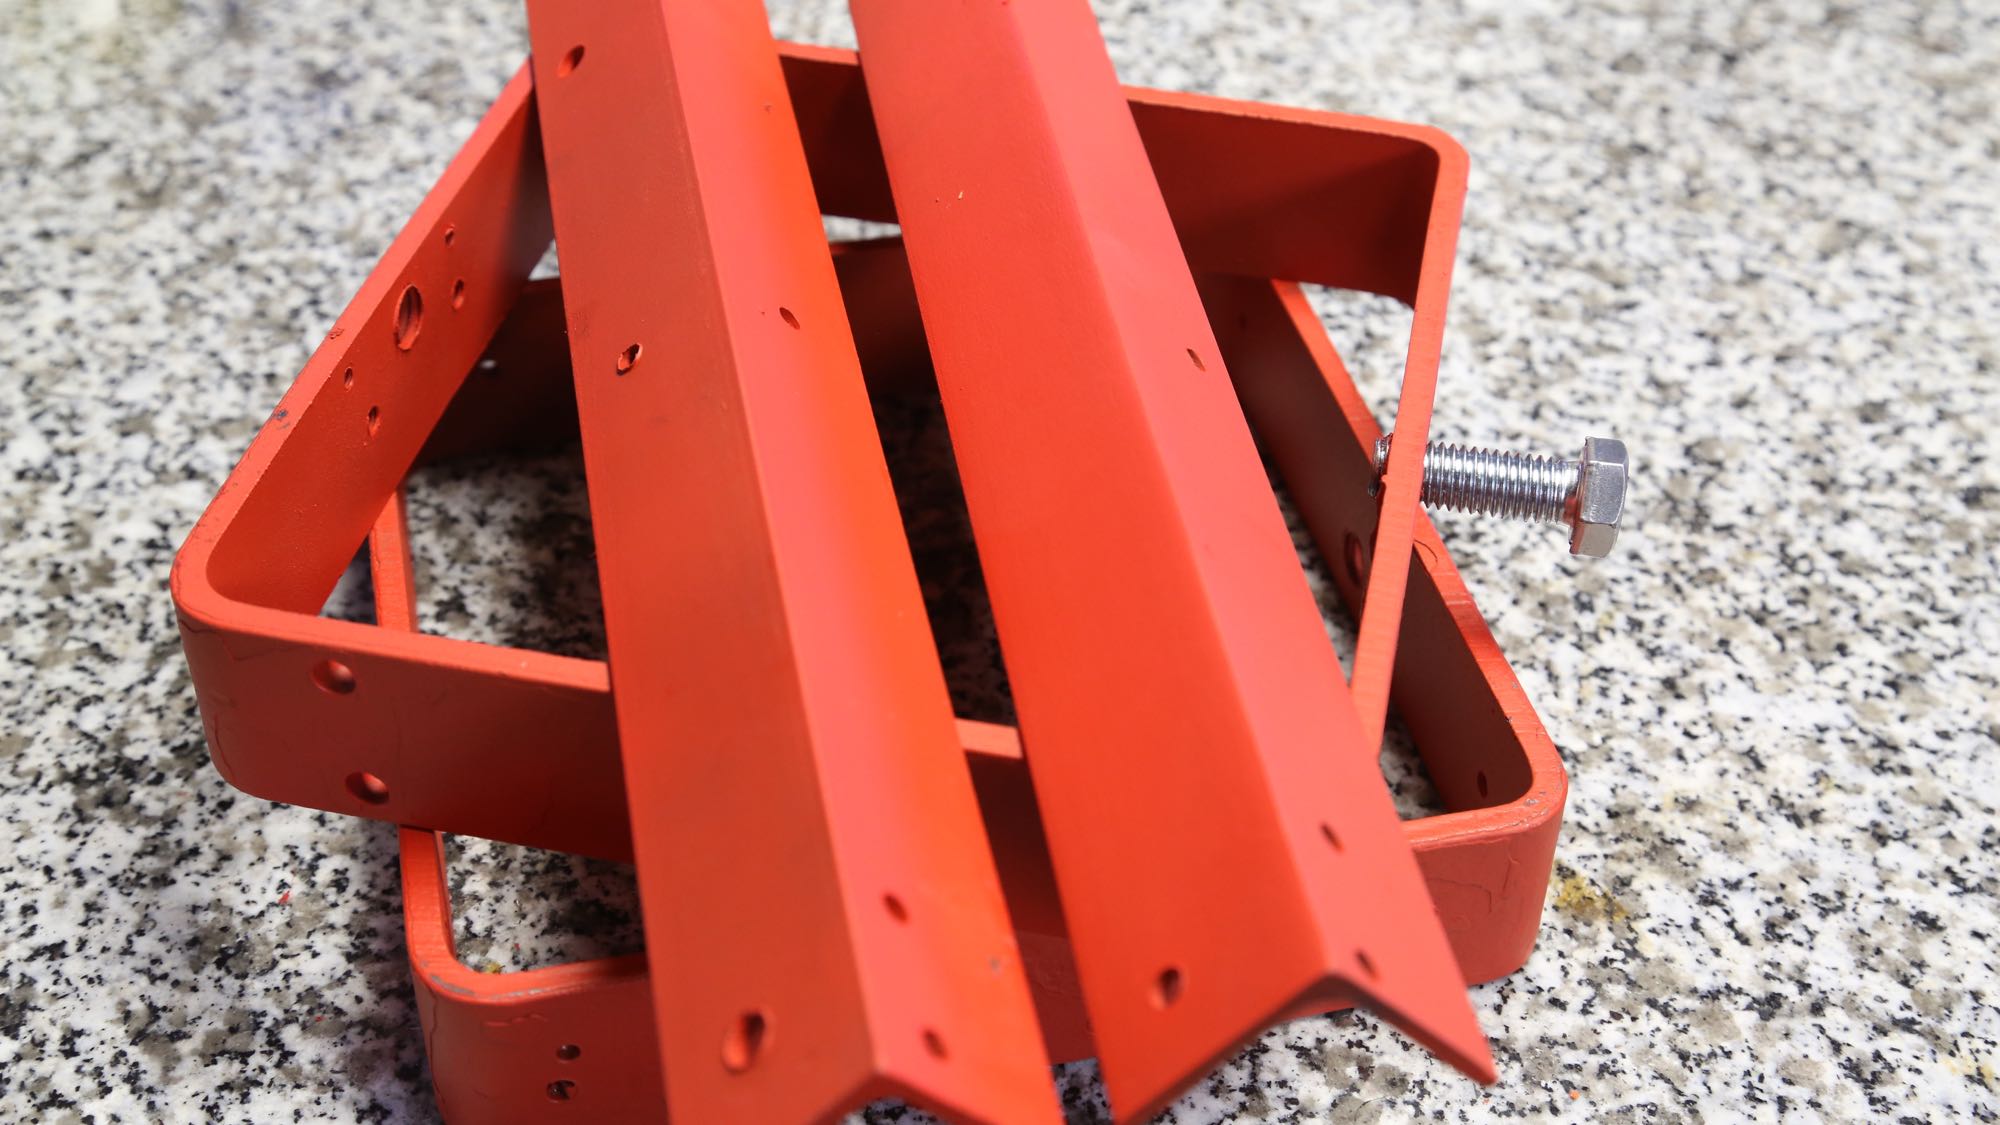
As much as I would prefer to only report success we are learning a lot which means of course means making some mistakes along the way.

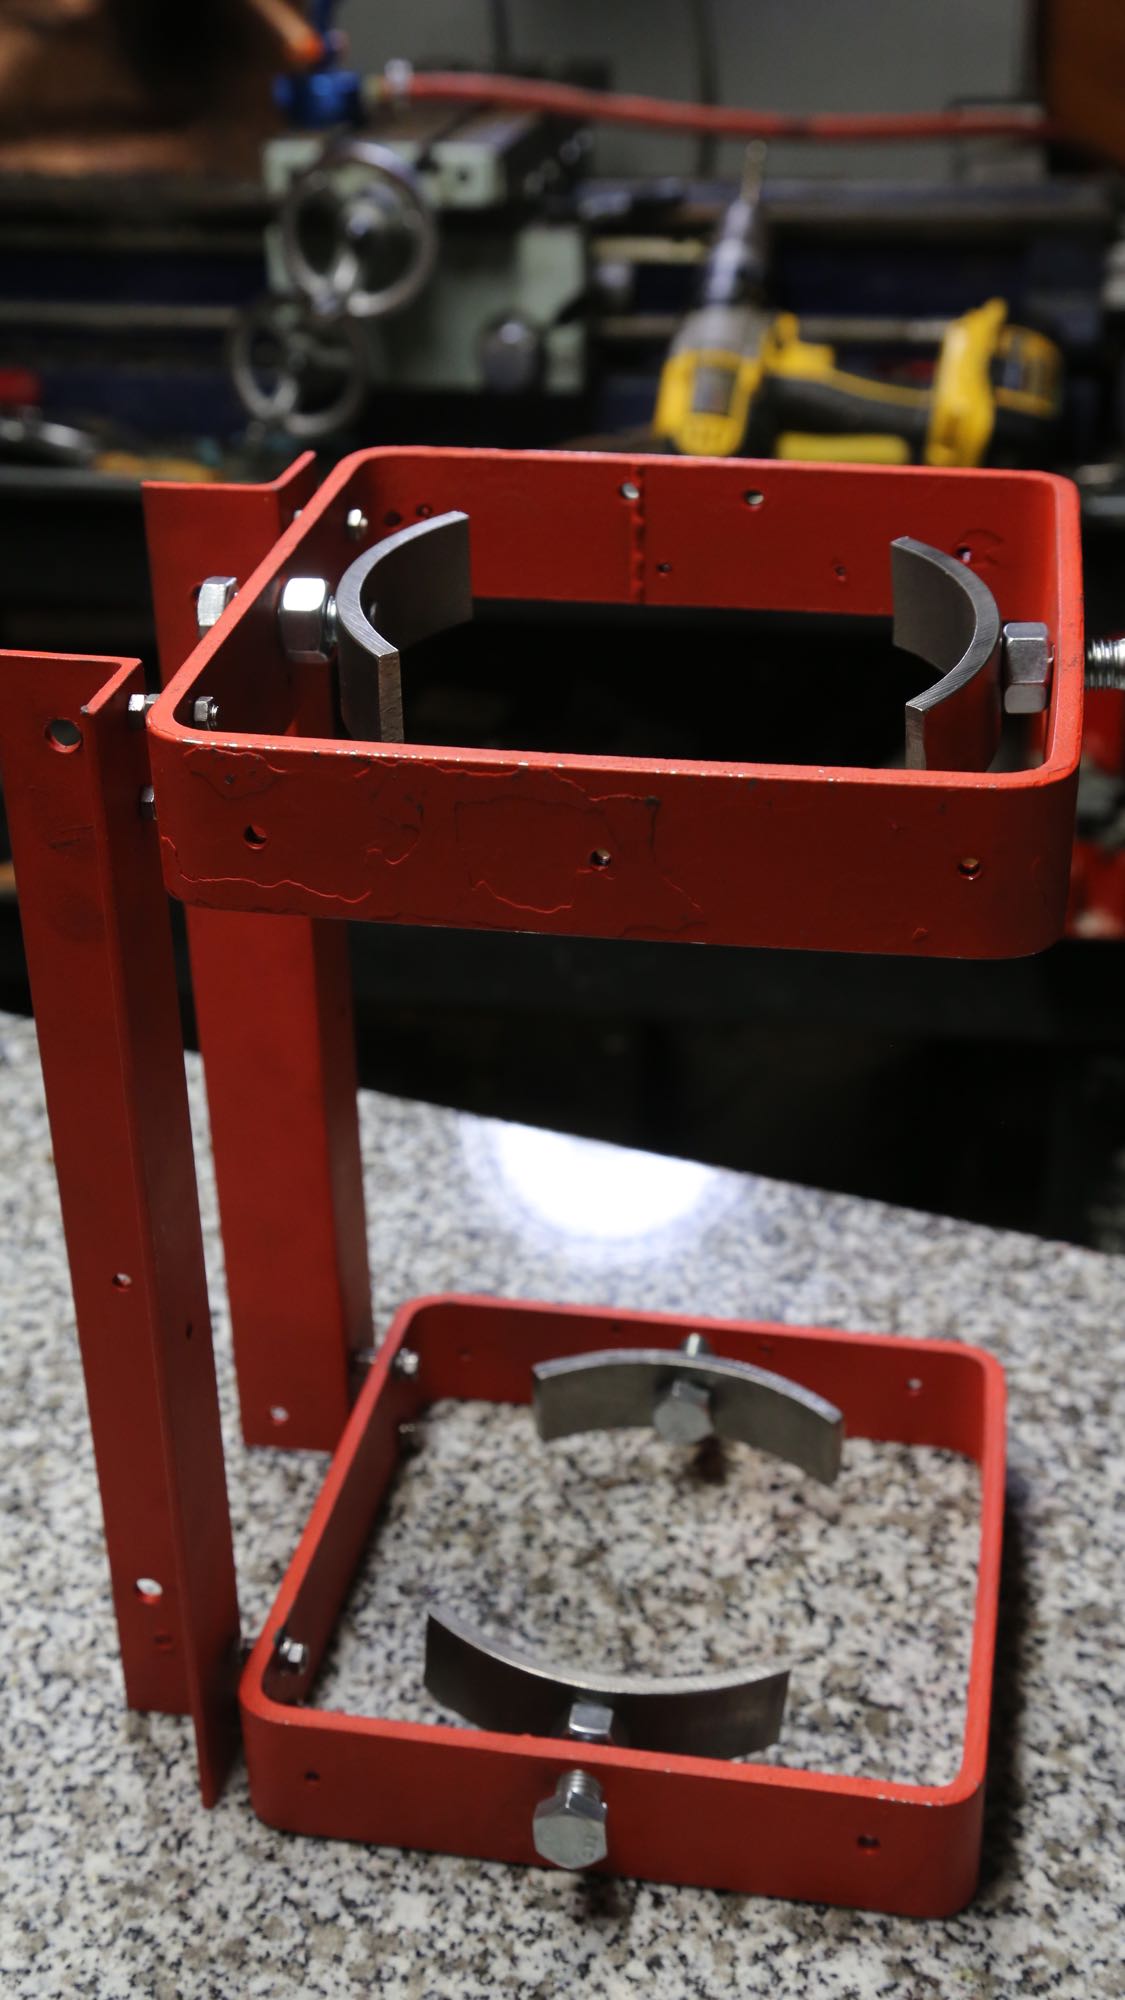
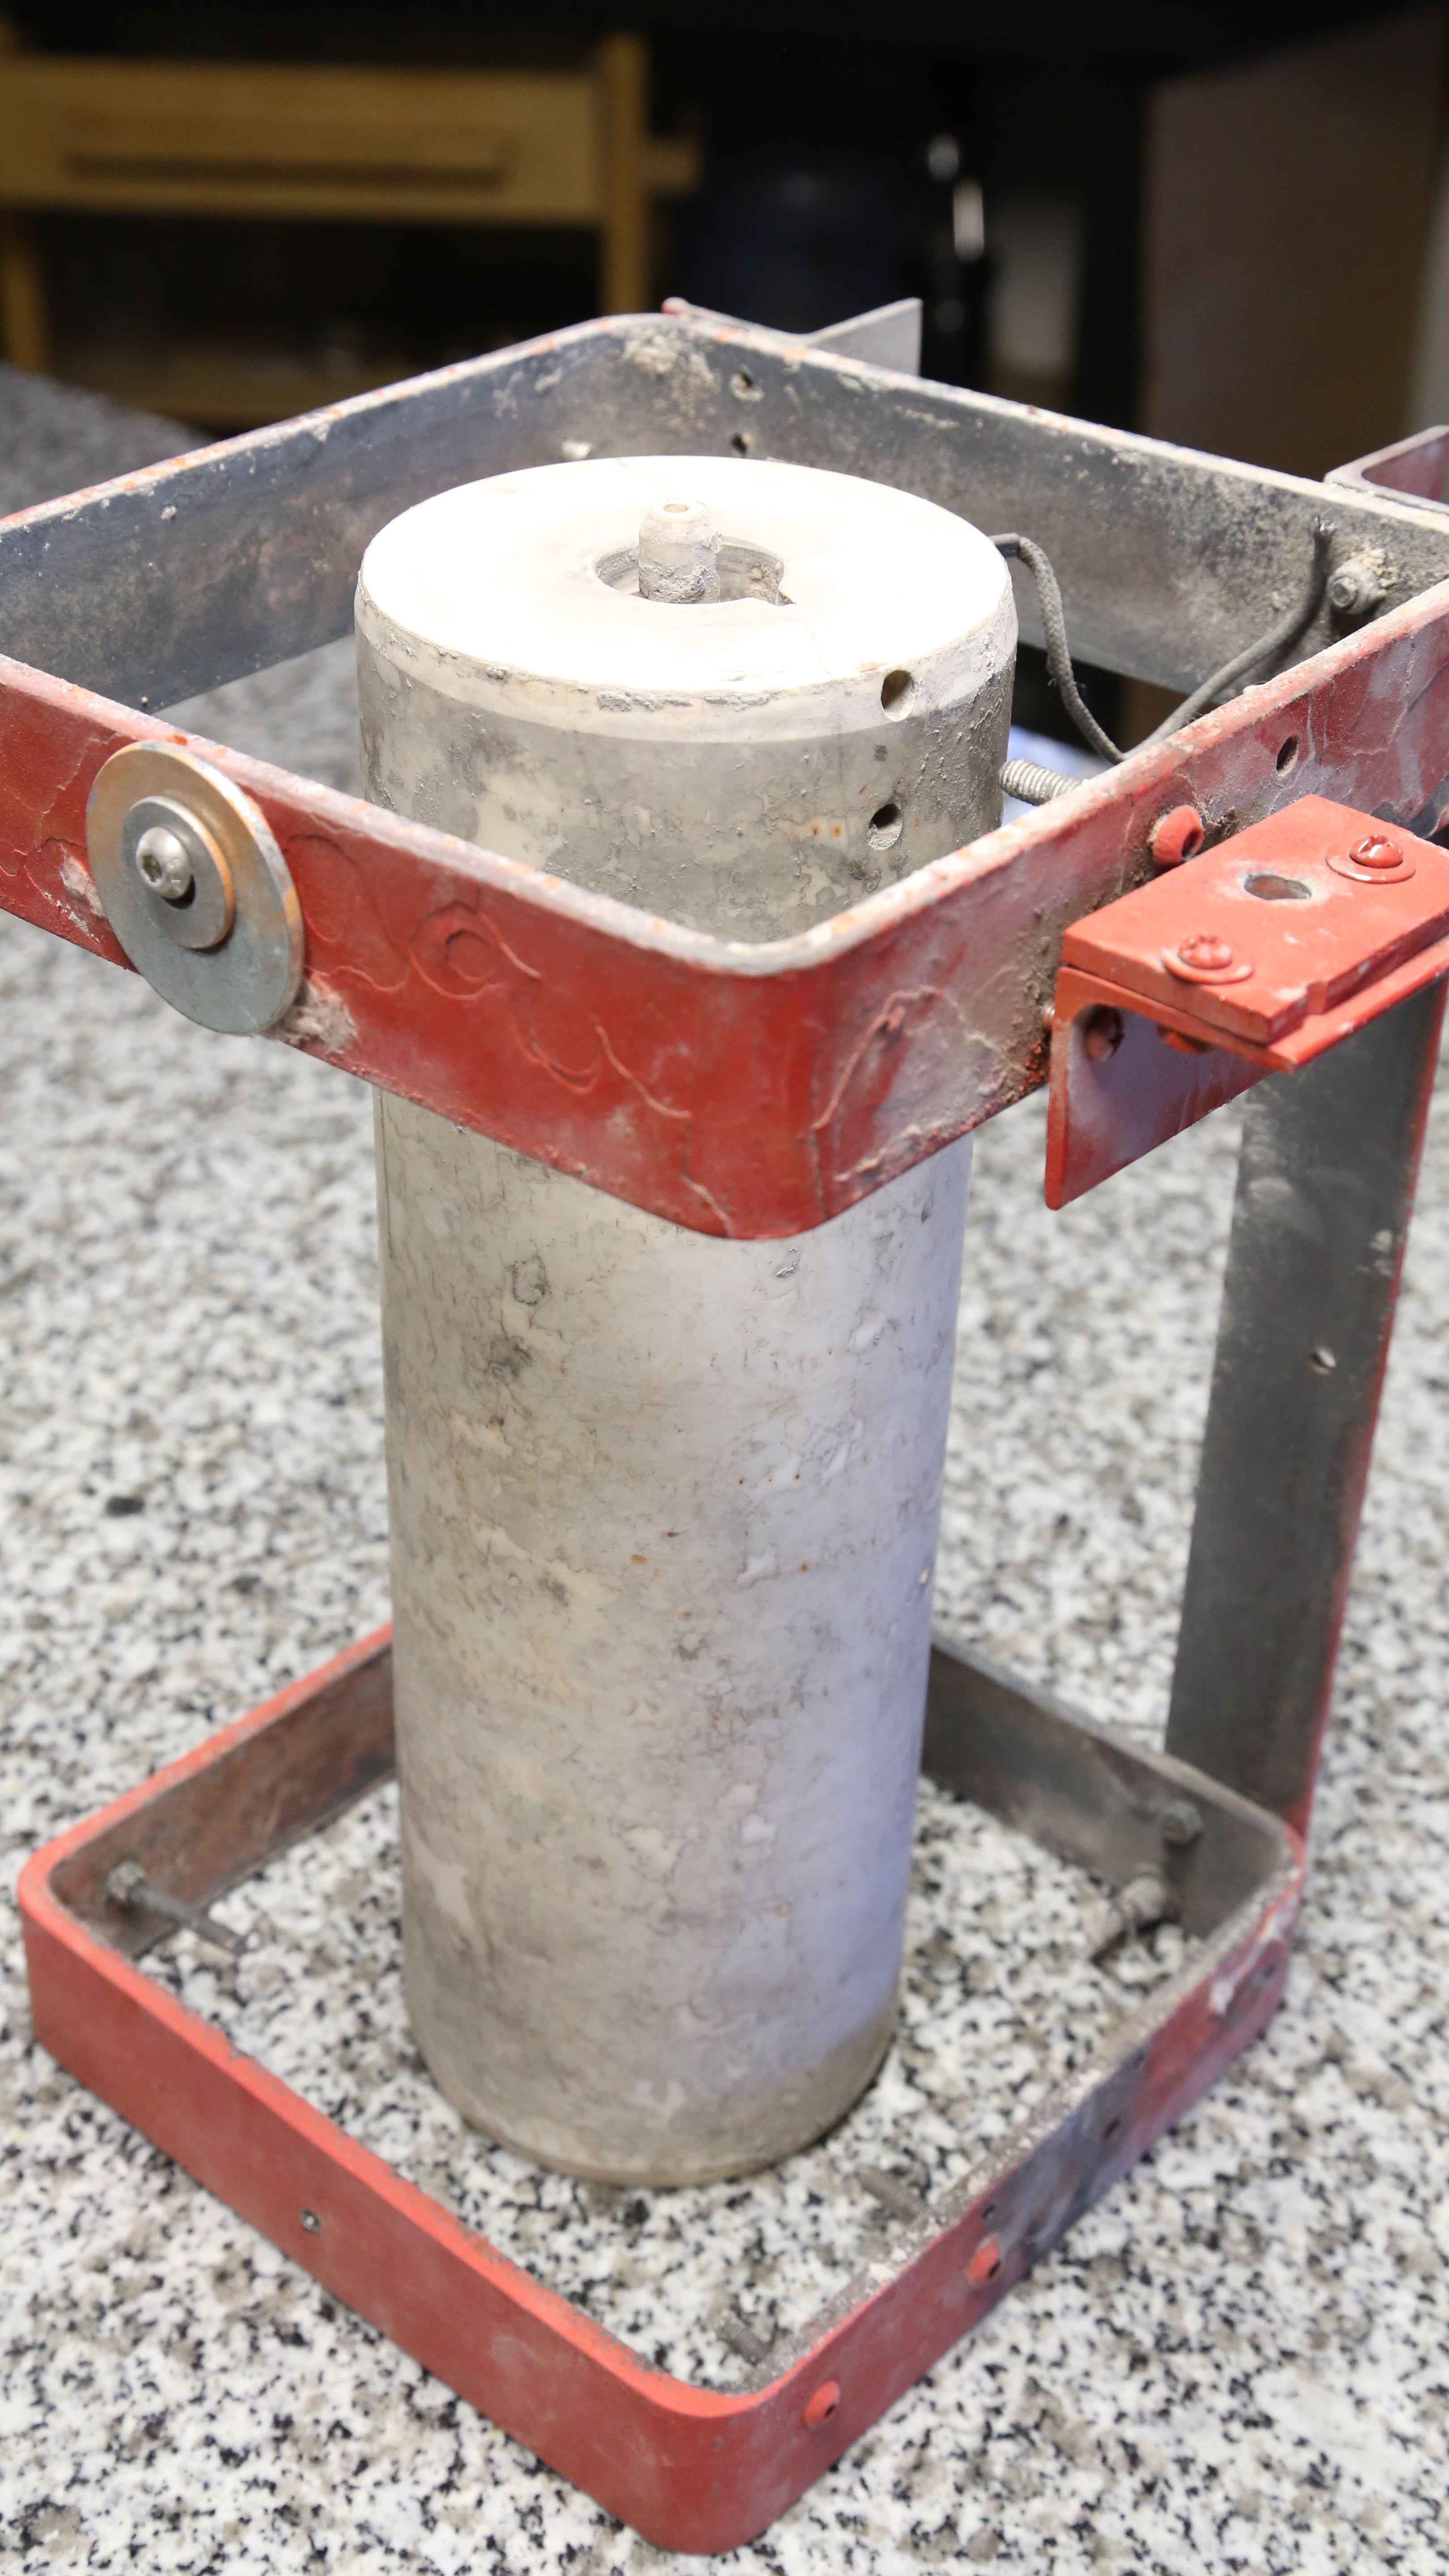
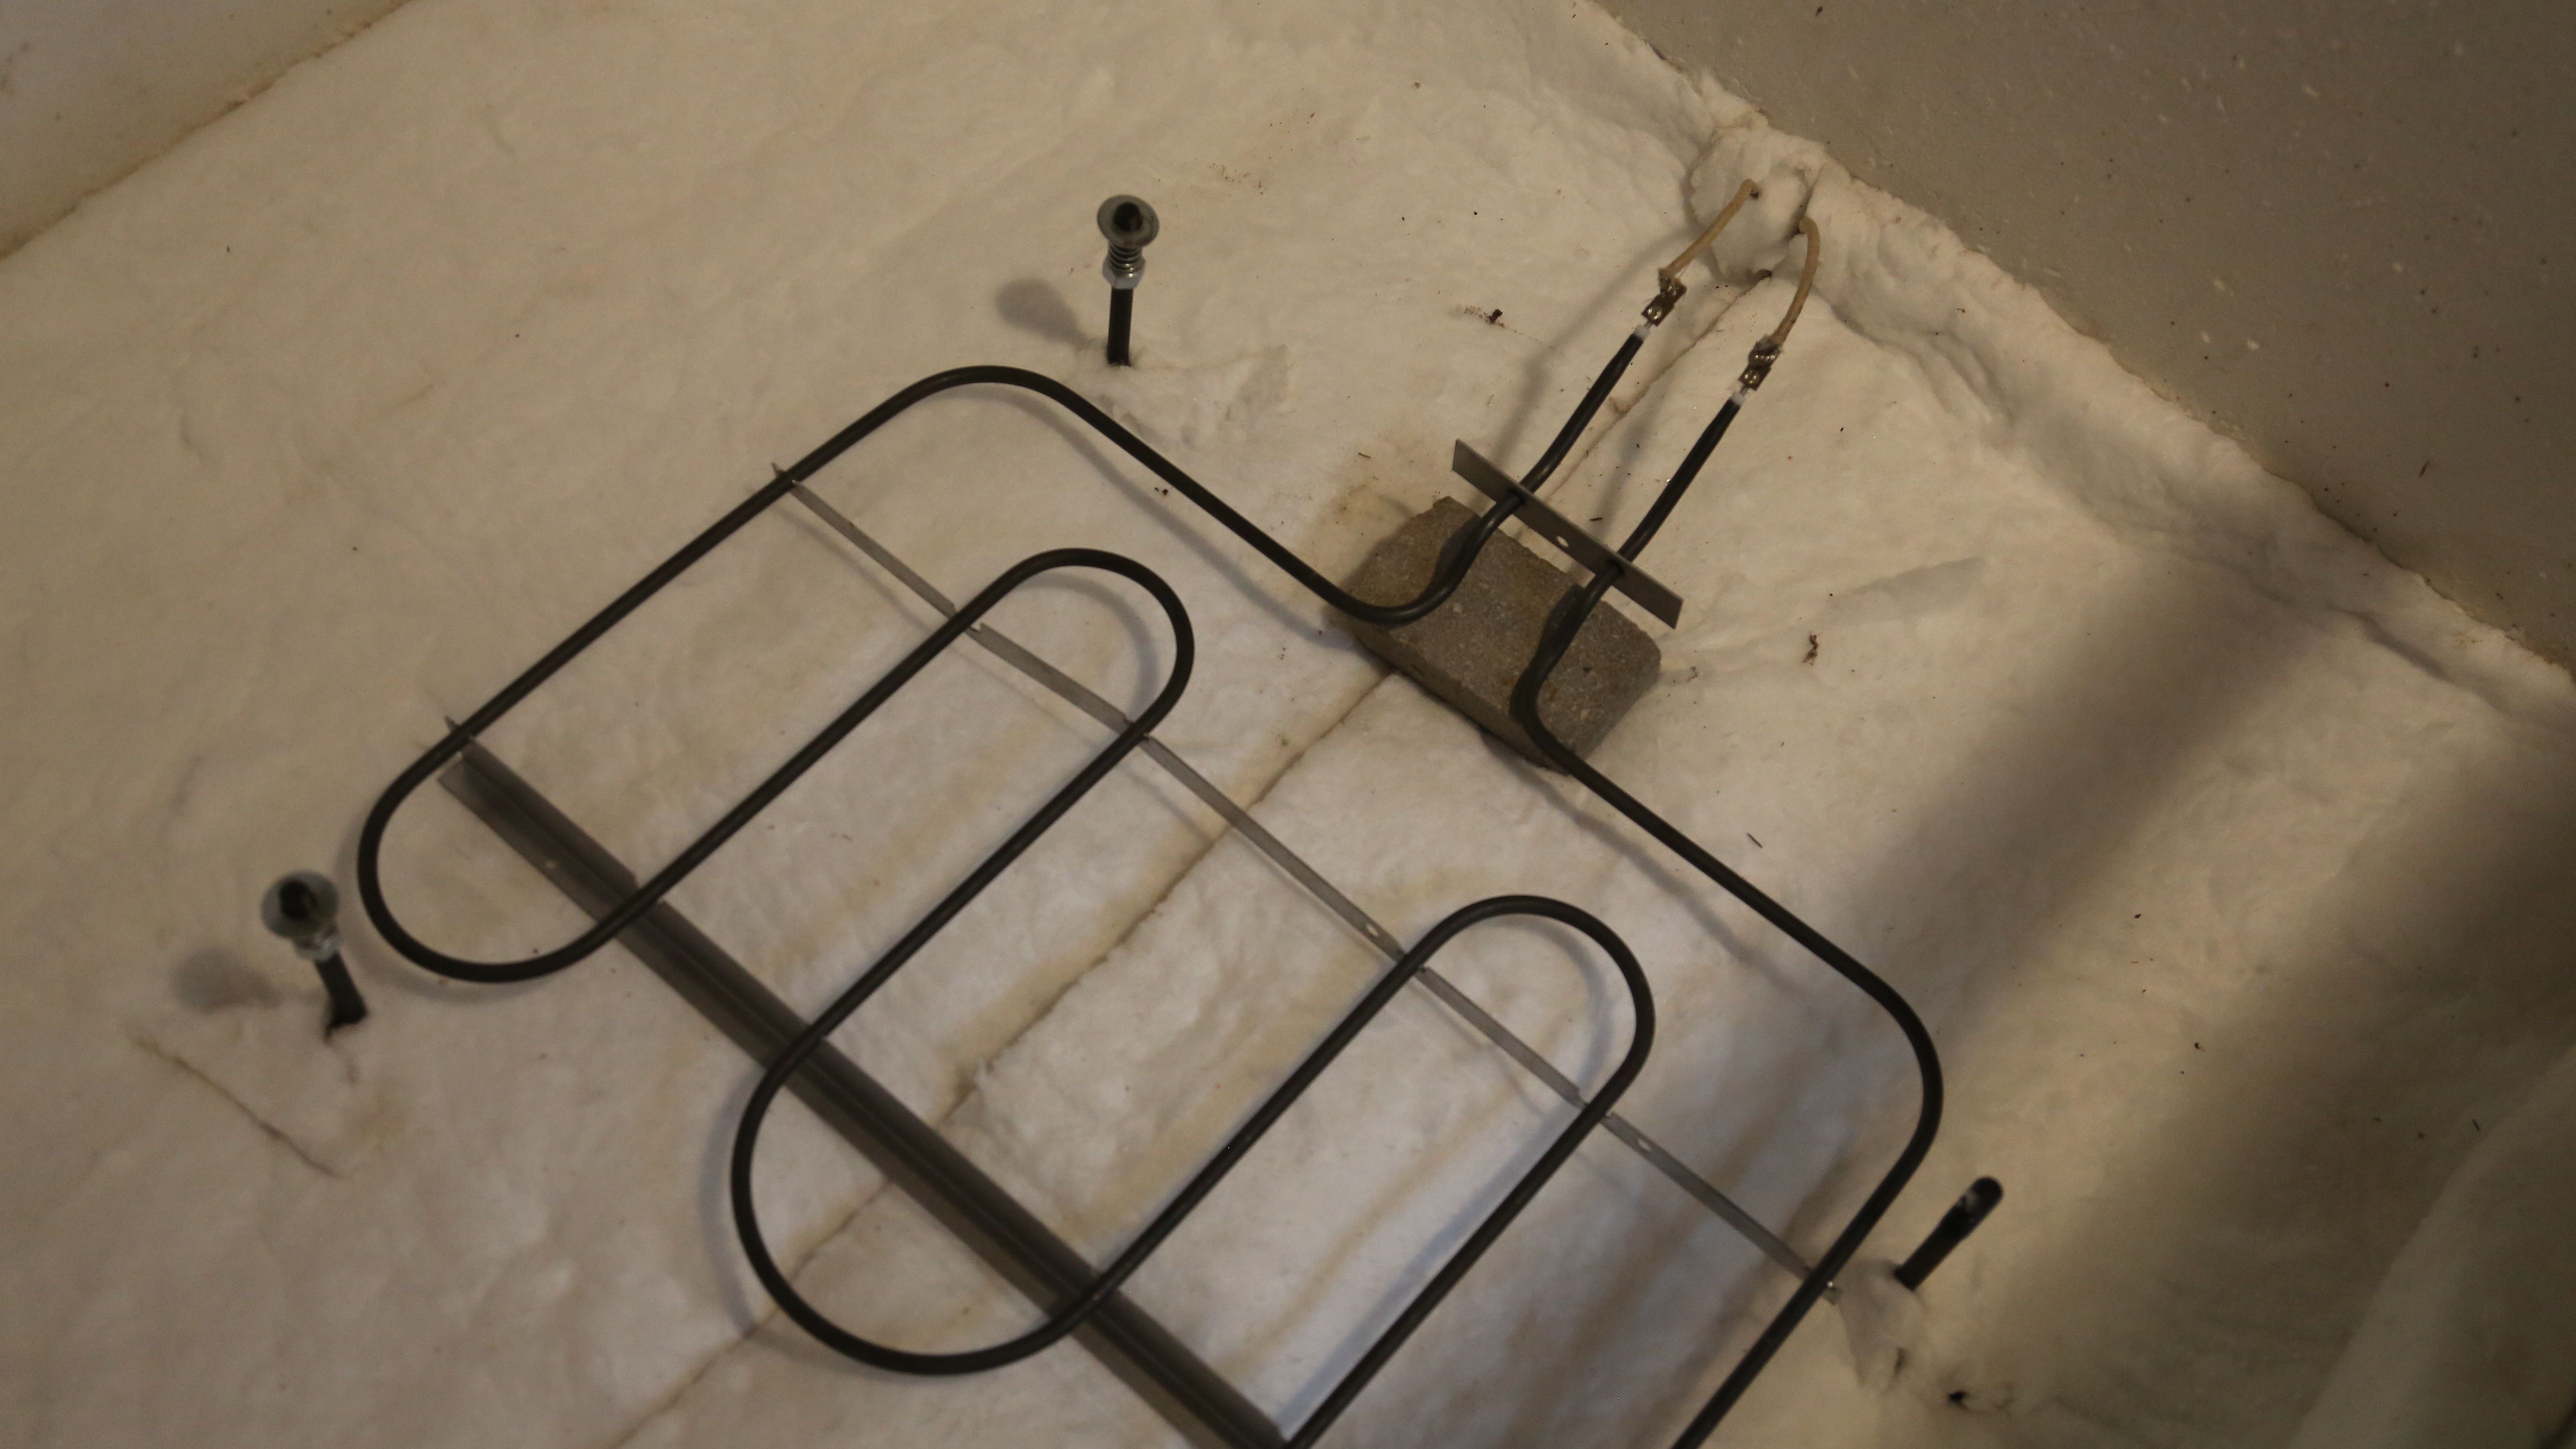
The first design of our glass melting furnace relied on a 2KW wire heater. After installing the wire we found that it only deliver 1.3KW at best. In addition, burying the metal wire in castable refractory was likely a fatal mistake, because I now suspect that the wire needs to be able contract and expand each operating cycle. Even if it didn’t there is a chance that at operating temperatures the refractory (which is a good insulator at room temperature) could have become conducive at working temps — potentially shorting out the entire heater coil.

In addition, even if the coil had operated at 2KW for any length of time (ignoring the above) it would have taken a long time to heat up and likely struggle to maintain the desired temperatures. In other words, it was vastly underpowered.

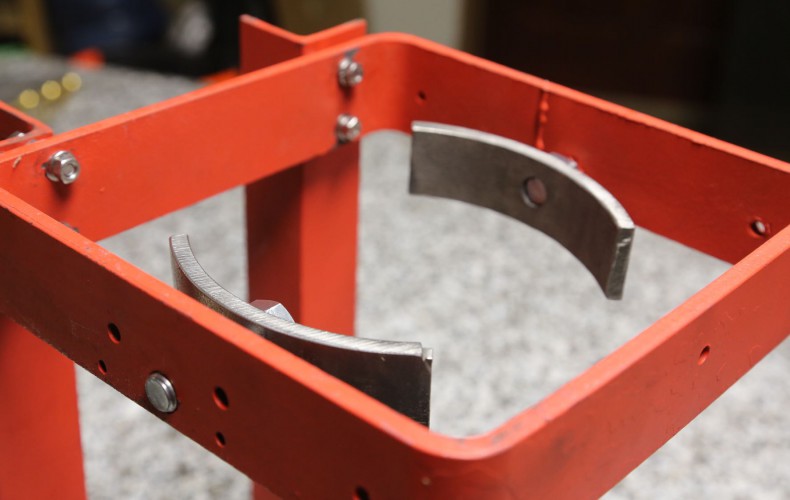
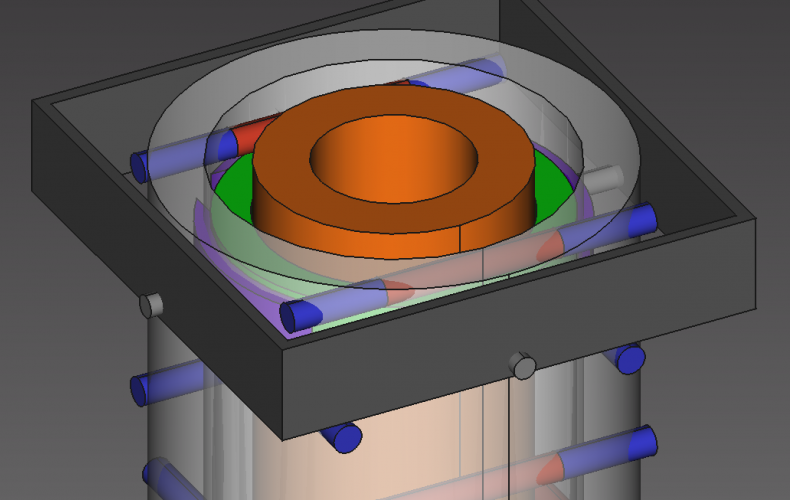
The new design is based a 7KW system comprised of Silicon Carbide (SiC) heating elements (ED shape). In addition to heating up rapidly, the new setup will allow us to operate continuously 1500C. This will allow us to print borosilicate (Pyrex®) and possibly interesting things like (fired) ceramics and de-composed granite (that is what the “dirt” we are sitting on top of is mostly comprised of).

XB7A1797
Sometimes you have to break an egg to make omelet. It was sad to tear apart, but it will be oh-so-much for the better.
XB7A1802
All stripped done ready for the much improved design. OK tearing it down wasn’t so bad after all.
Screen Shot 2015-10-14 at 1.14.04 PM
Orange is our alumina crucible. The transparent shell represents the lightweight fiber blanket that will be used in place of much heavier (and thus less insulating) refractory used previously. The blue section of each rod is the cold zone of our SiC heater rods, with the hot section shown in red. Electrodes attach to each of the blue ends.
XB7A1792
Tiny little SiC test coil running 2.0 amps at 41 volts (only 92 watts, we will be running 7,000!). Pretty much melts glass instantaneously. The 2300F rated fiber blanket bonded to it (won’t happen in our actual design).

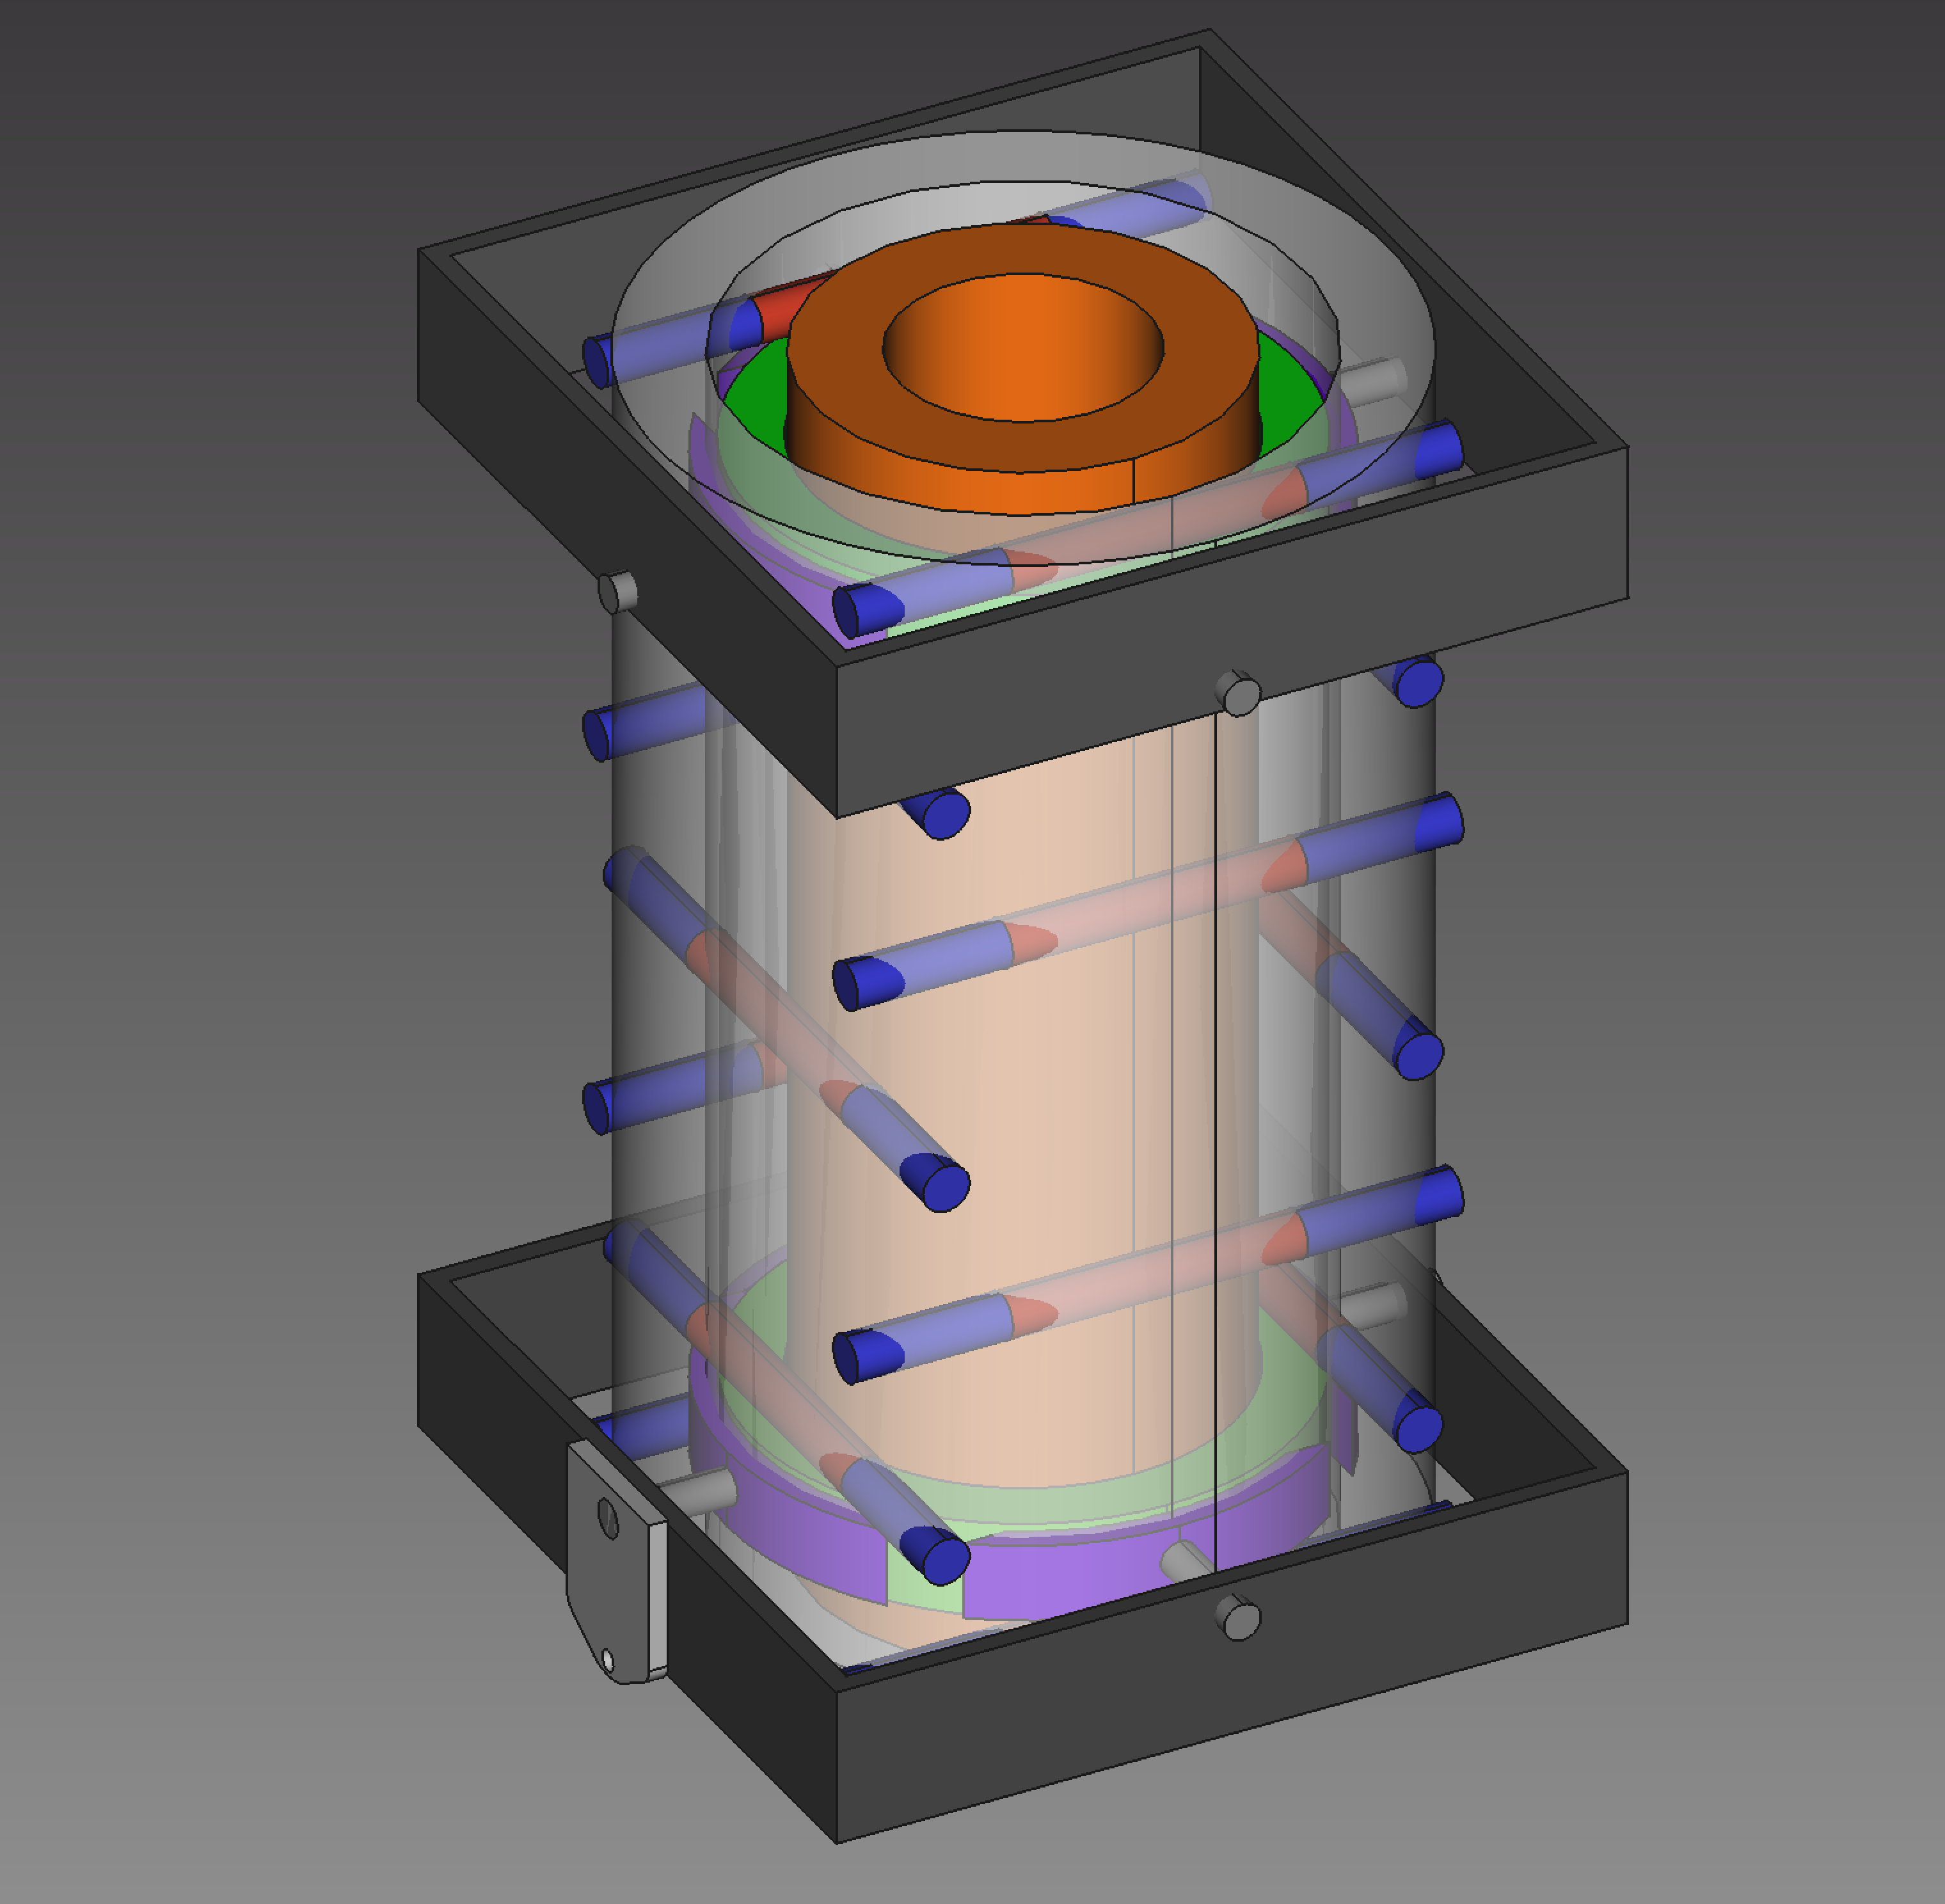
So while it has been a bit of a misstep, it will only be for the better. Our set of custom SiC rods are currently being fabricated in China and will hopefully ship to us this week. All other aspects our massive printer have been tried and verified to work. More soon.

Heating Up

Heating Up

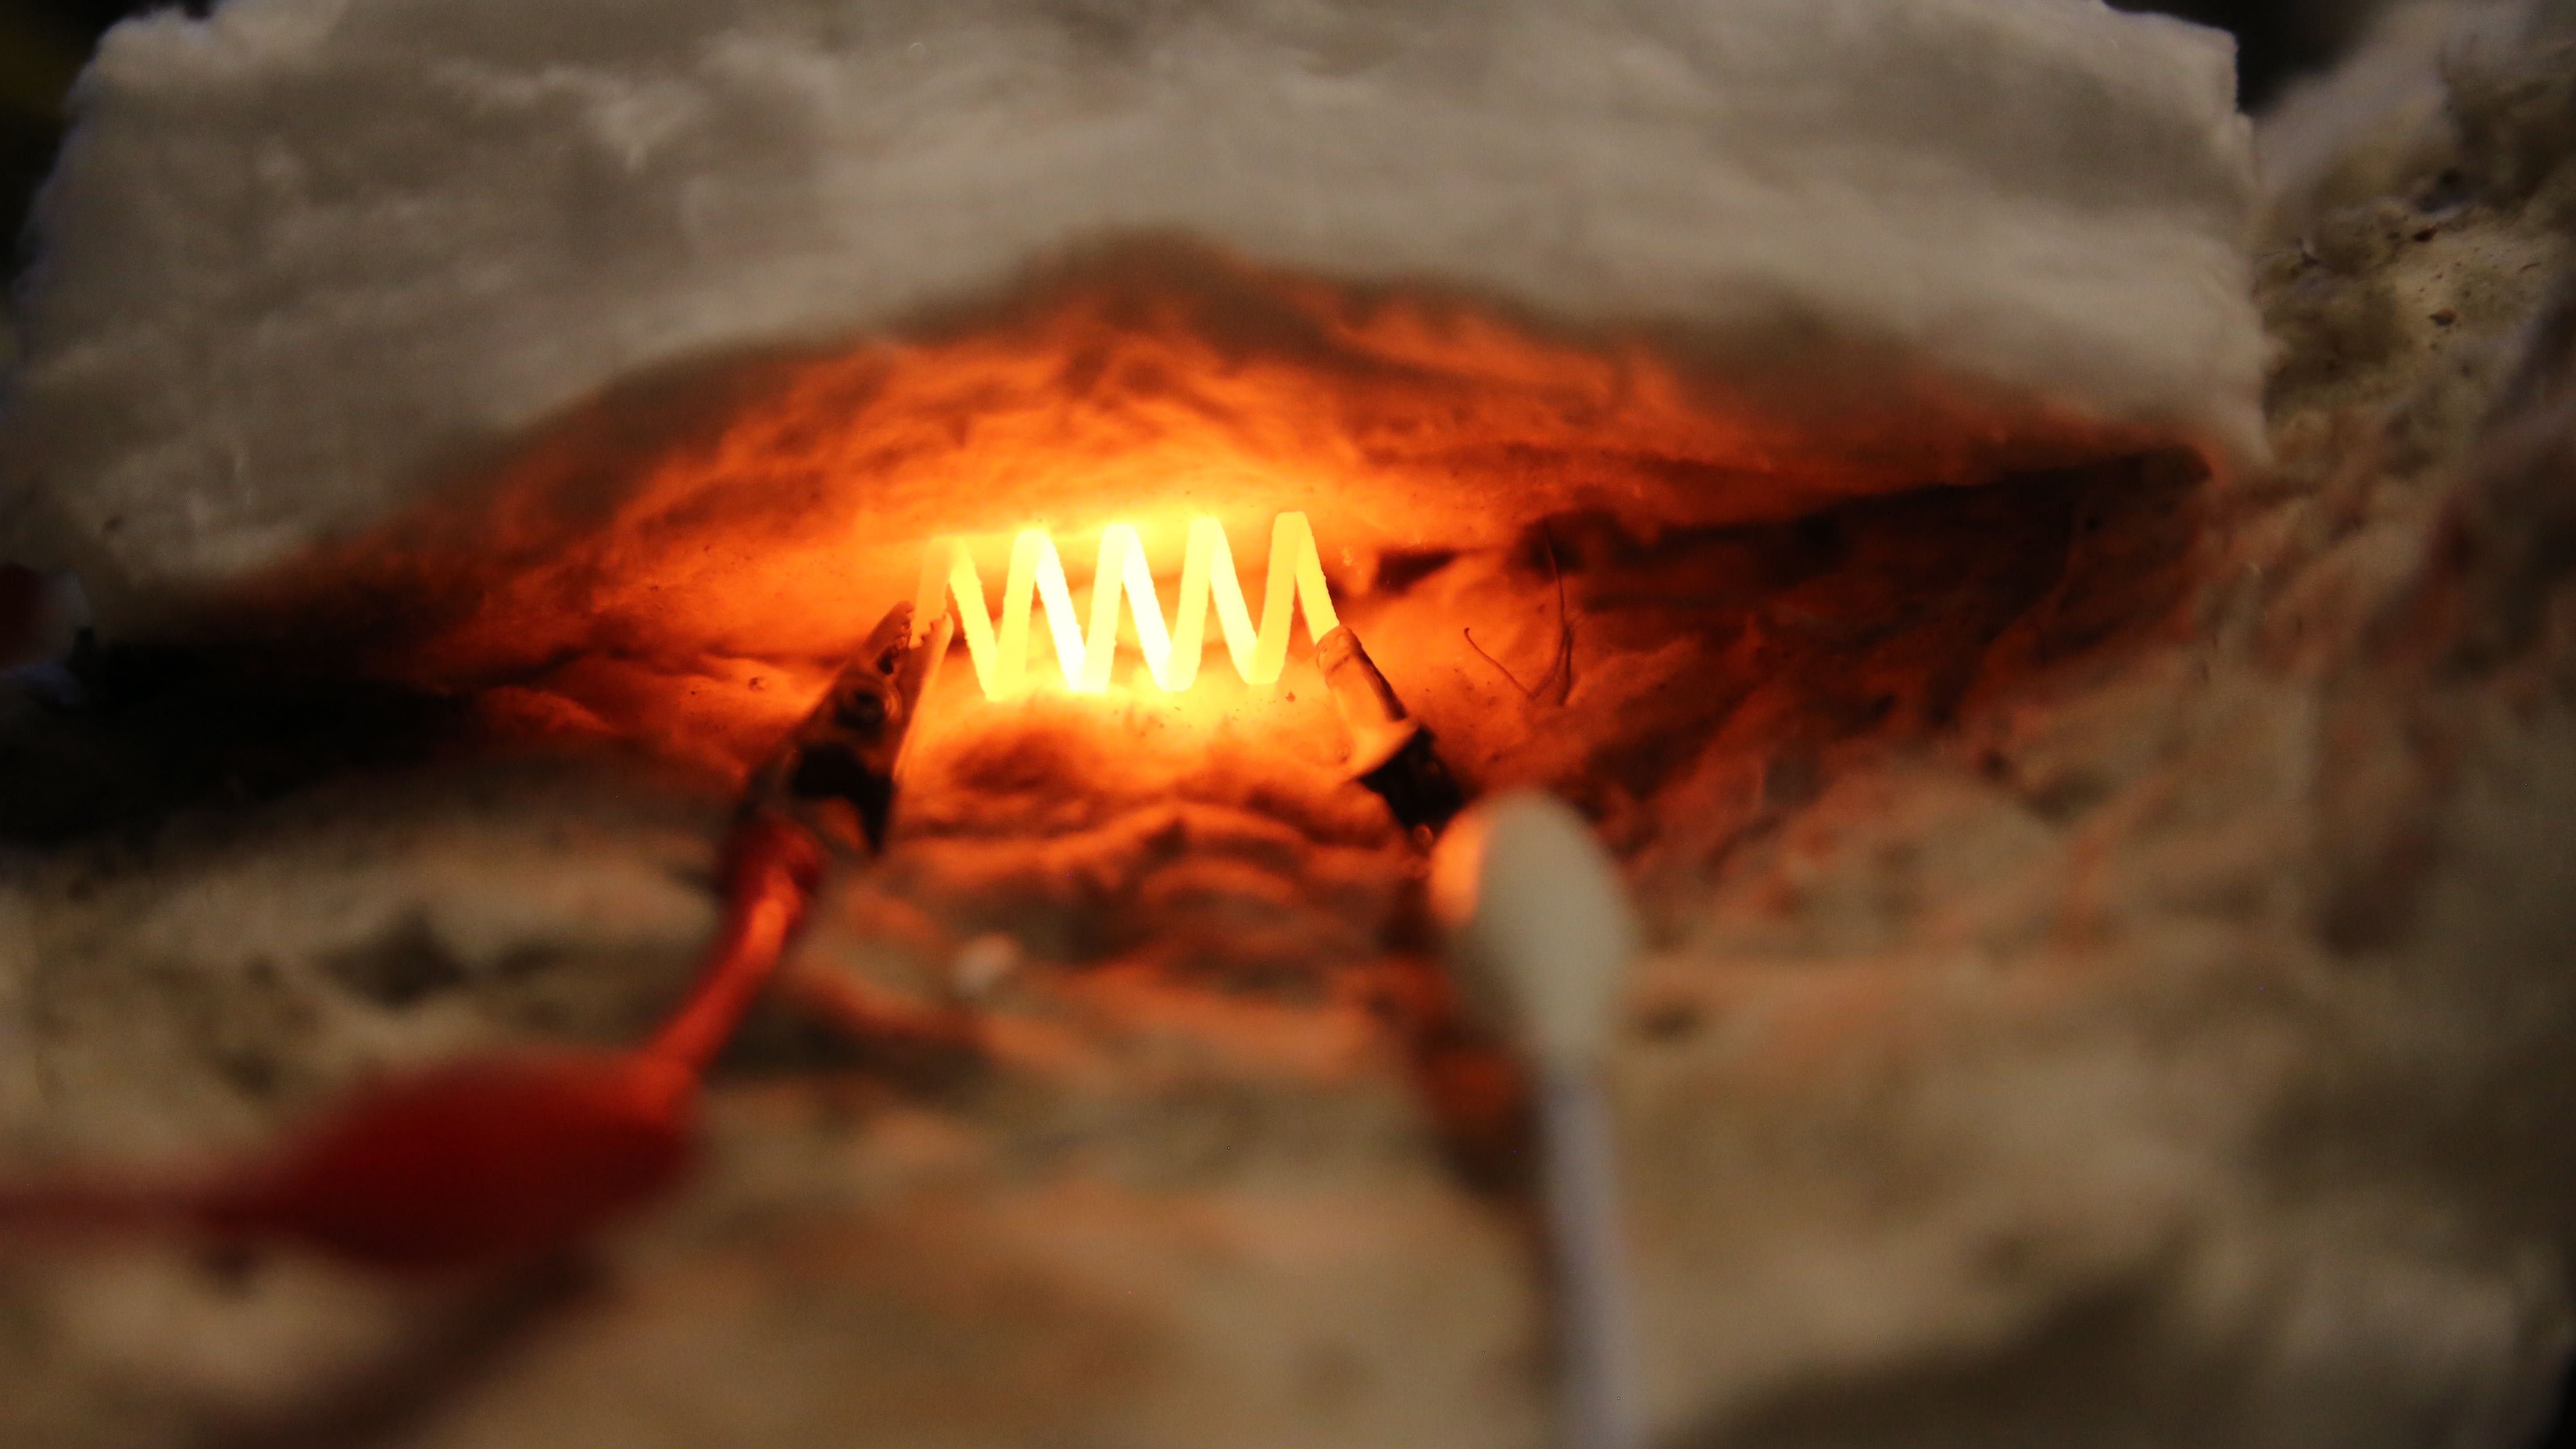
We now have our heat electronic control box installed on our great big printer and starting to test things out. Here our annealing oven is heating up for one of the first times.

Print Chamber Installed

Print Chamber Installed

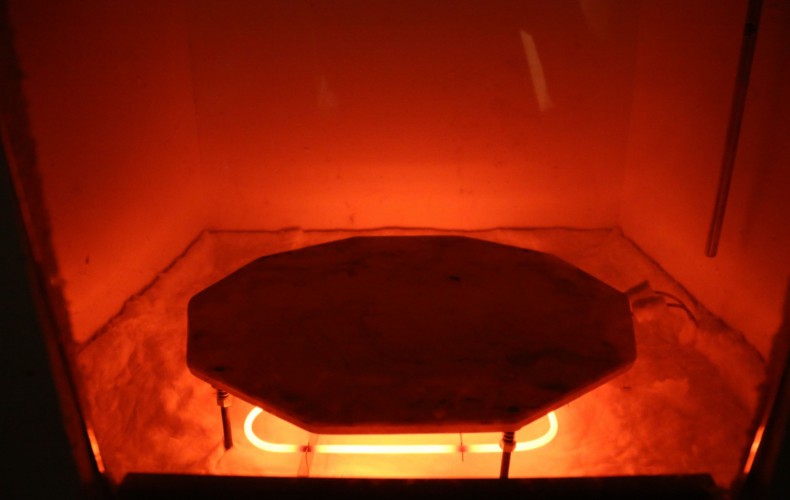
We now have the print chamber finished and installed on our massive machine. The chamber will be operated at a toasty 800F during printing glass (it will be put to use for pizza firing undoubtedly after a days run) that allows the inter-printed layers to adhere (and at optical quality), grow without warping and or cracking and to anneal so a printed piece doesn’t self-implode at some time in the future.

Our 21" diameter kiln shelf will ride on springs. We have found this to be a critical feature for FDM printers we have used.
Our 21″ diameter kiln shelf build platform will ride on springs. We have found this to be a critical feature for FDM printers we have used.
Our 4KW stove element is connected 1000F rated wire. Nice stuff!
All insulated and looking toasty. We will be able to print objects larger than the 21" kiln shelf.
All insulated and looking toasty. We will be able to print objects larger than the 21″ kiln shelf.
Whatcha' got cookin'? The widow is actually transparent ceramic - not glass
Whatcha’ got cookin’? The widow is actually transparent ceramic – not glass
Nozzle Rack & Pinion

Nozzle Rack & Pinion

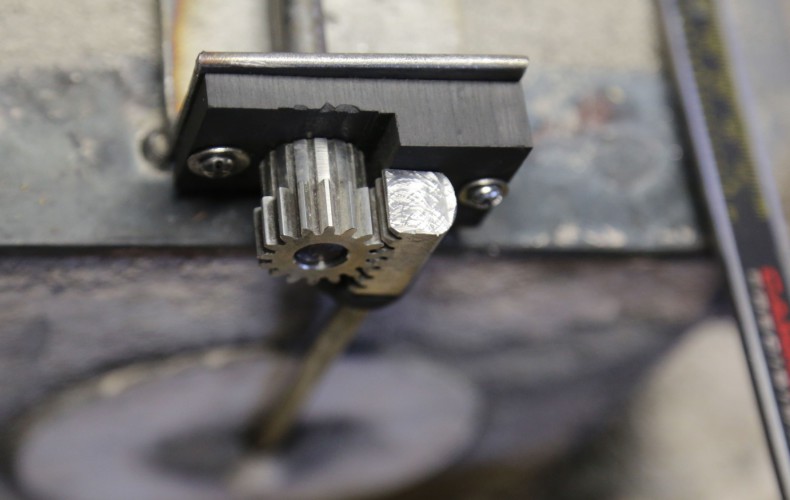
In order to control our stainless steel nozzle actuator from a more reasonable room temperature, where standard stepper motors merrily step to and fro, we needed to transfer the power to outside our 800F print chamber. For that purpose it seemed that good old rack and pinion was the ticket.

Machining the round rack on one face so that it can't rotate bound against a soft graphite bushing
Machining the round rack on one face so that it can’t rotate bound against a soft graphite bushing
Cutting a slightly oversized hole in some stainless angle stock. The graphite bushing will be to actual size of the shaft diameter
Machining the graphite block. Graphite works at high temperatures and is nice and soft (its essentially pencil "lead")
Machining the graphite block. Graphite works at high temperatures and is nice and soft (its essentially pencil “lead”)
We are happy to report the design is working flawlessly!

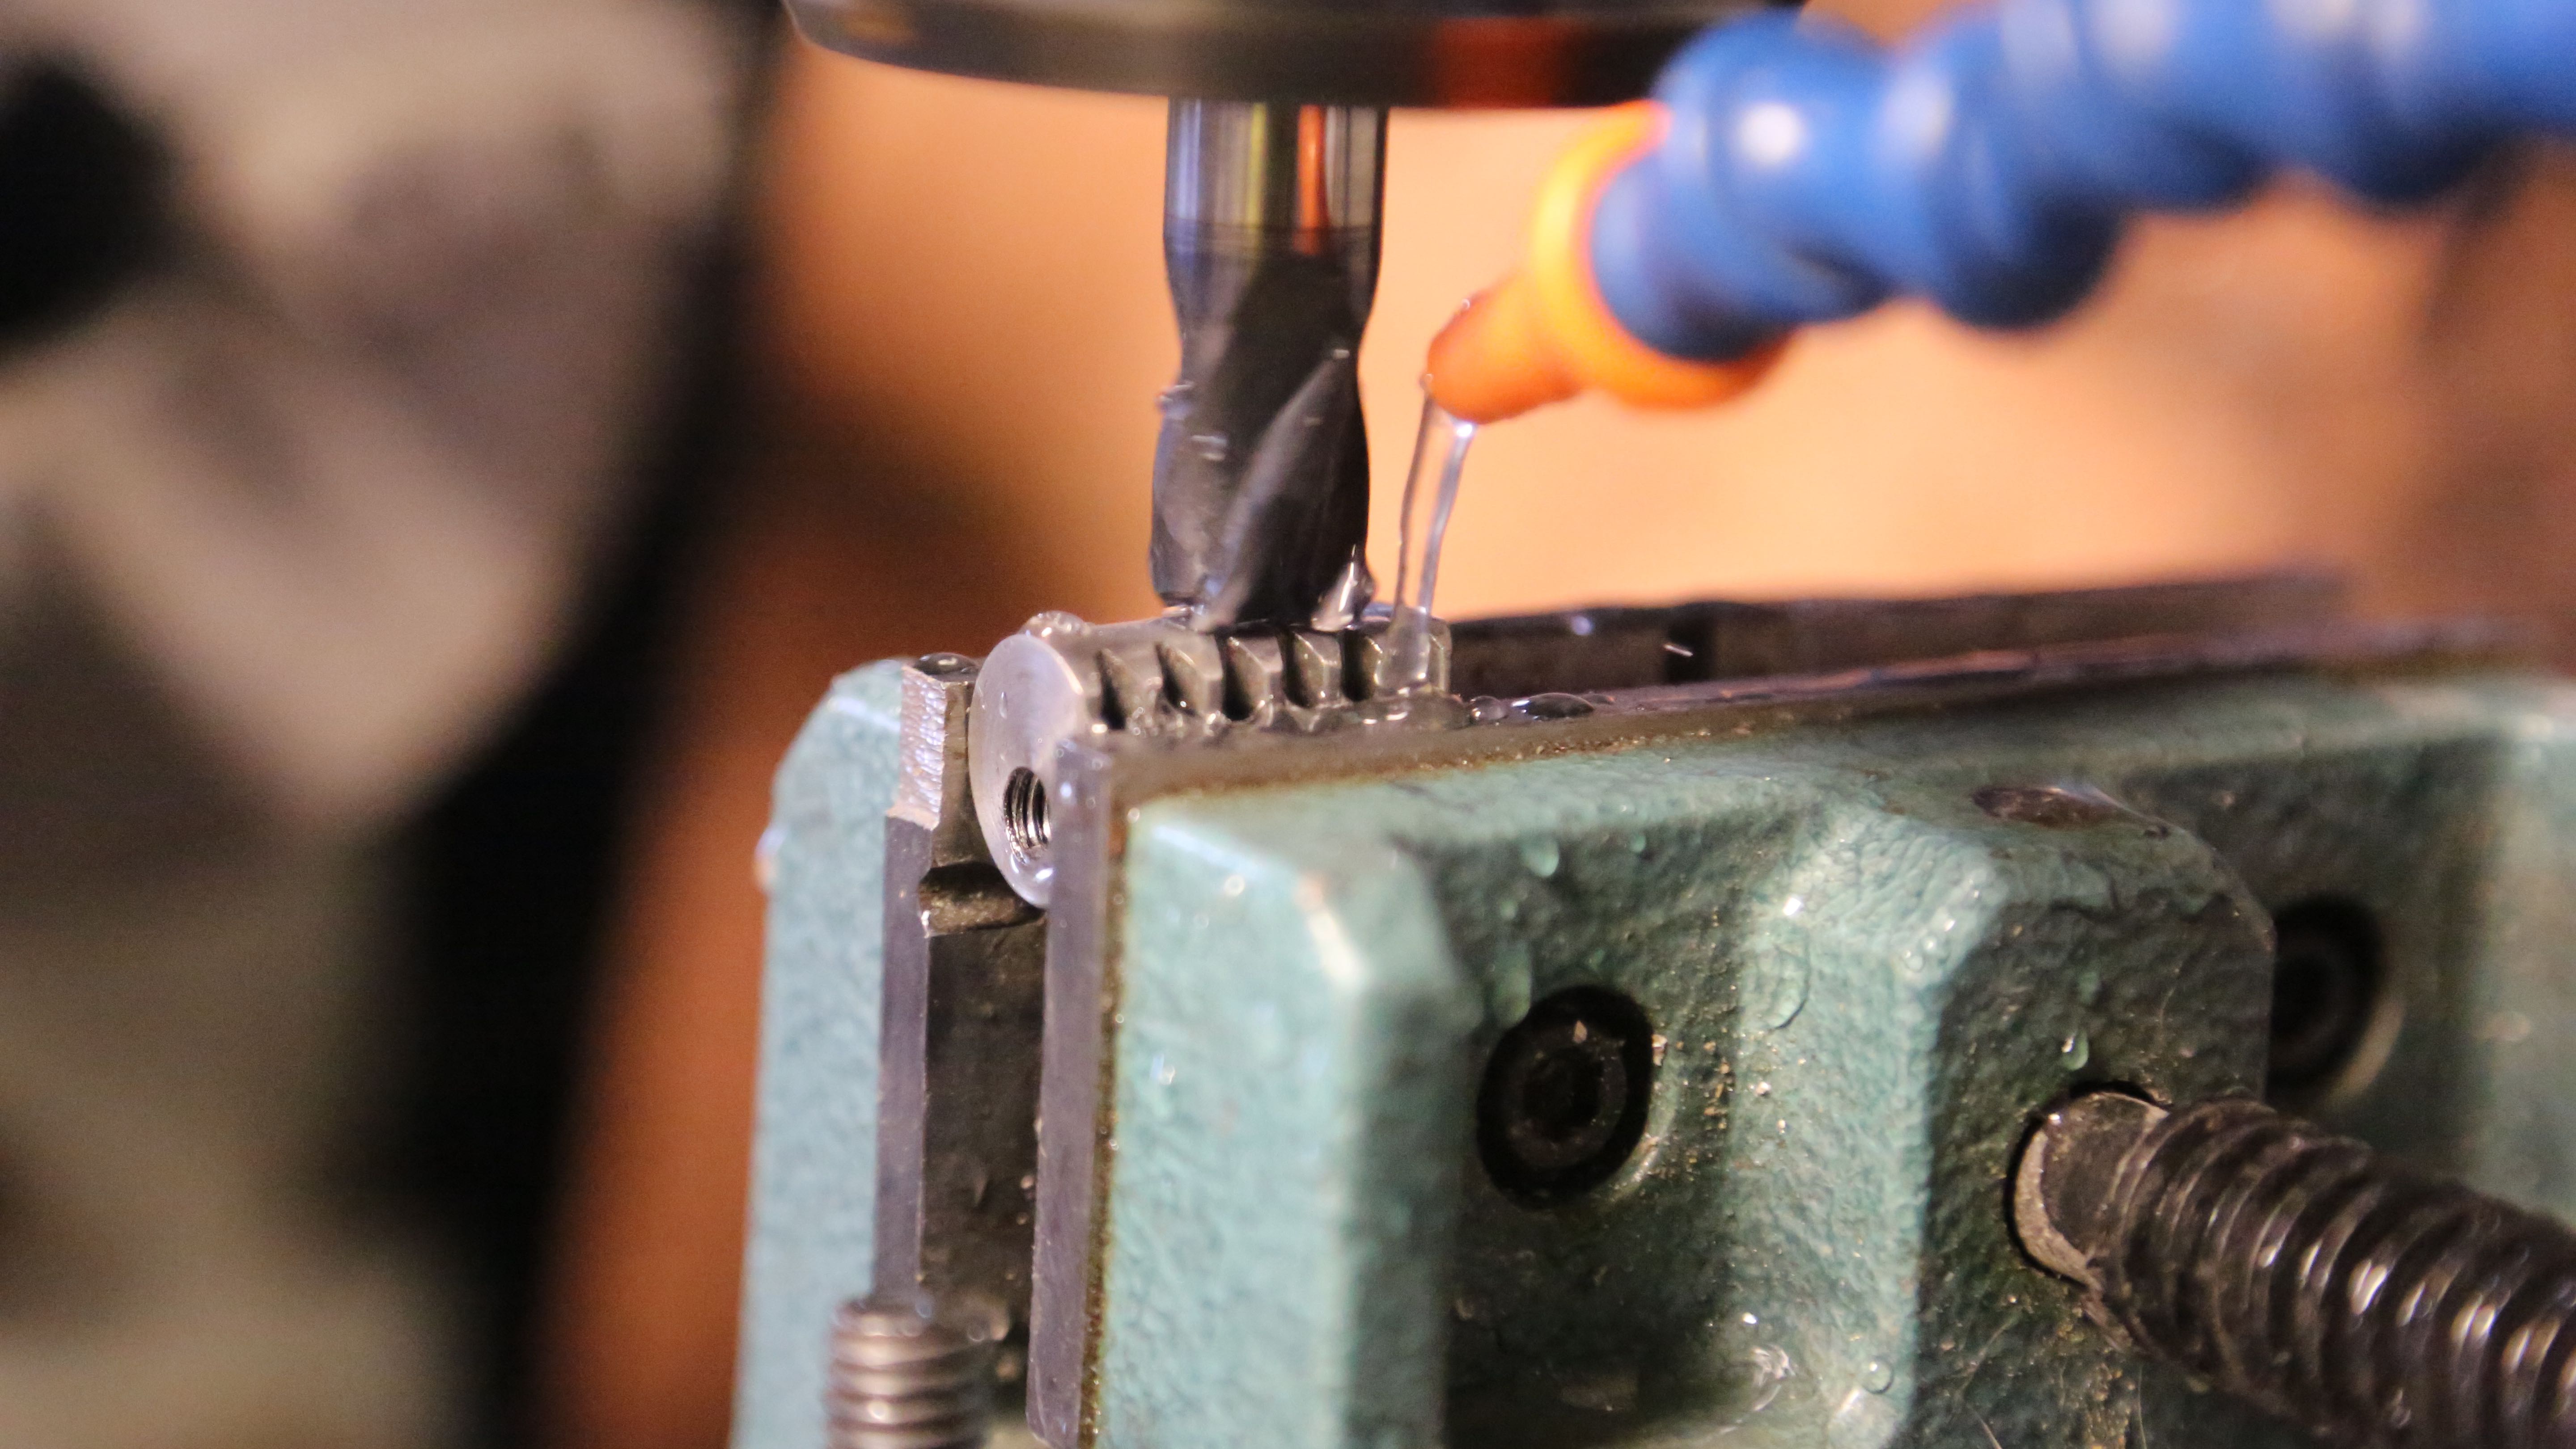
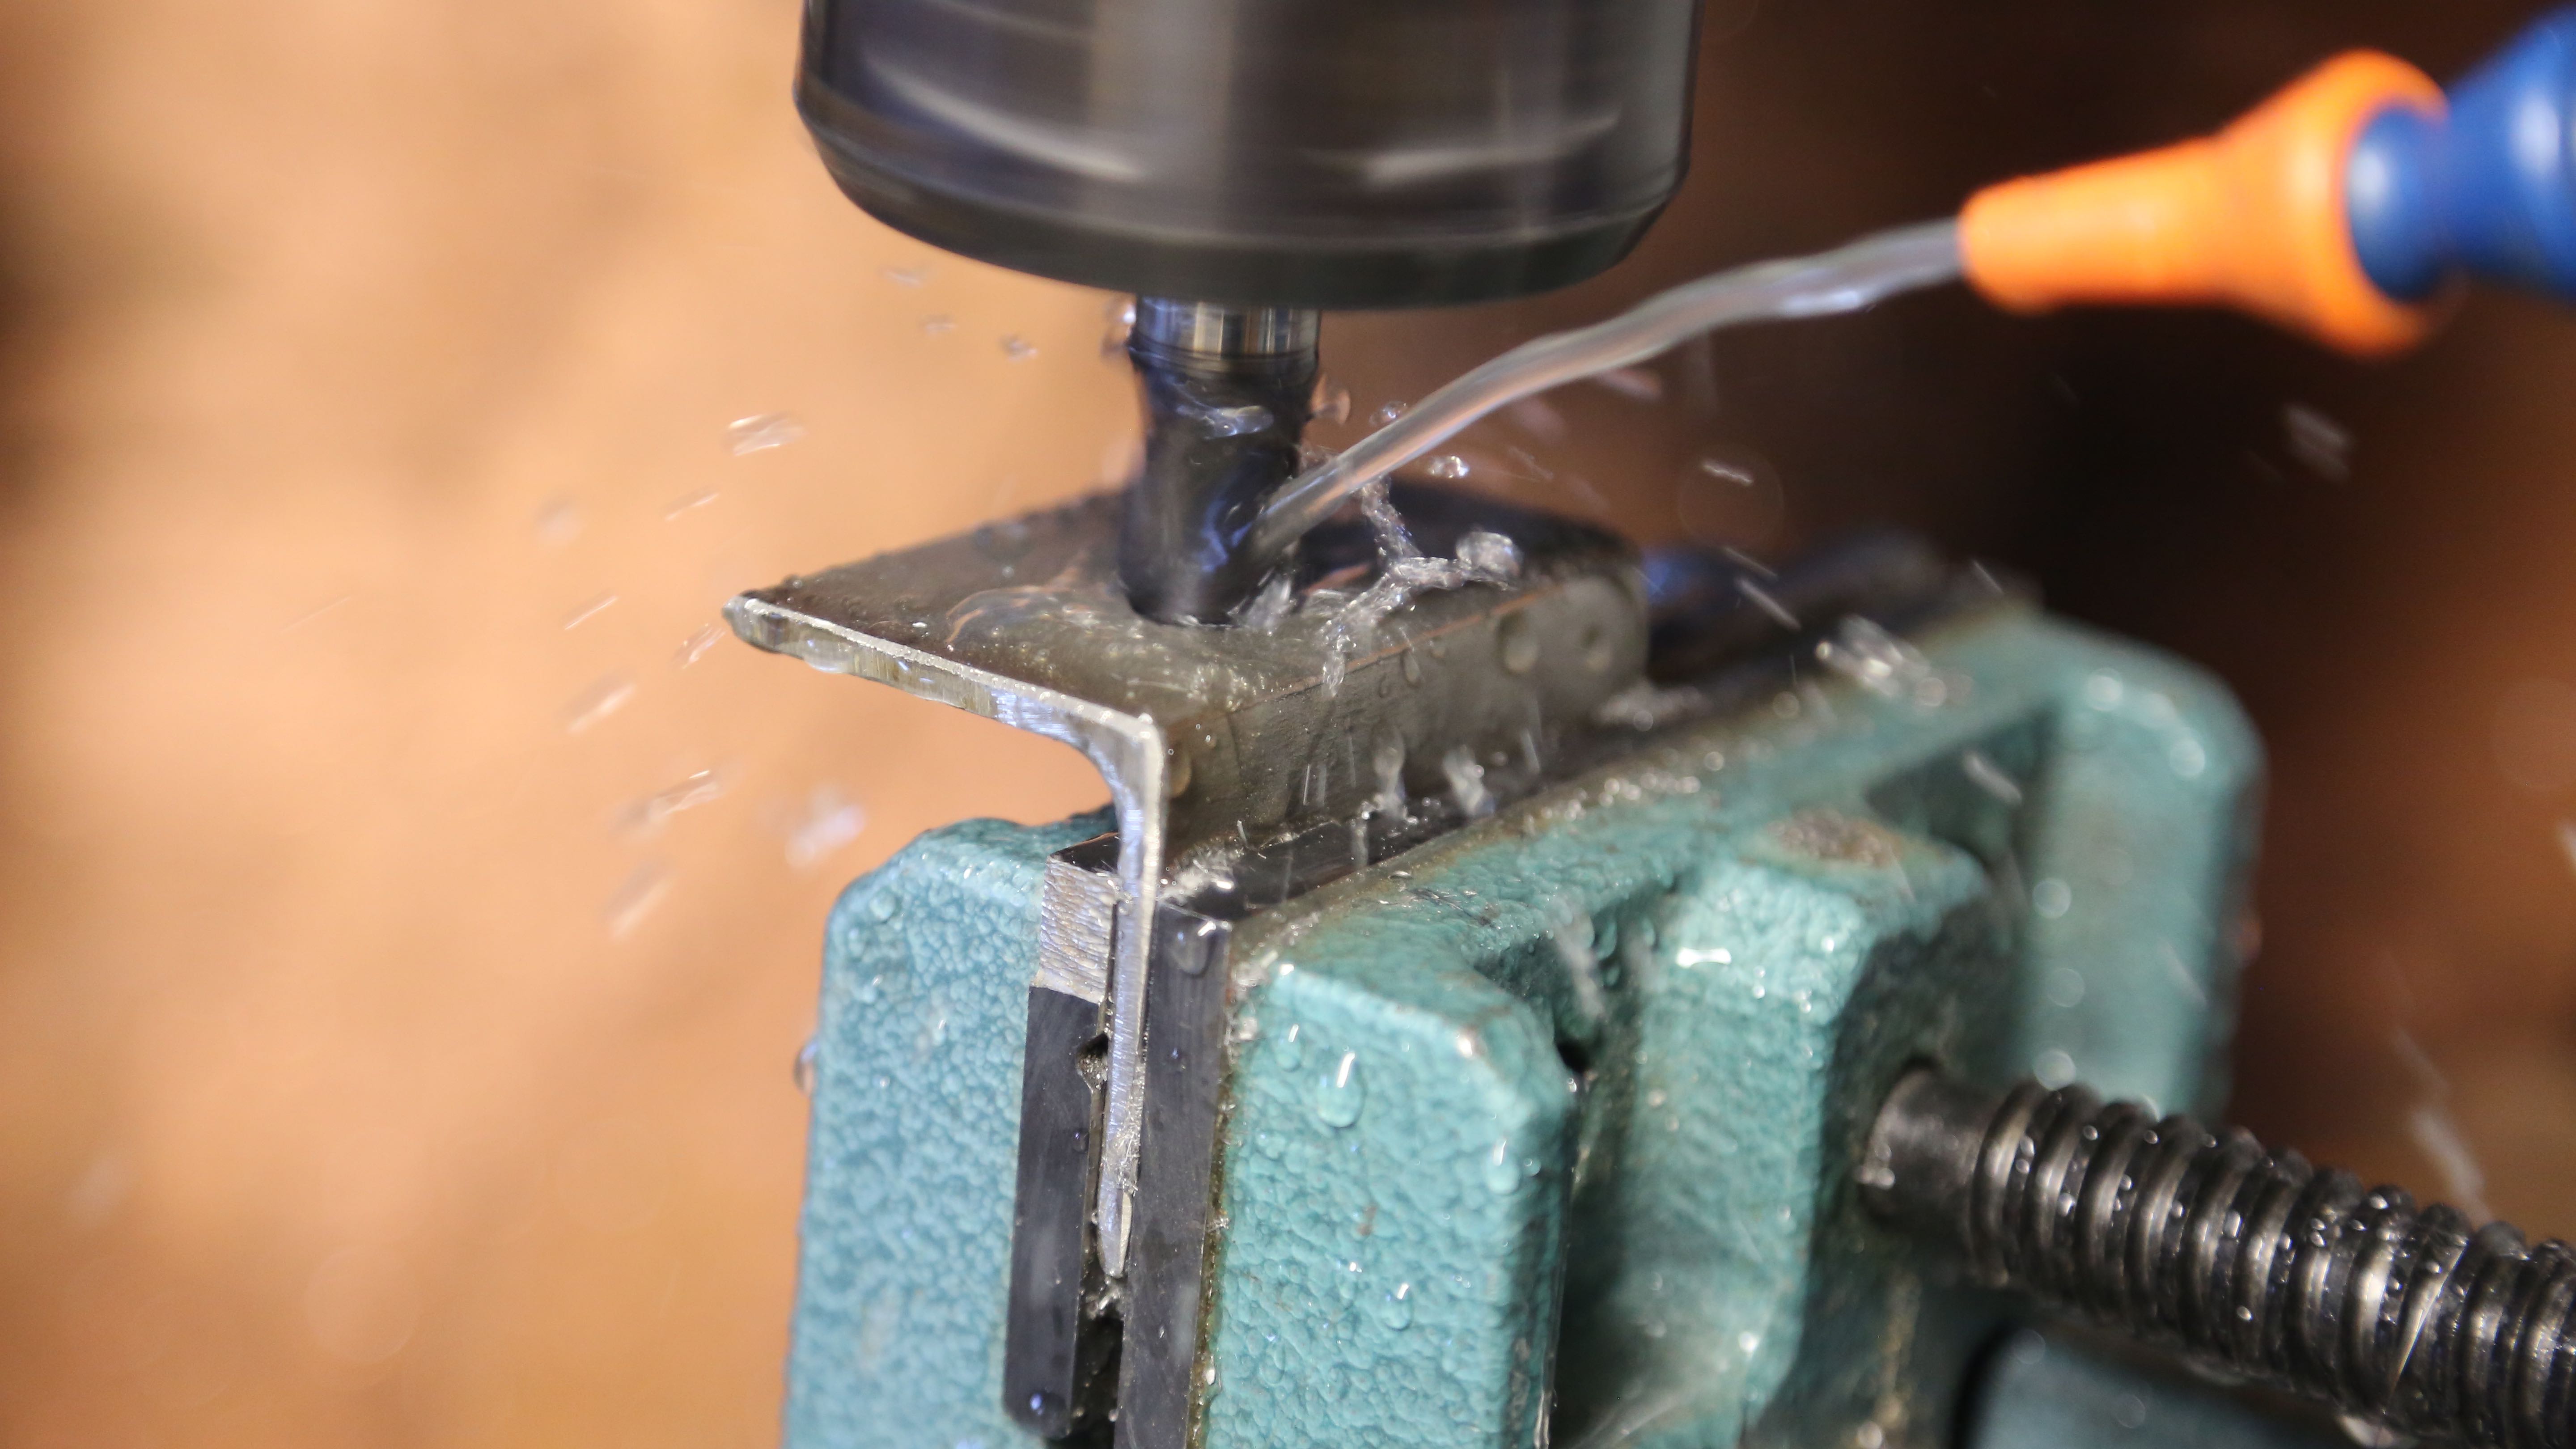
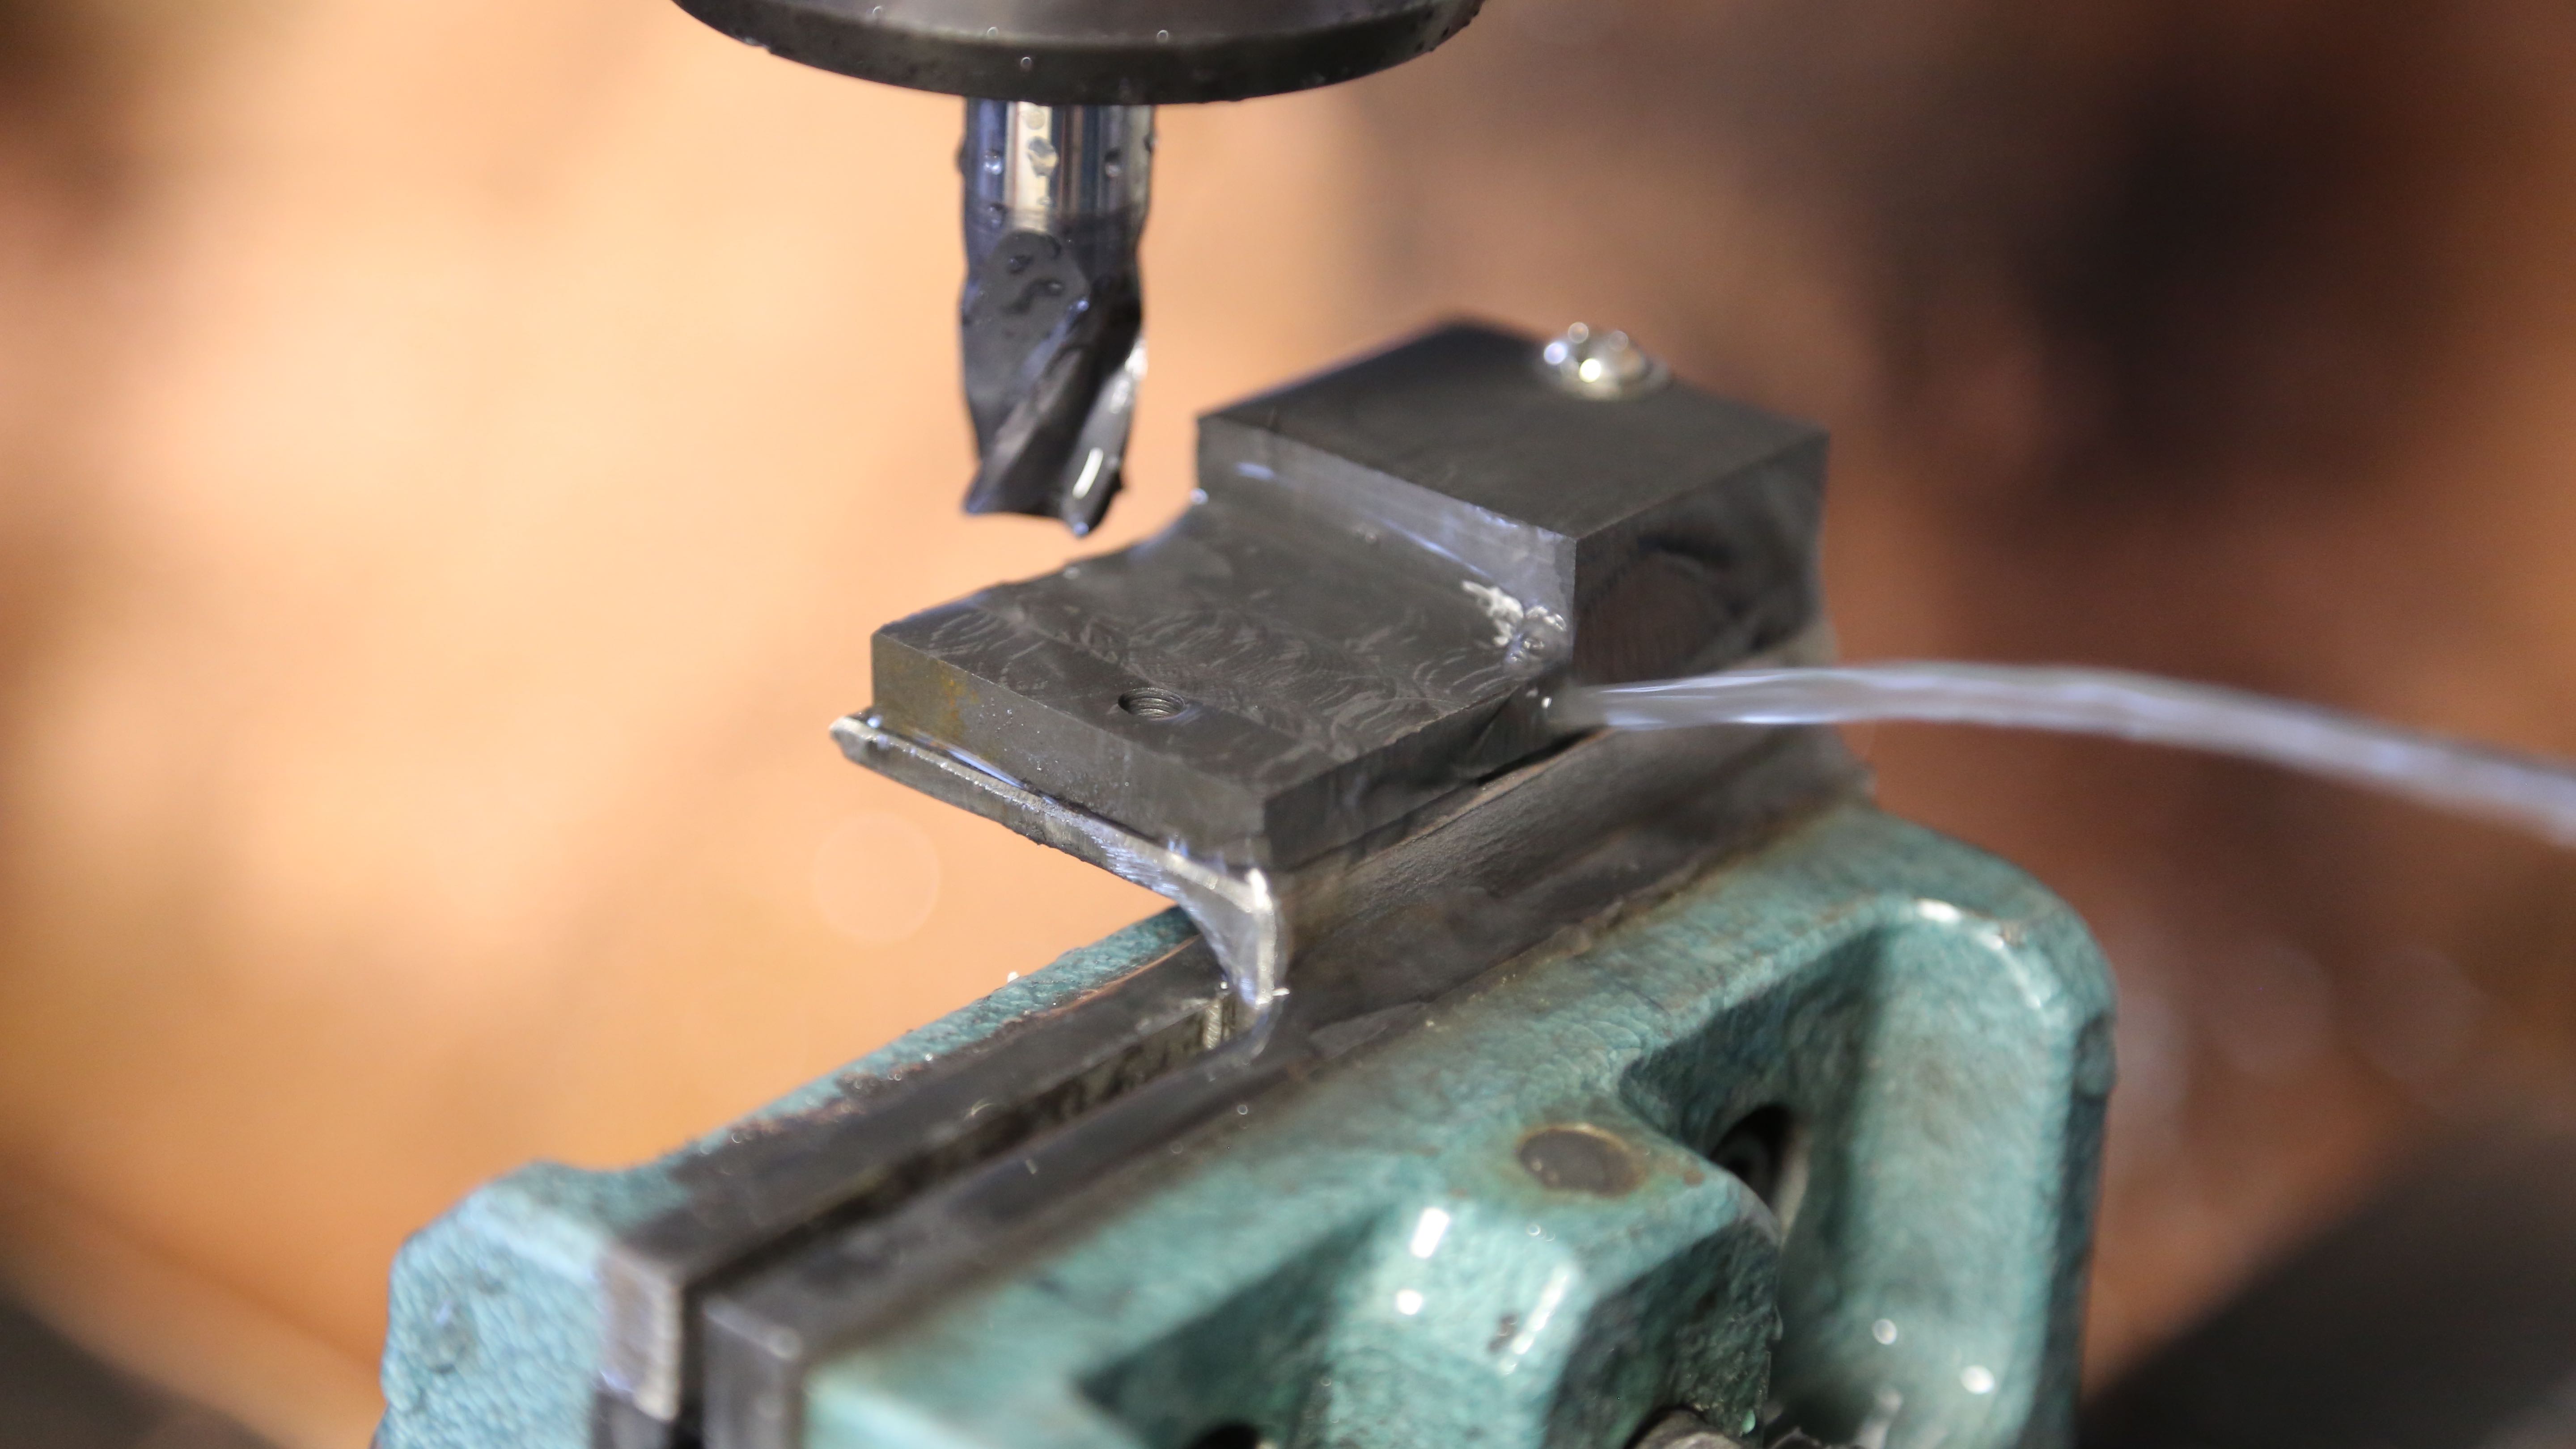
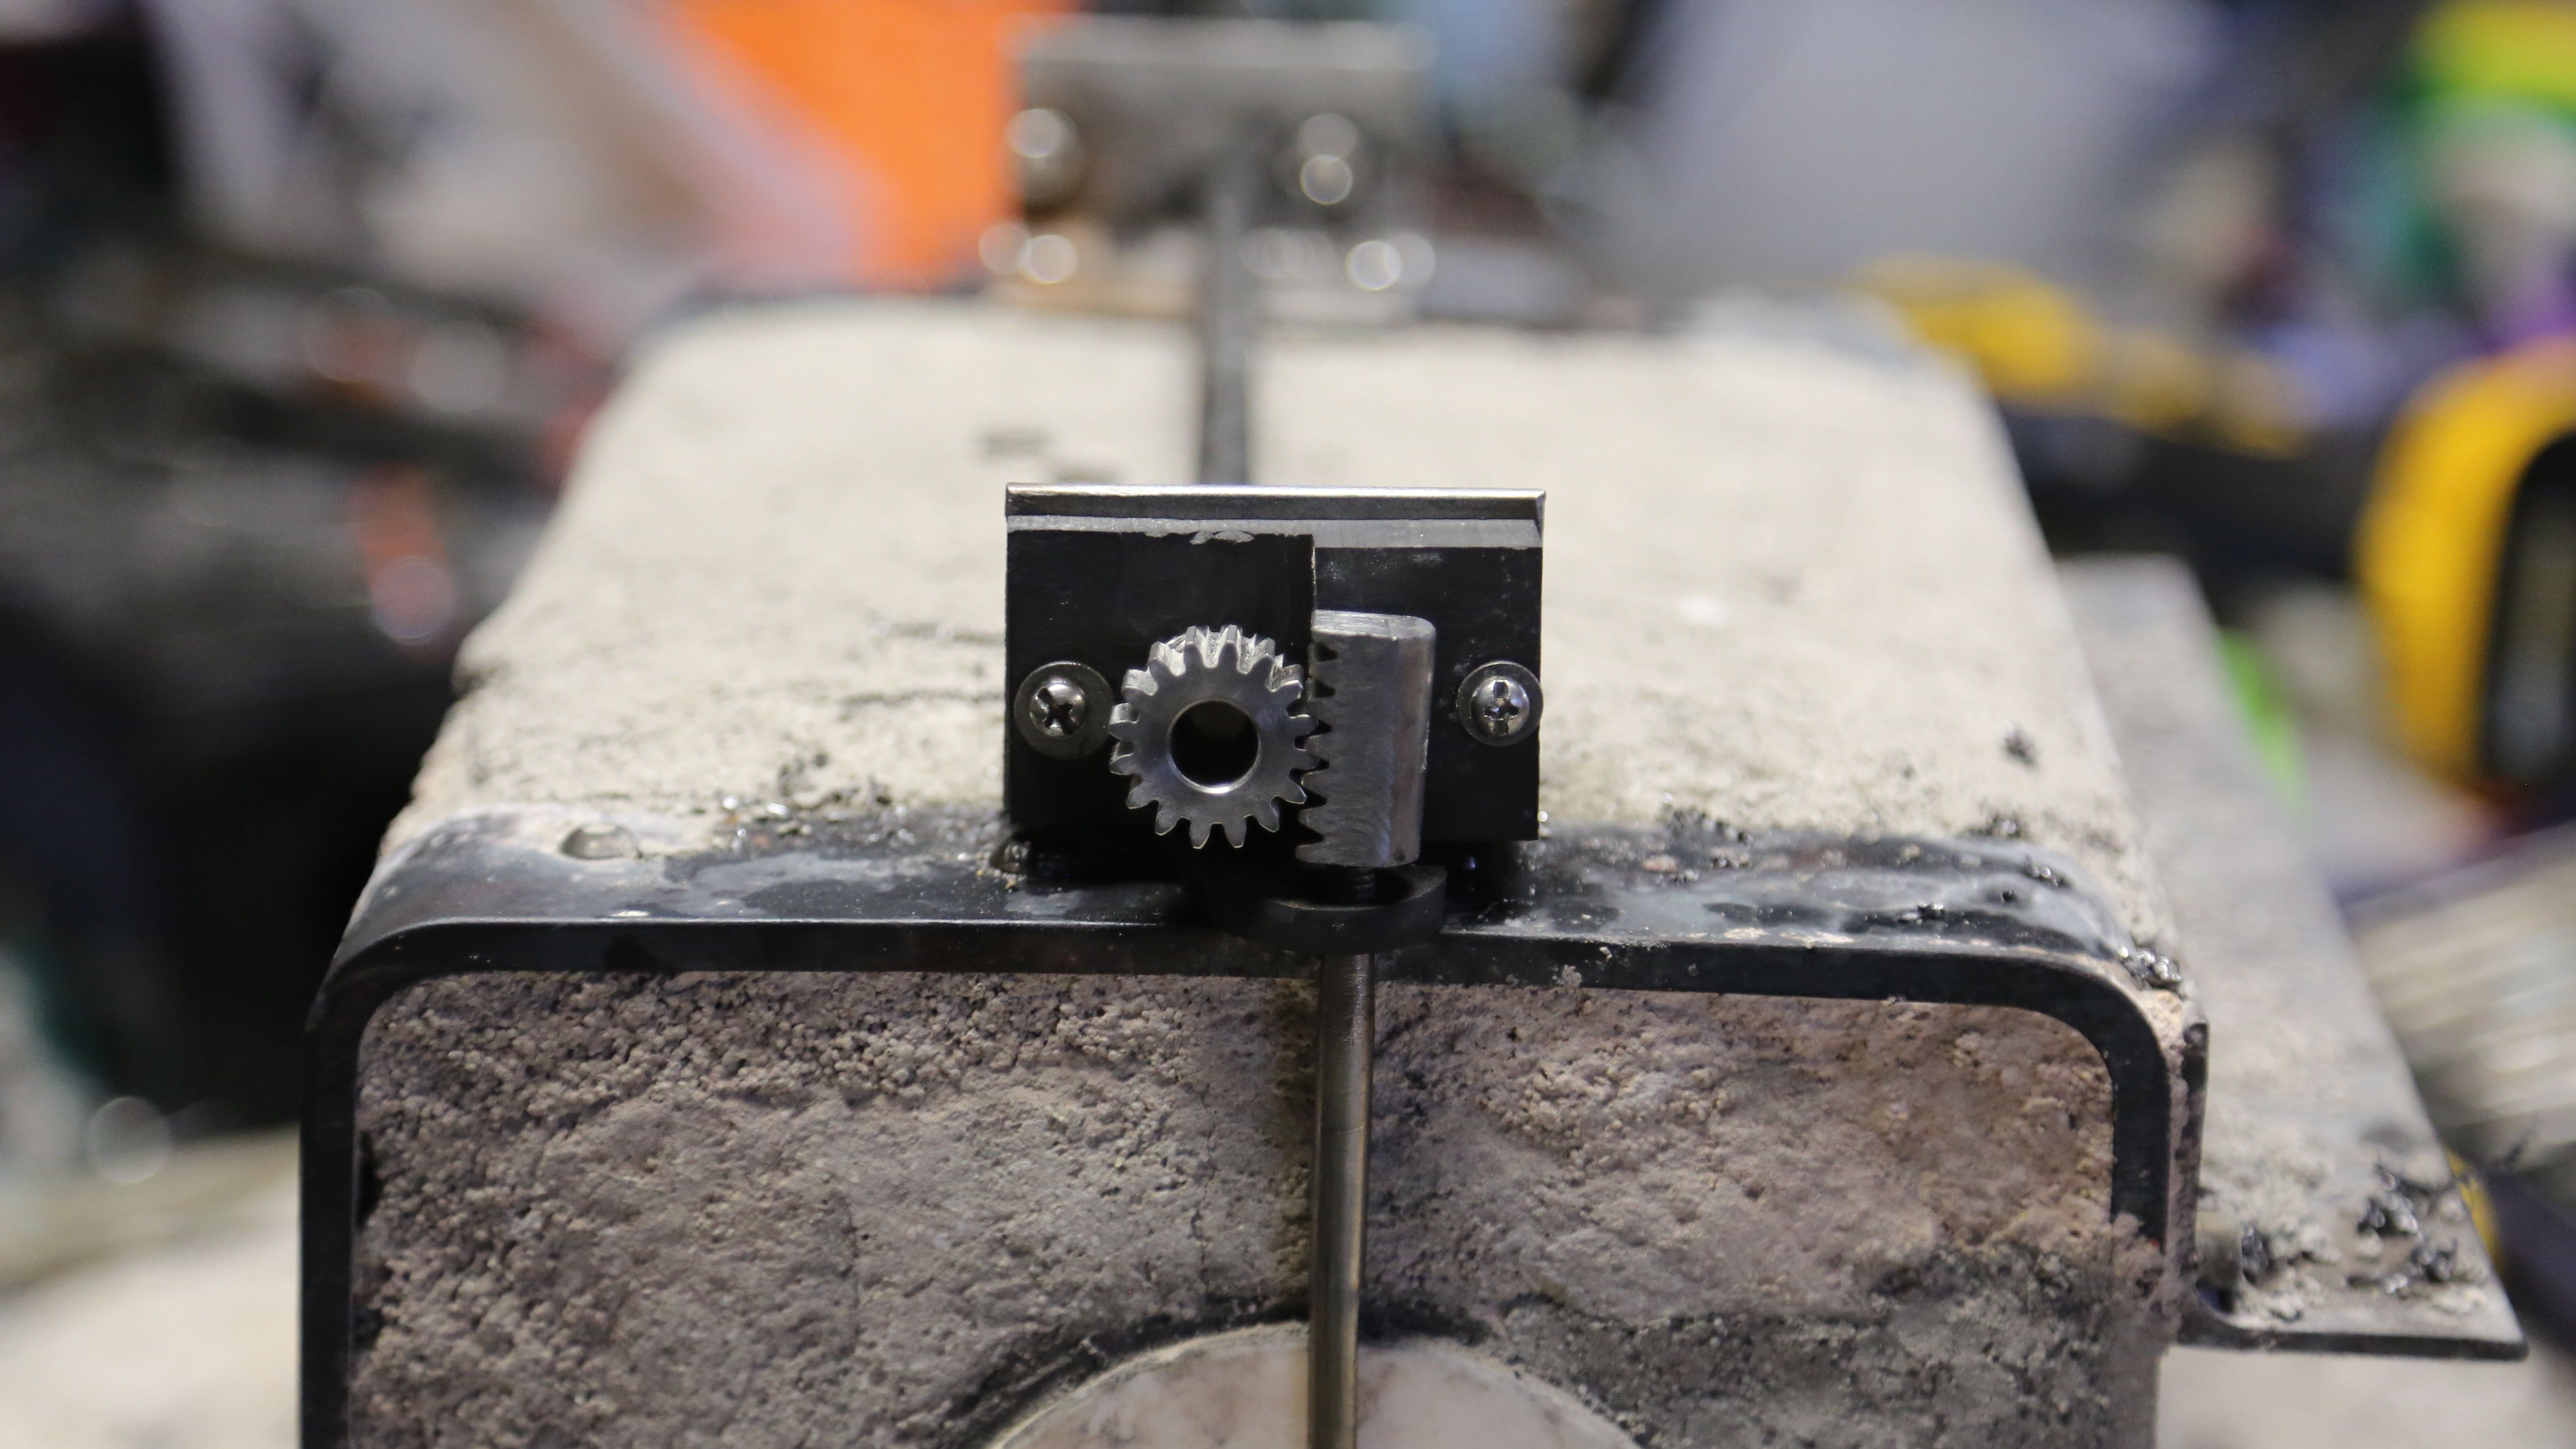
Being able to actively control the nozzle should allow us much greater control (it can actively restrict the flow rate), allow us to print any form without restriction (other than support restrictions inherent to the FDM process), and we think it should be able to print molten metals (aluminum, copper, etc) in a similar fashion as glass.