Insulating Refractory Installation

Insulating Refractory Installation

Insulating Refractory Installation

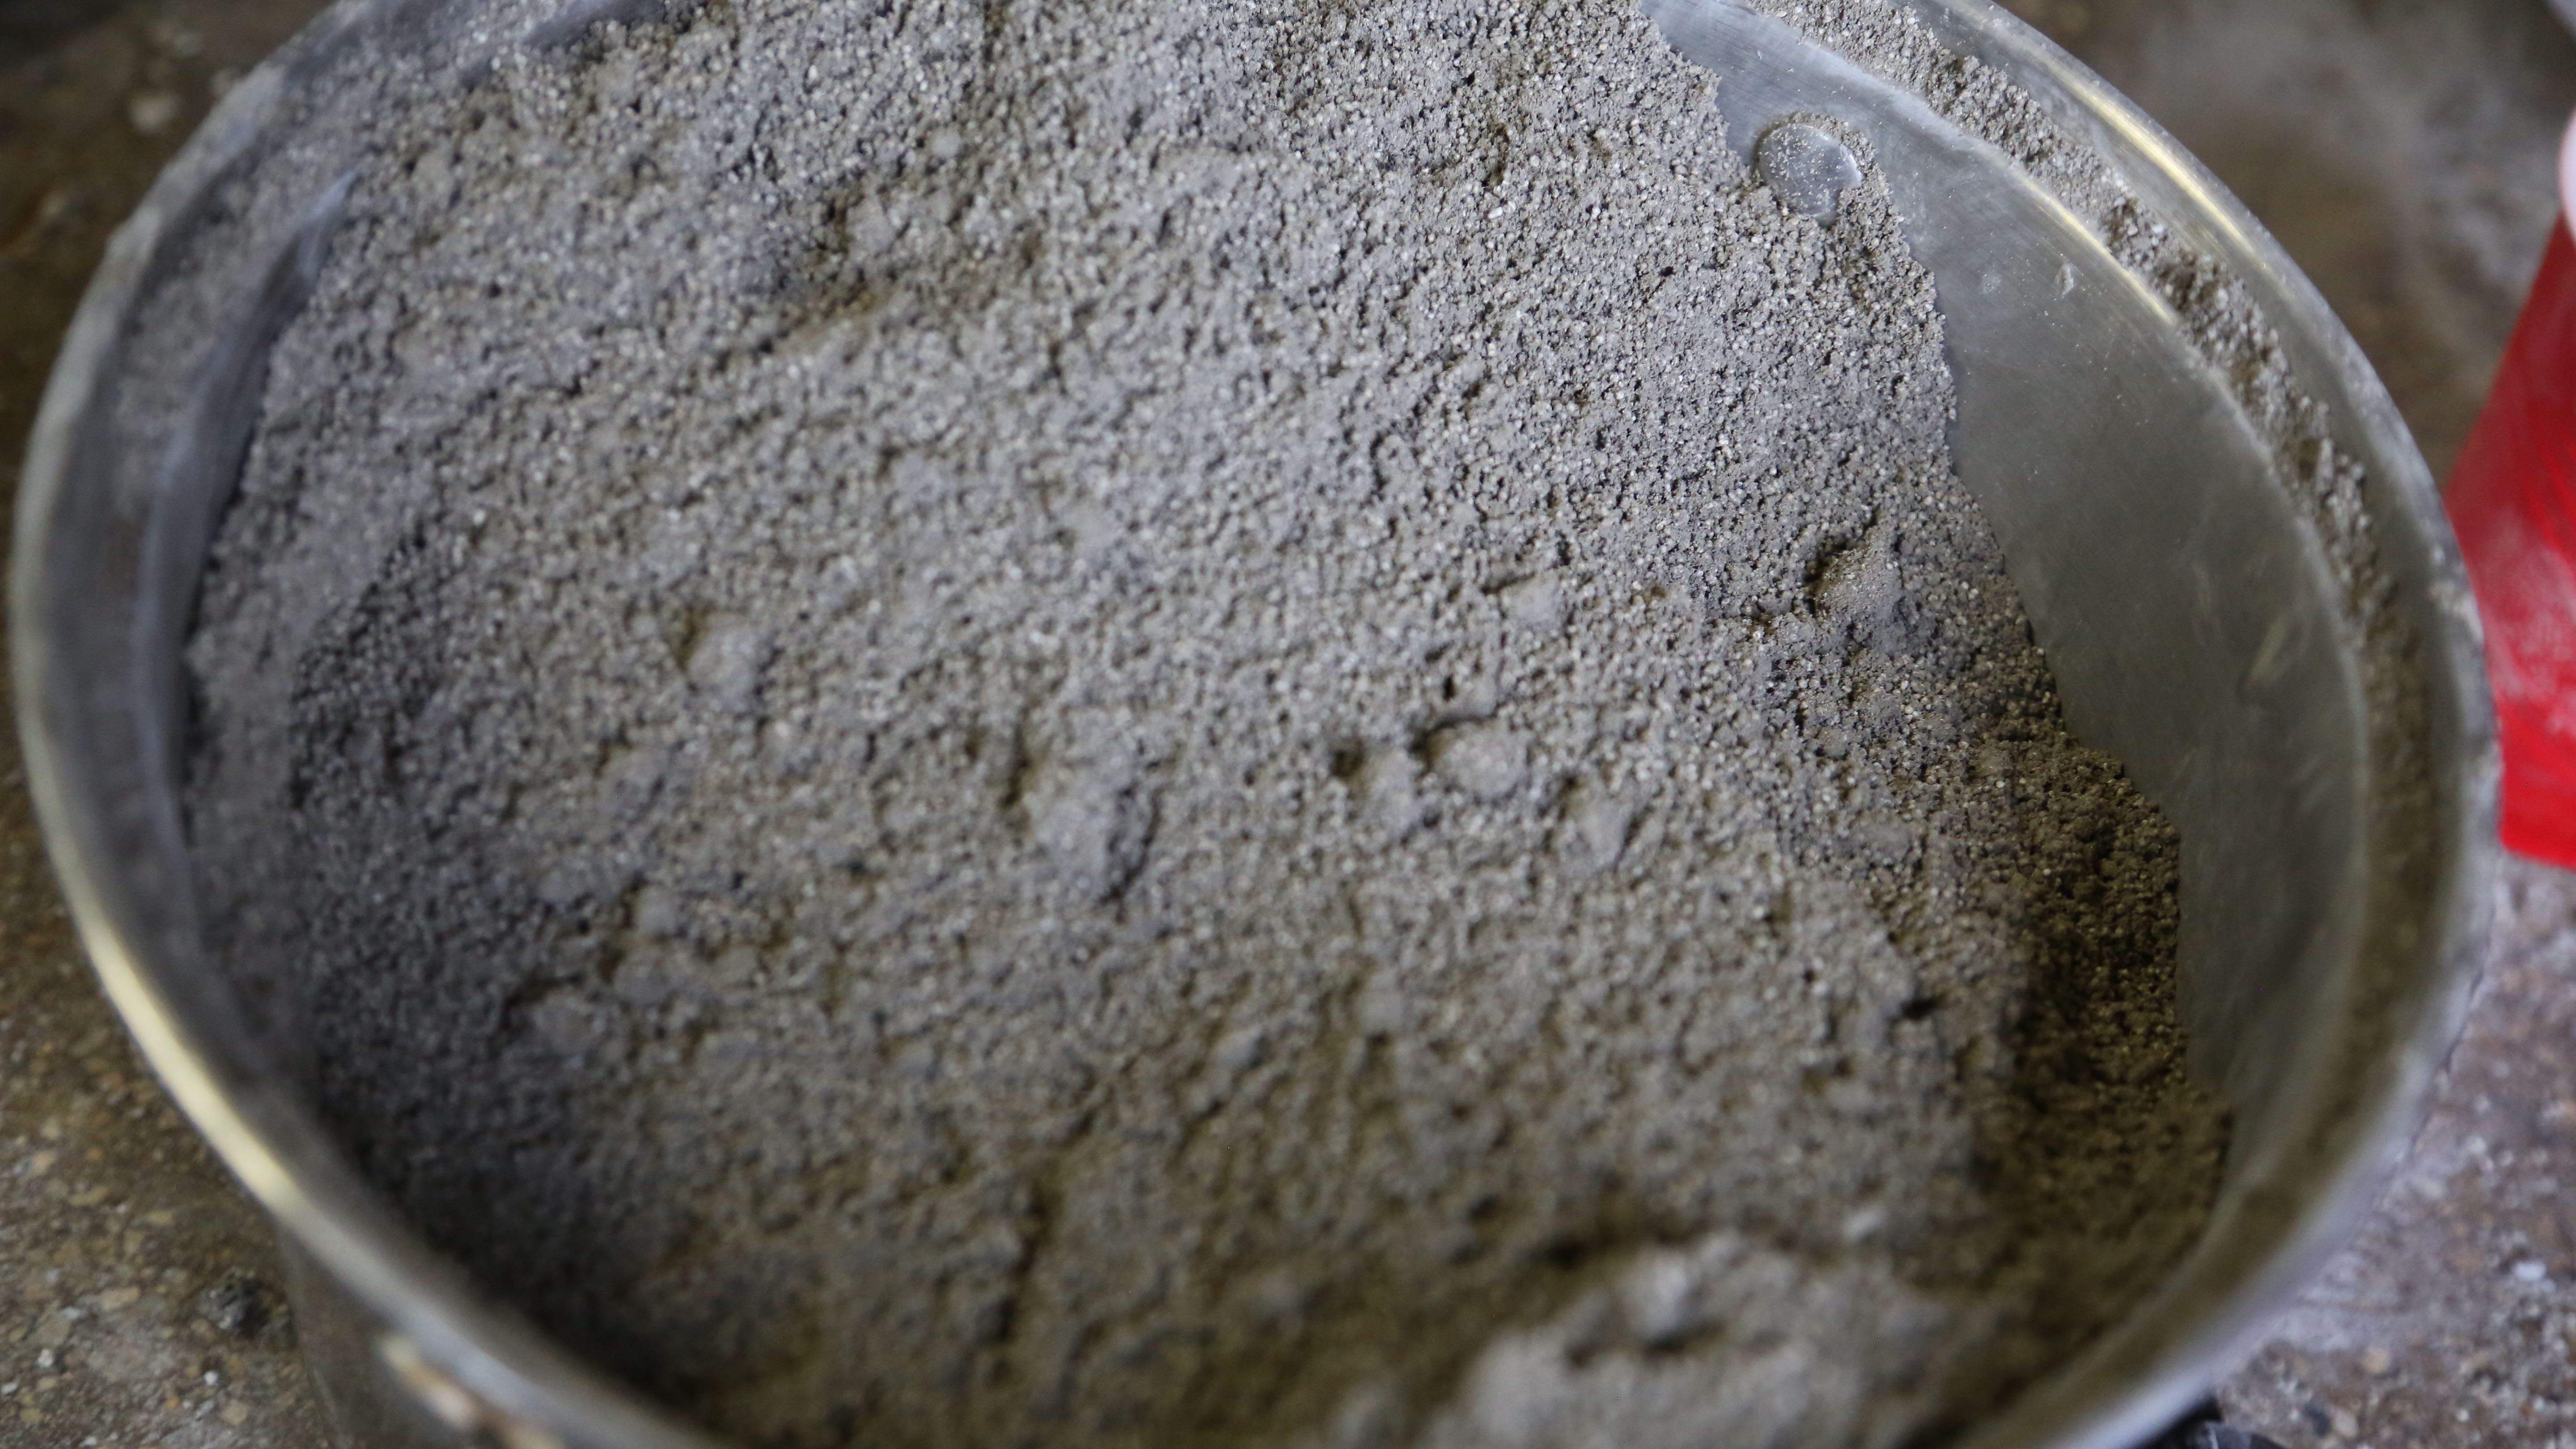
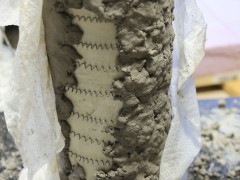
Now that we have that big (potentially) hot heater coil wrapped about our crucible, its time to give her some insulation to keep those precious BTUs where we want it – melting glass (or whatever else we may find ourselves melting with our new contraption – mooohahaha).

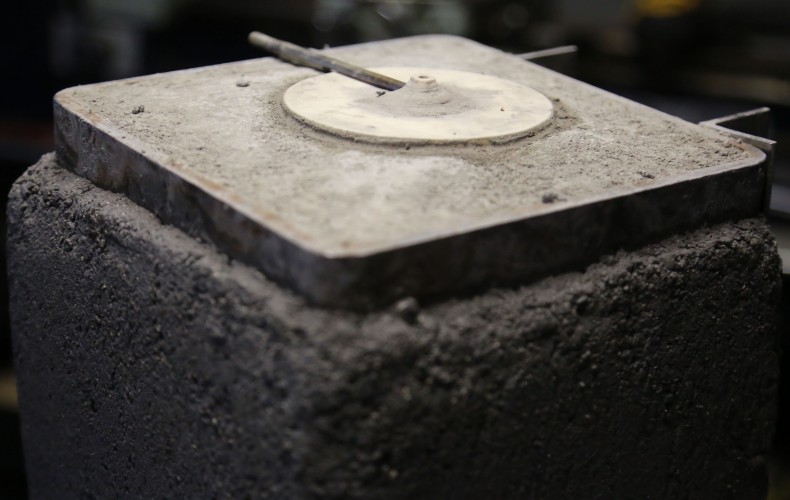
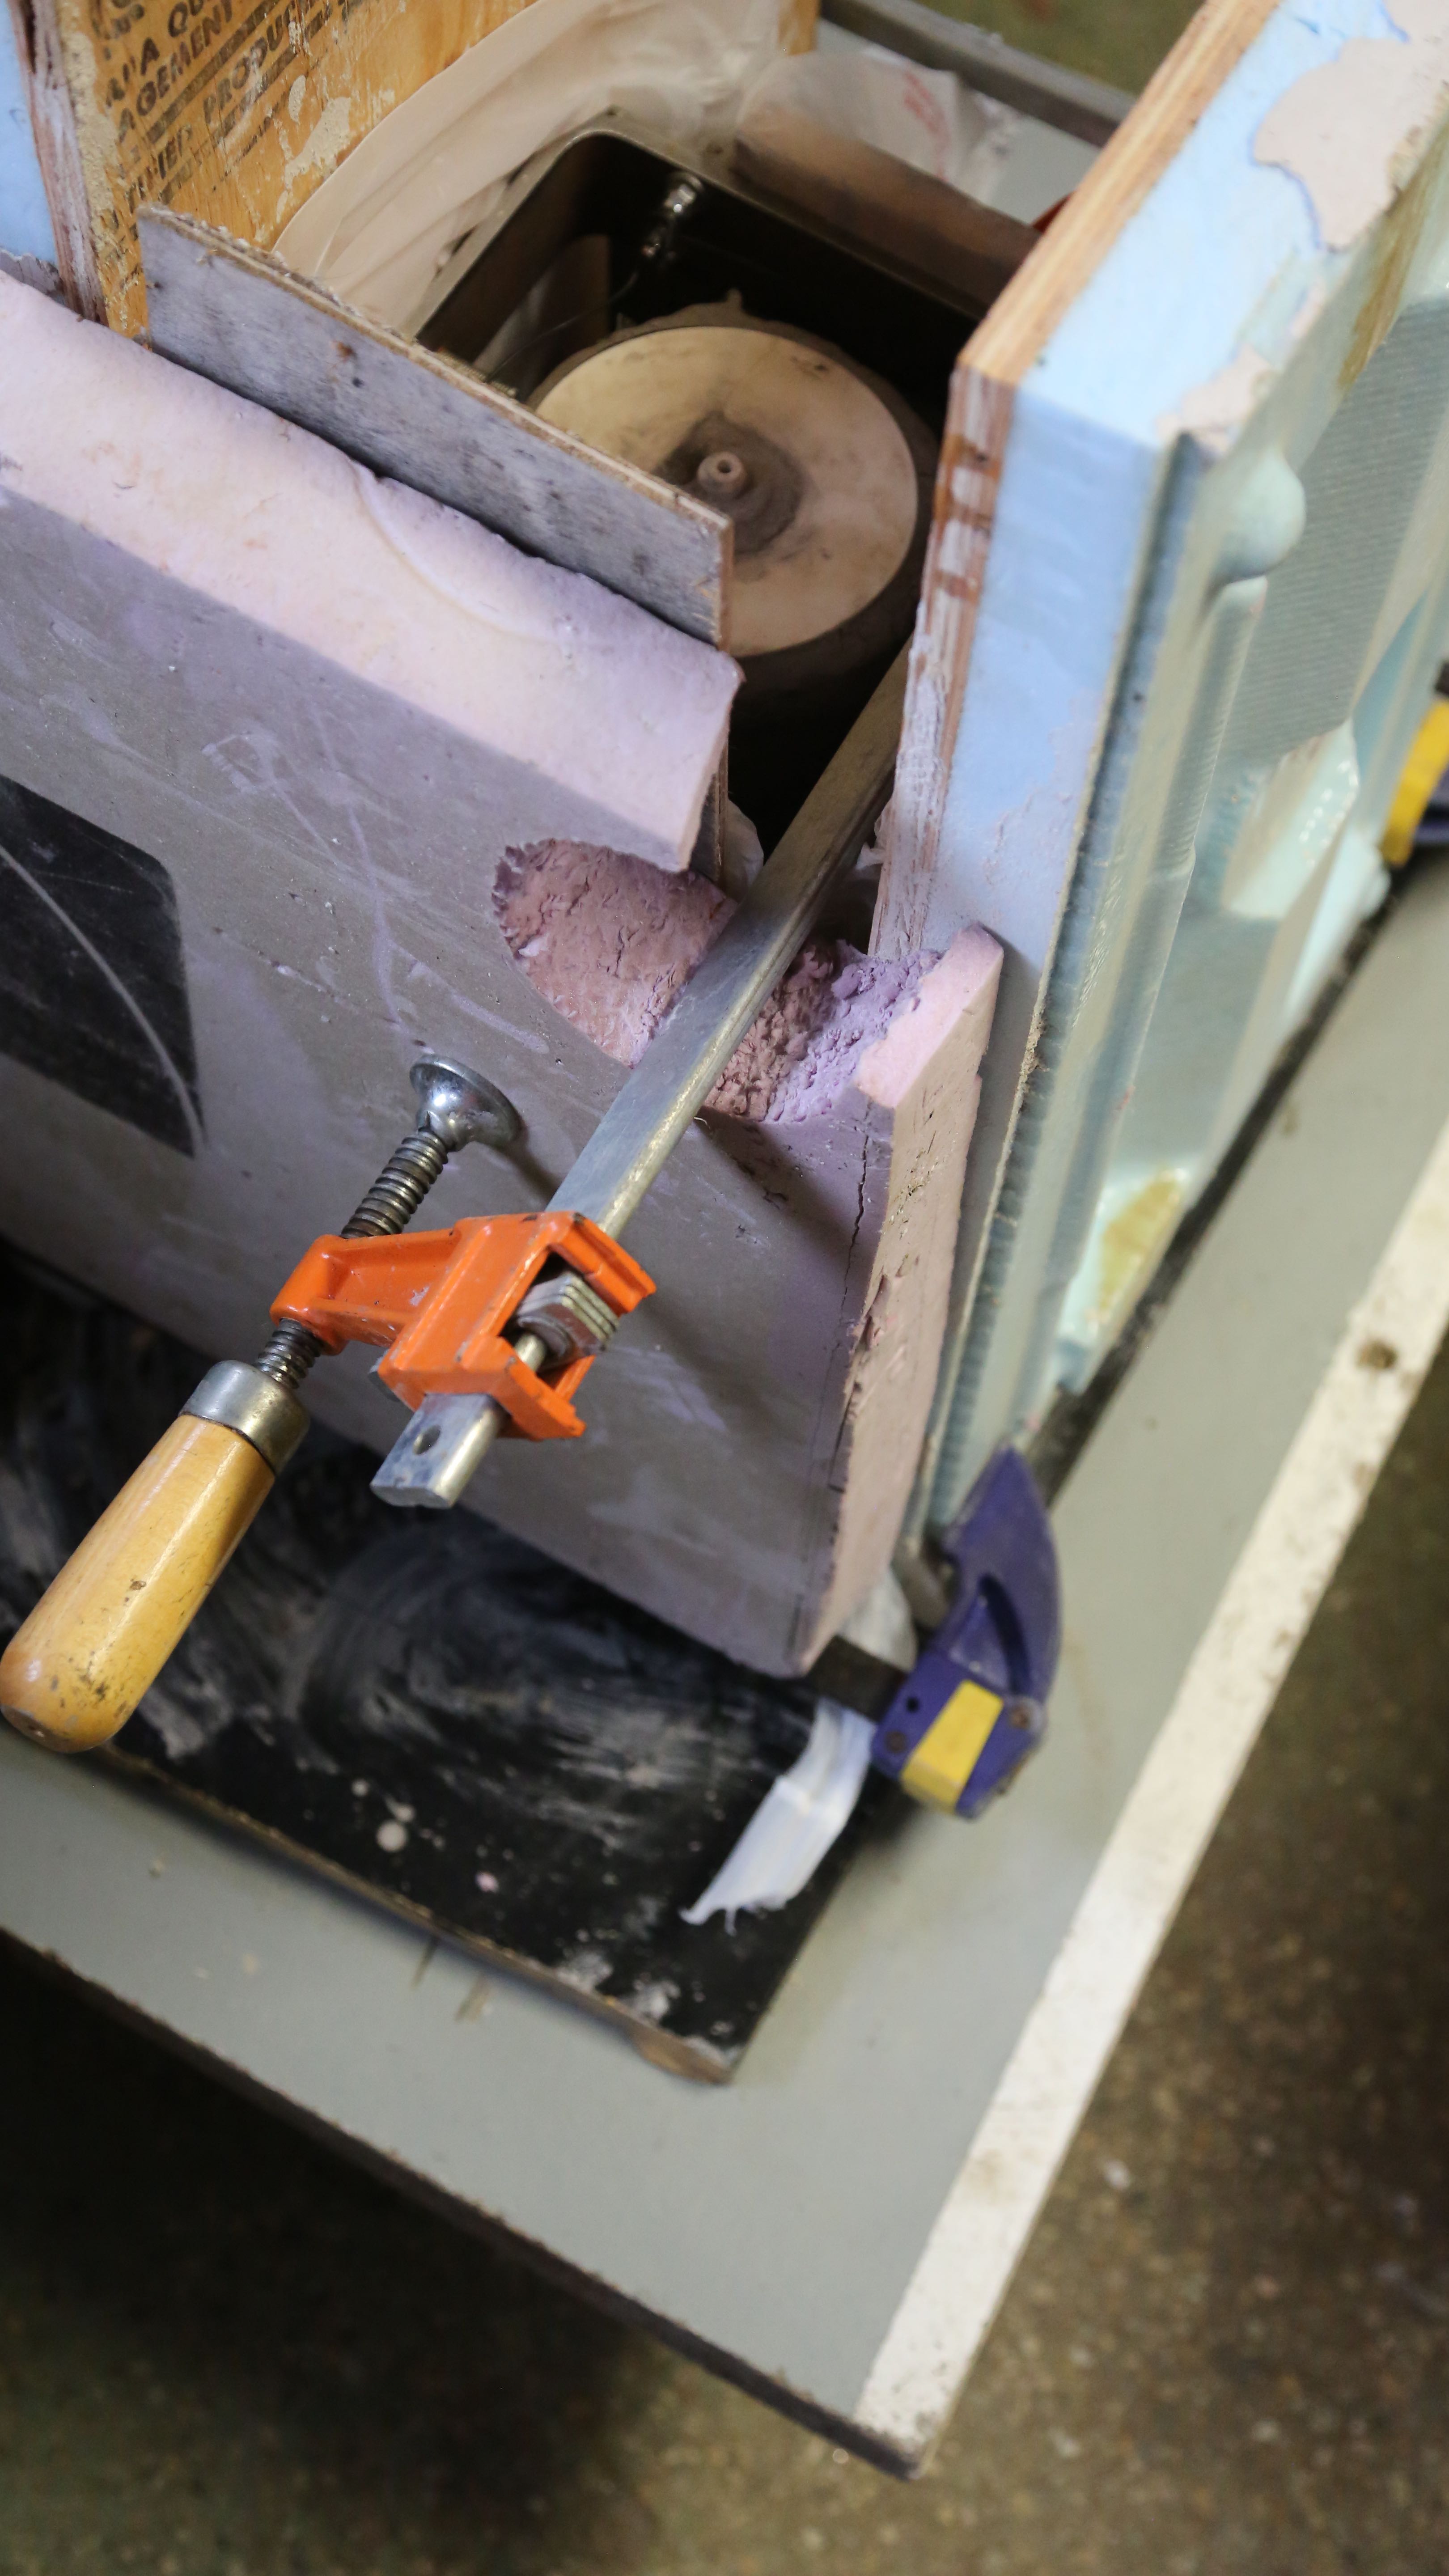
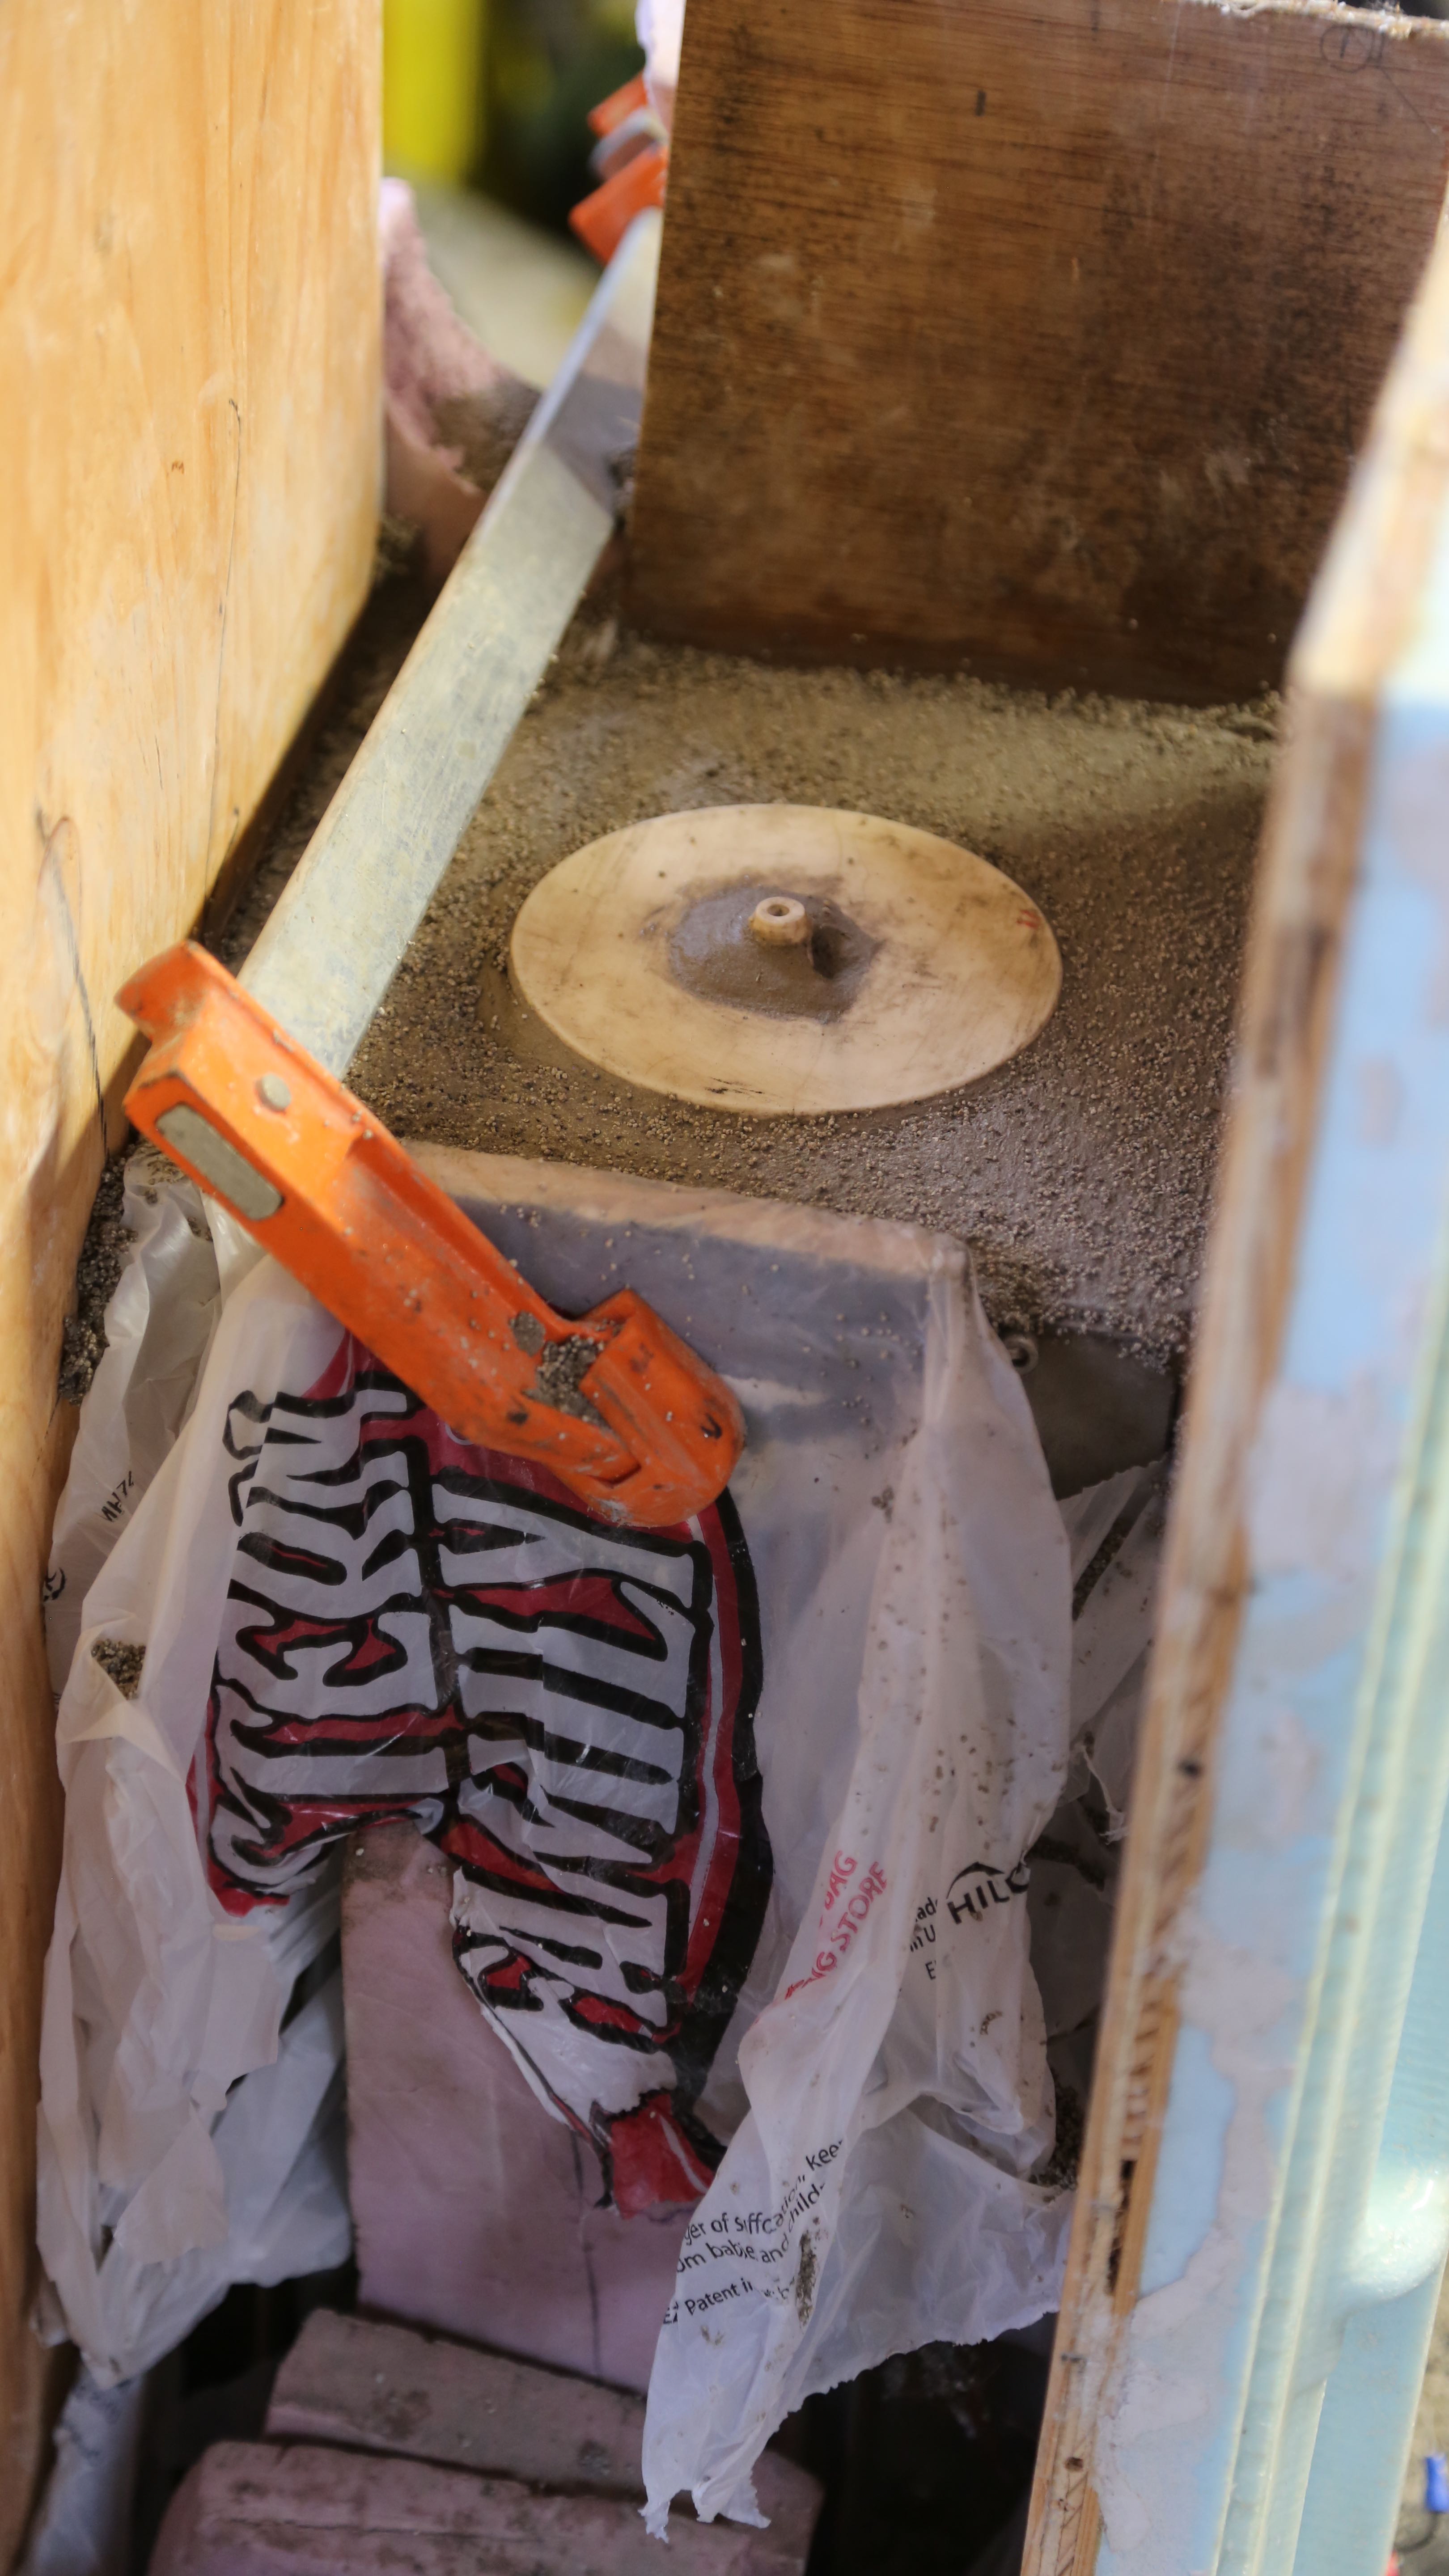
Alright, so now after carefully placing our crucible cart onto our vibrating table we clamped forms around the sides ready for filling. In all places where there was potential wood contact, we covered said wood with plastic bags to prevent it from adsorbing an unfair of moisture from the curing refractory.

On our vibrating table - ready for filling with 2500F insulating refractory.
On our vibrating table – ready for filling with 2500F insulating refractory.
Refractory isn't portland - its typically applied much more dry.
Refractory isn’t portland – its typically applied much more dry – very dry.
All filled up, now it has to sit for at least 24 hours covered with plastic.
We scrapped off some of the frail insulating 2500F refractory after it came out of the forms. Then we troweled on a generous shell of much more durable 3200F refractory. Then wrapped with saran wrap for 24 hours.

Then we get to flip it over and finish the top side – next episode.

About the Author

Leave a Reply