Final Refractory Work

Final Refractory Work

Final Refractory Work

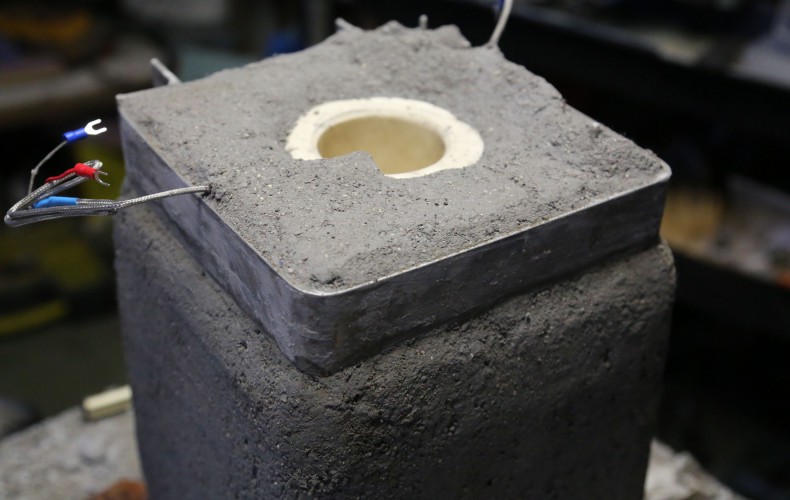
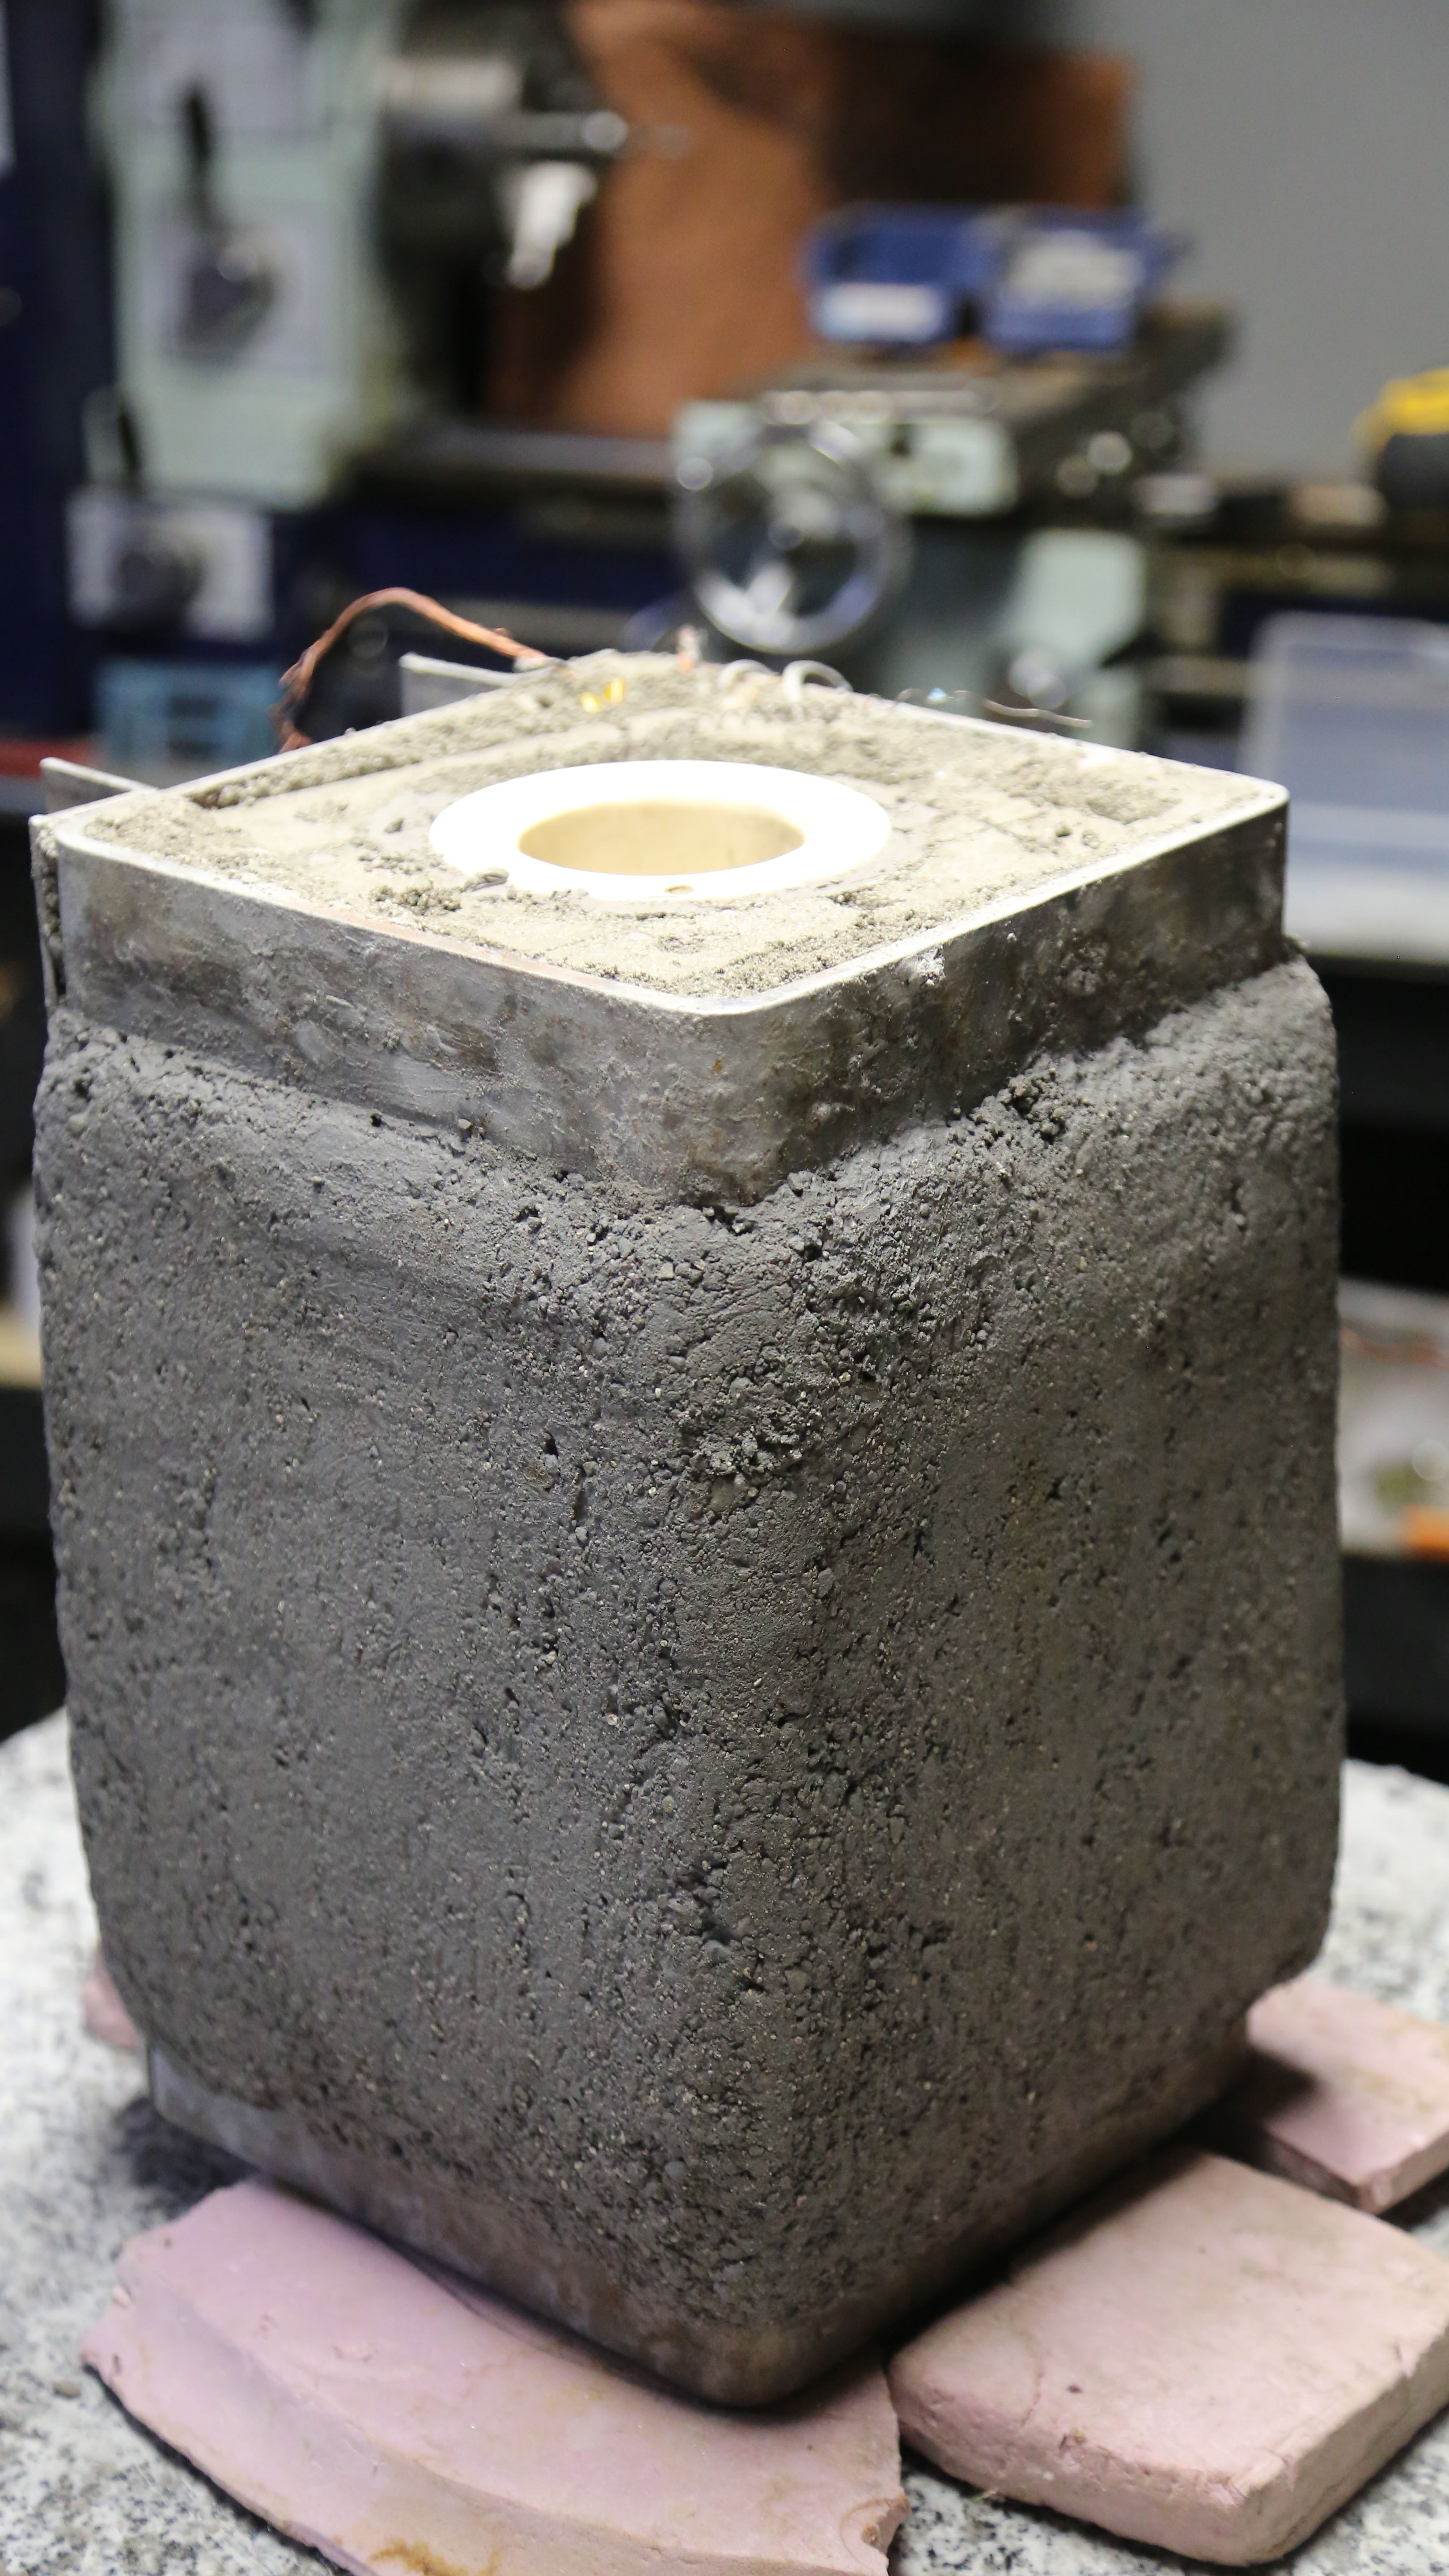
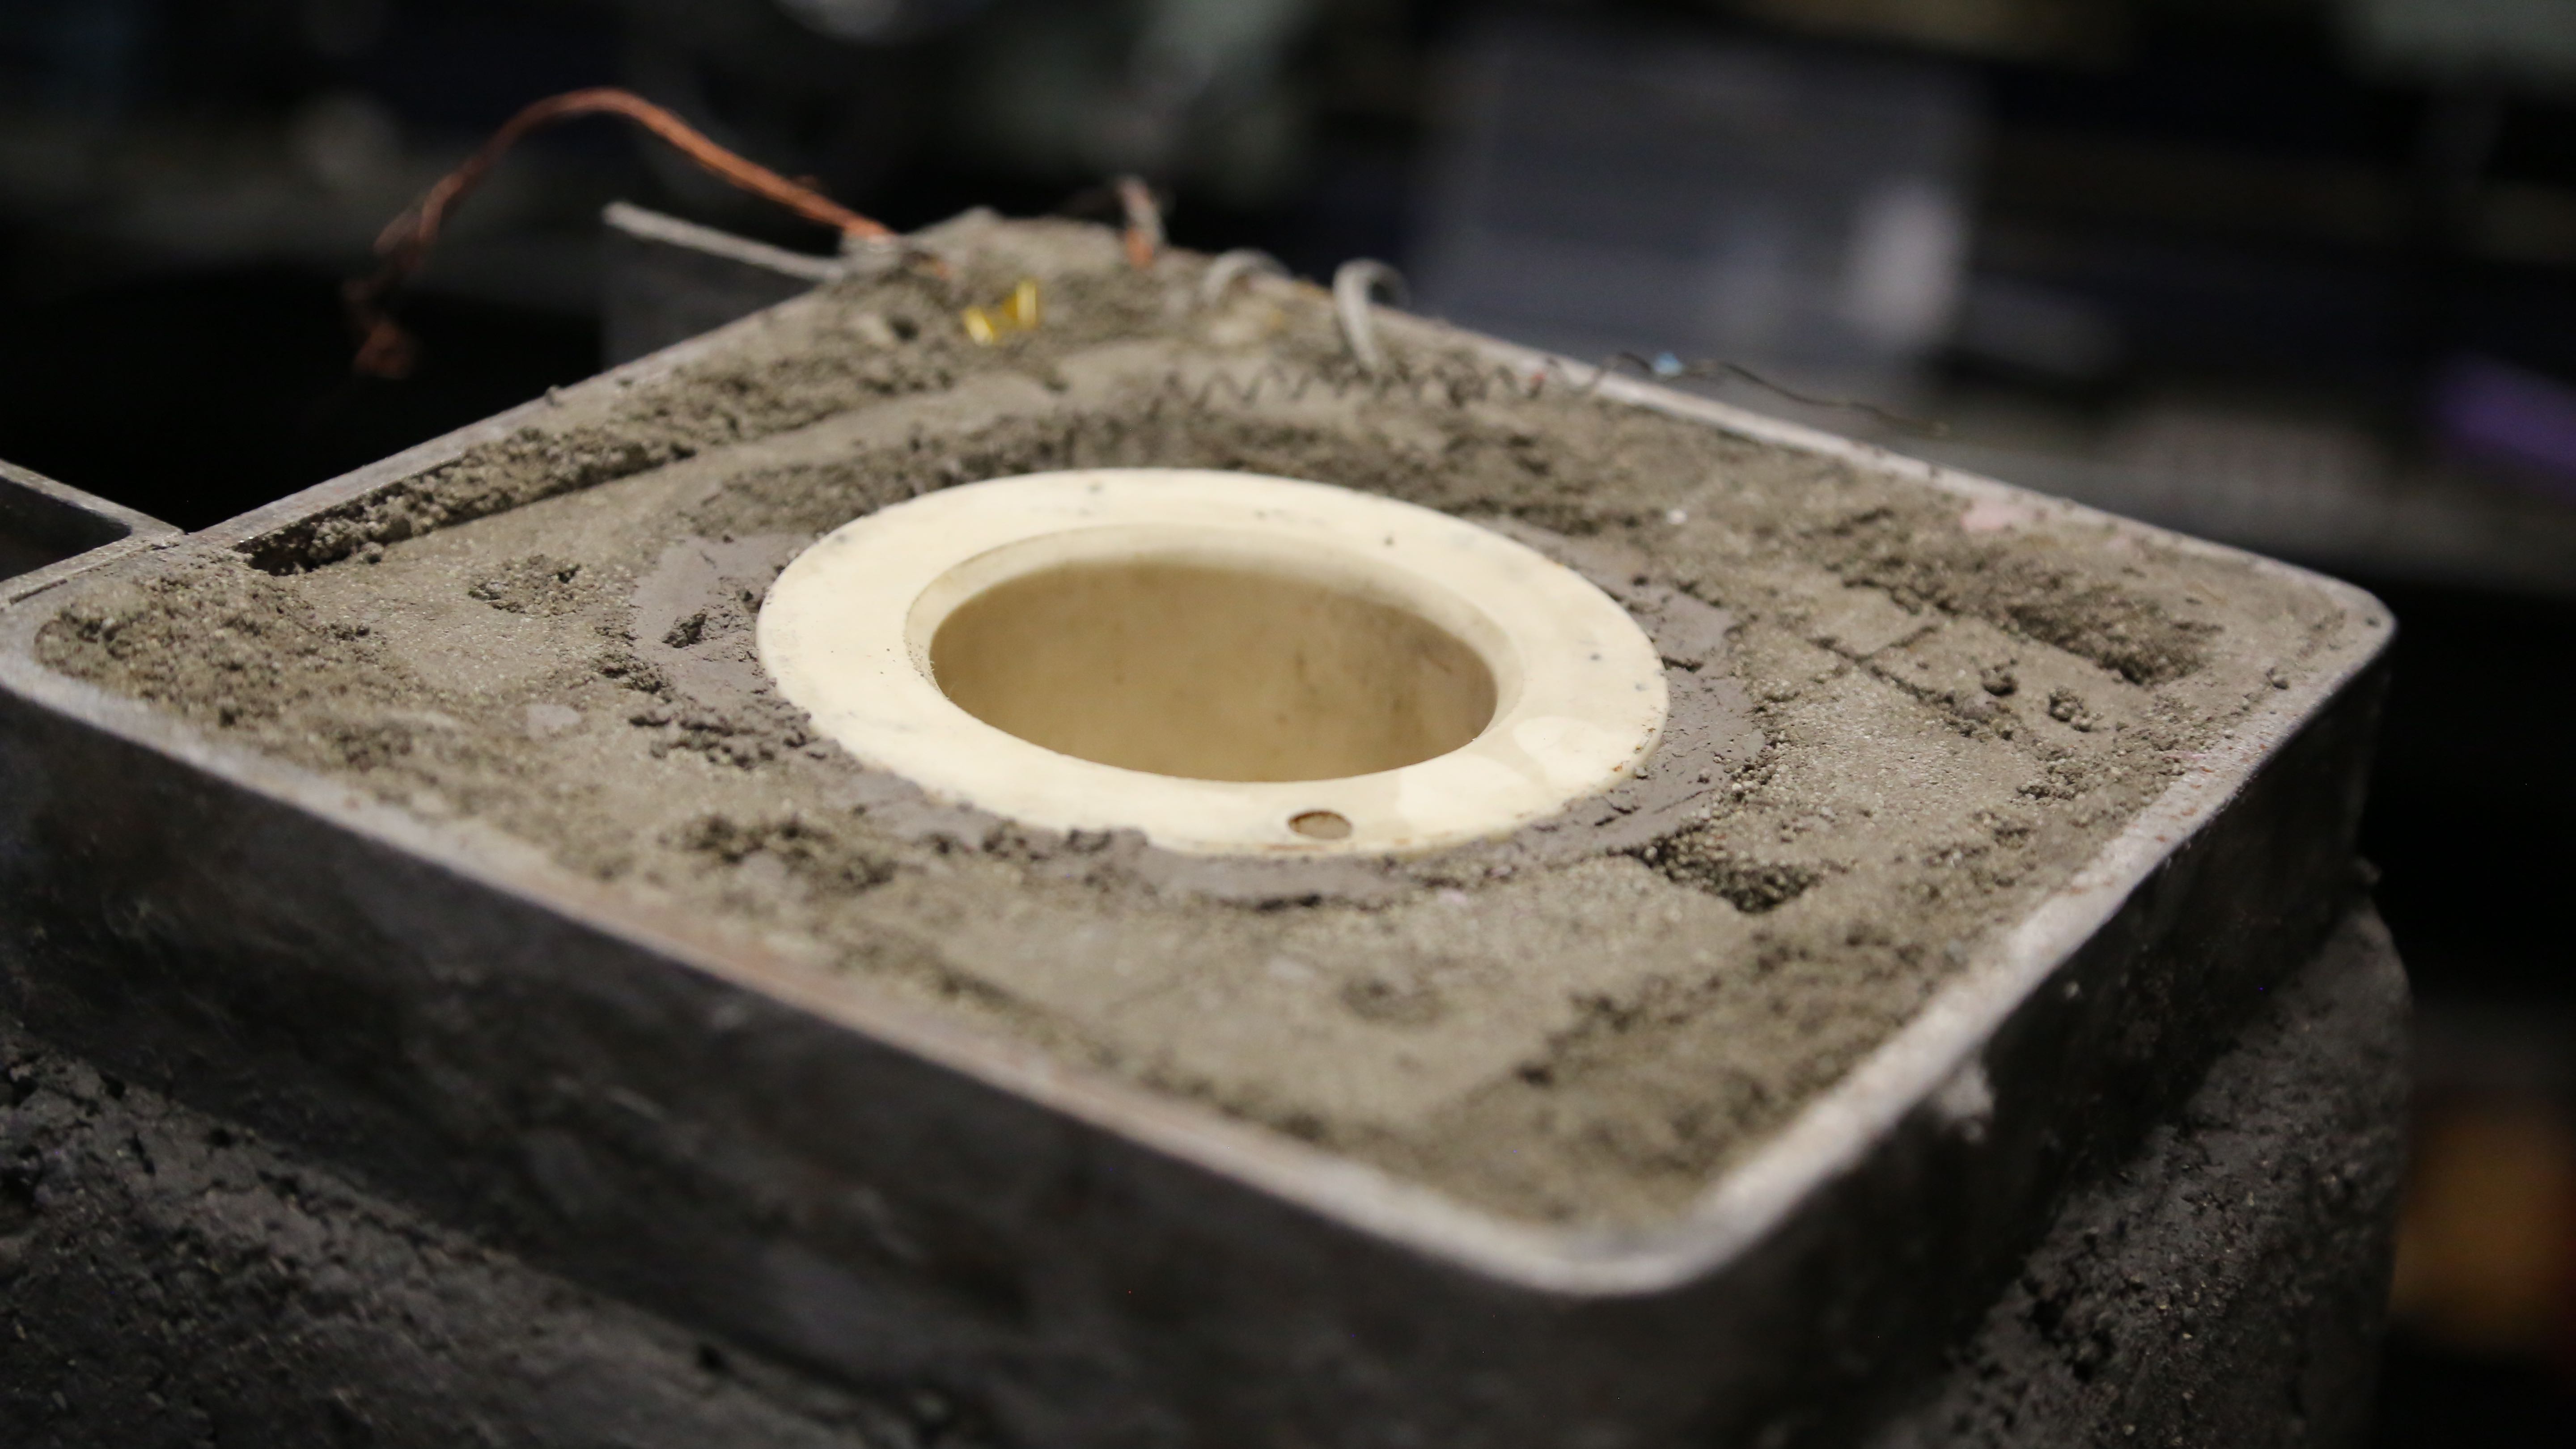
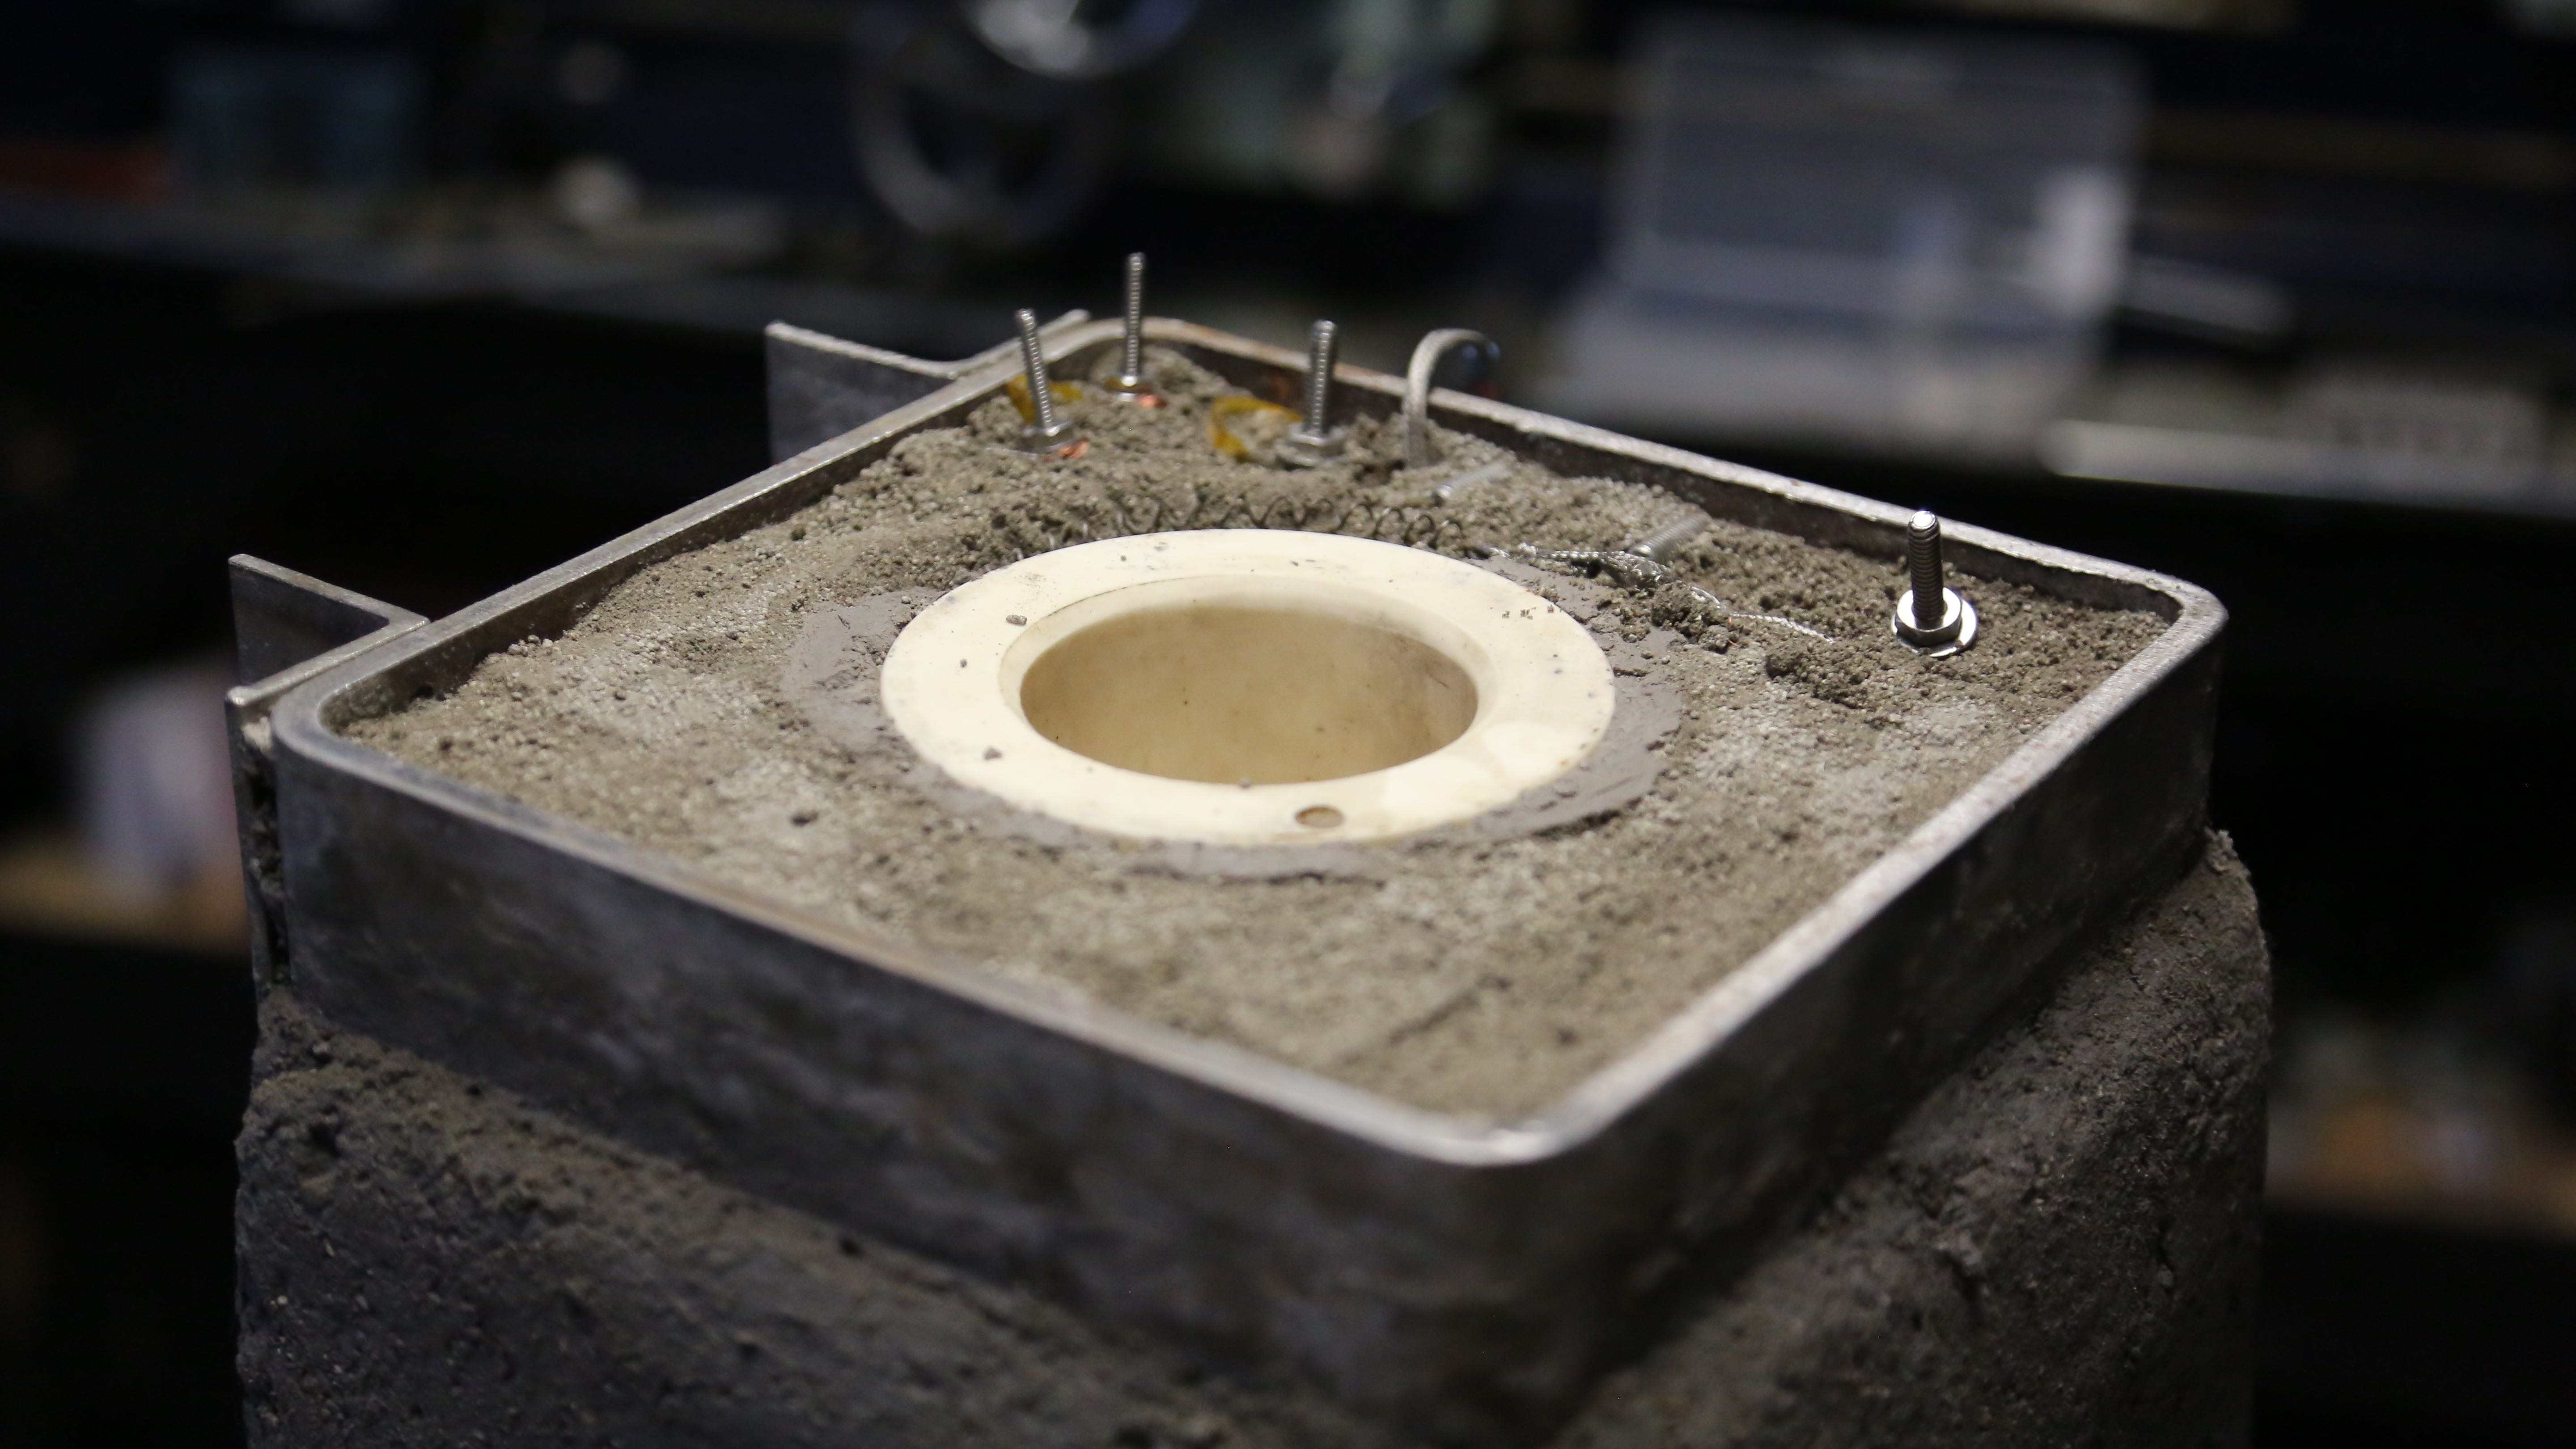
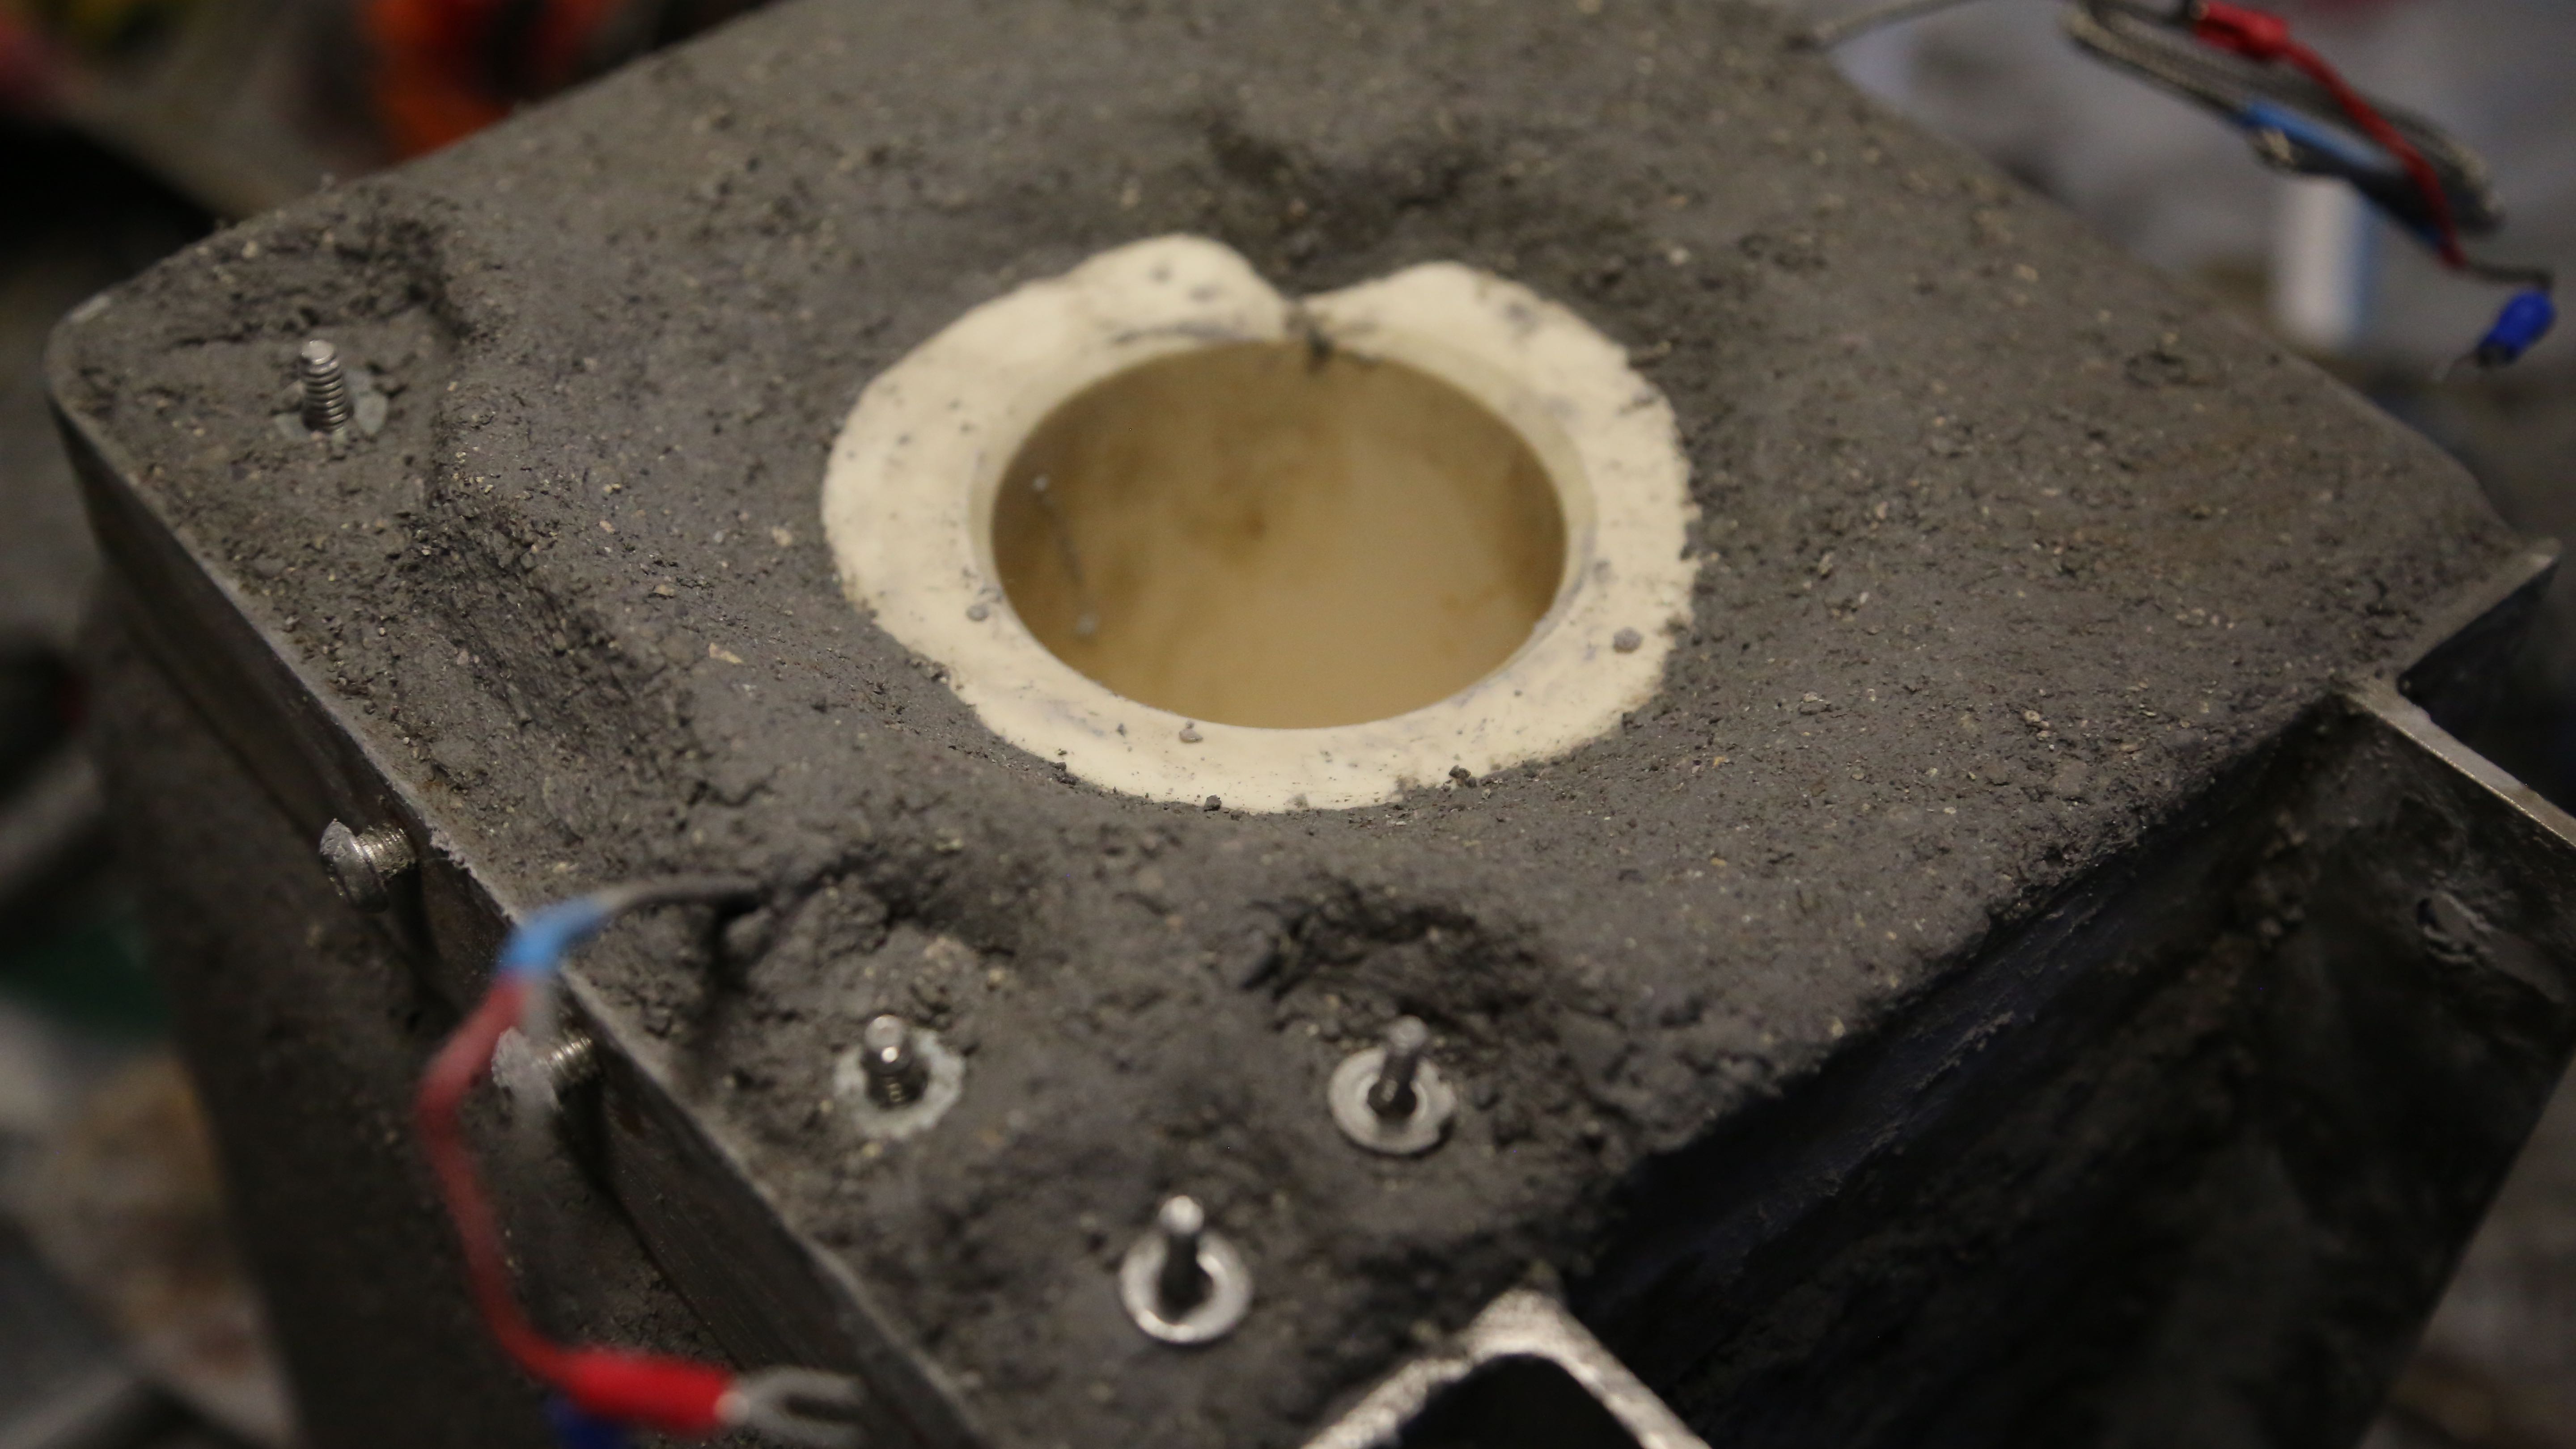
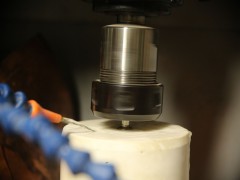
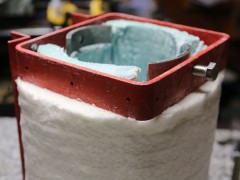
One last chapter before we can begin our crucible cart’s dryout schedule: the top. We need a bomber top to handle ladling of molten glass blobs into the crucible as well as way to fix the loose electrical terminals. The insulating refractory won’t cut it in these departments so its time for some more 3000F rated refractory to coat on top.

Here she is flipped over for the first time the following day. Looks good except the top.
We scrapped some more insulating refractory off
Before we scrapped a little more insulating refractory off. Loose wires wires evident in background.
Then attached stainless steel bolts to the 4 electrical leads (crucible heater and nozzle heater).
We attached stainless steel bolts to the 4 loose electrical leads (crucible heater and nozzle heater). Much better already!
All the electrical leads have nice bolts to attach our wiring to. They are somewhat protected by some additional refractory strategically placed.
All the electrical leads now have nice firm bolts to attach the leads to. They are somewhat protected from ladles of glass by some additional refractory strategically placed. The notch evident is to shield the crucible’s thermocouple.
Now we have to wait before putting the whole crucible cart into an oven for its firing schedule
Now we have to wait (again) before putting the whole crucible cart into an oven to meet its firing schedule. To be continued…

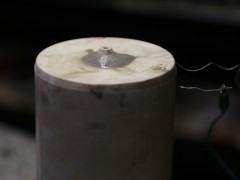
After its fired we can get it mounted to the machine and should be showtime!

About the Author

Leave a Reply